
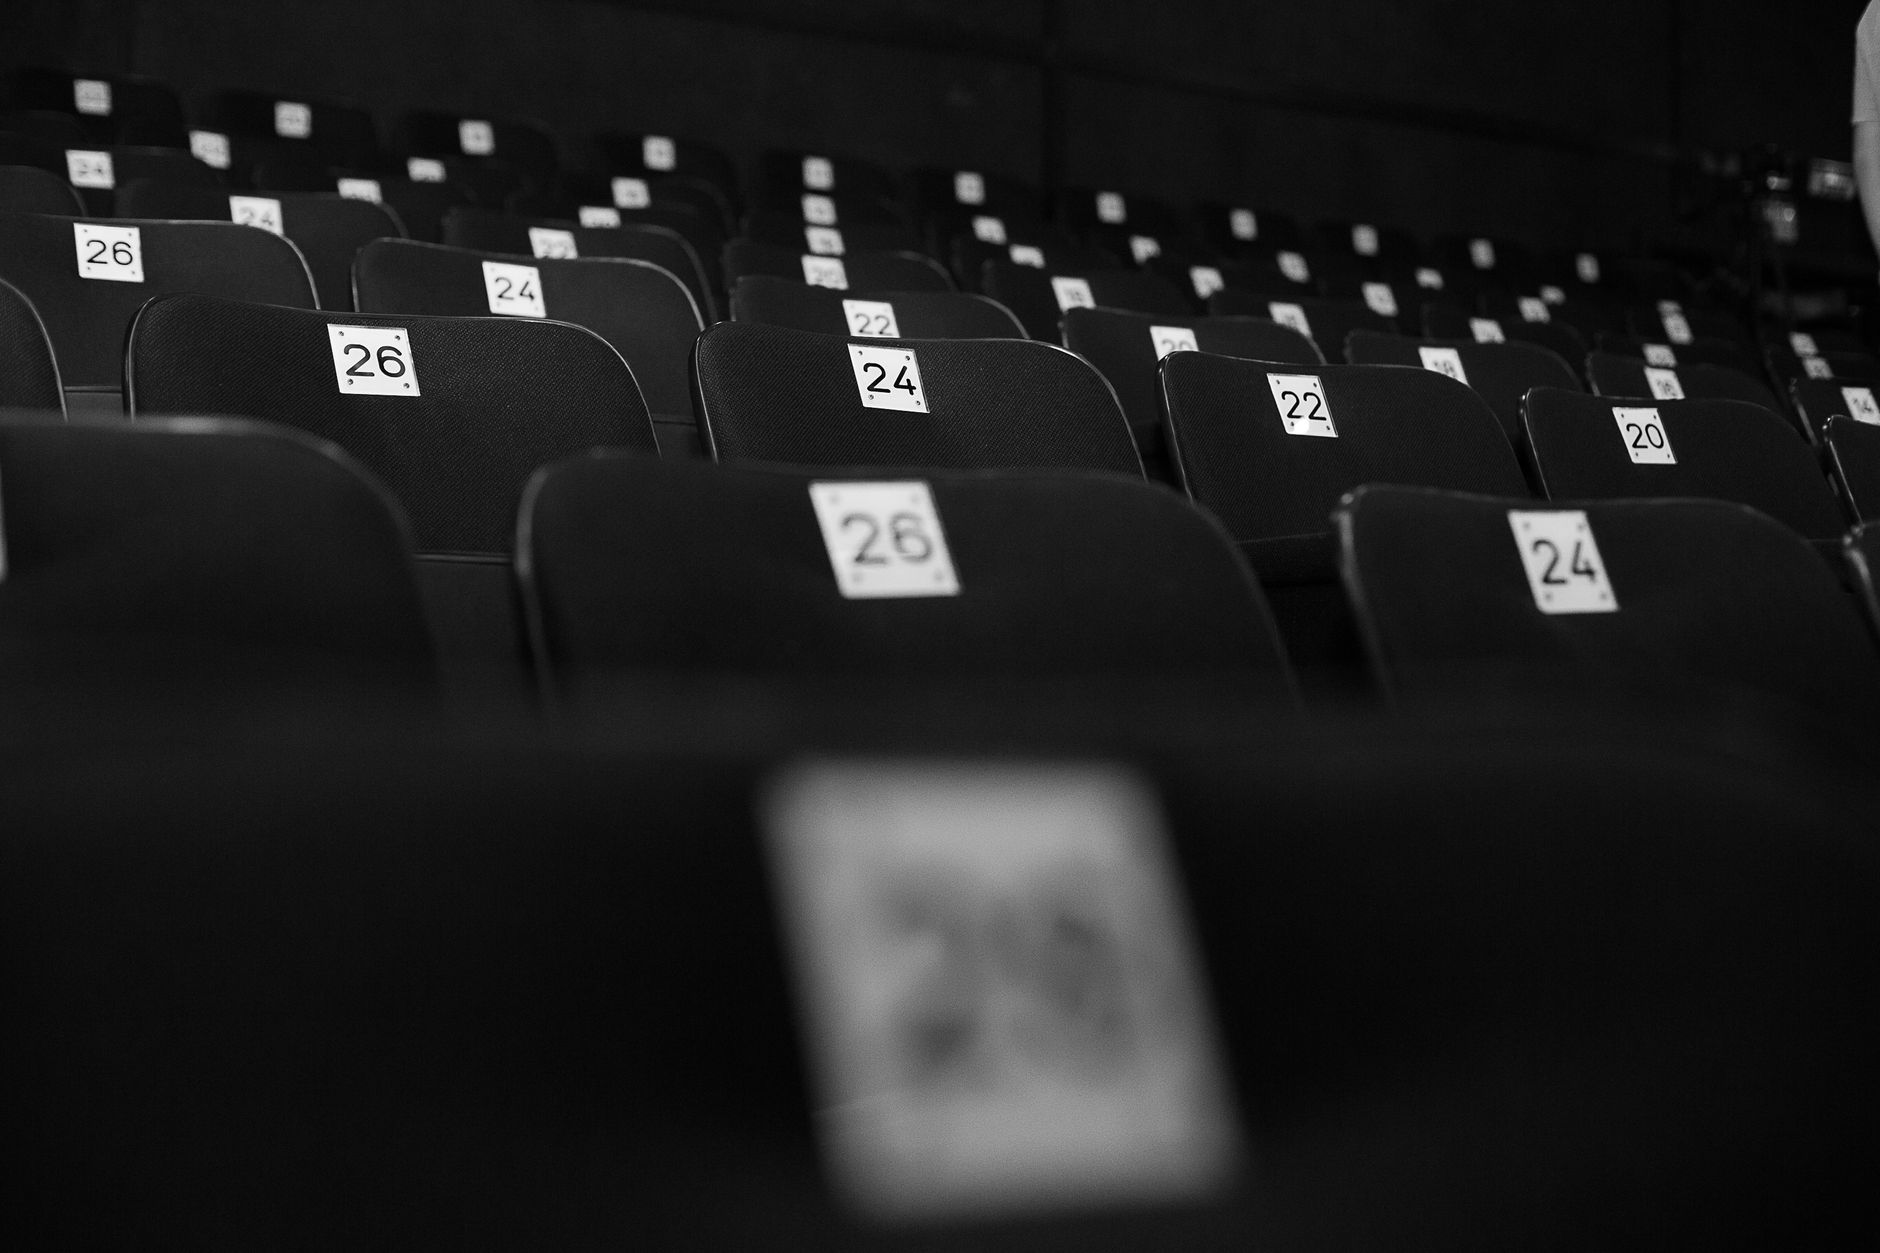
A dedicated media room or home theatre is a genuine premium feature. Buyers shopping at mid-to-upper price points increasingly expect one, and when photographed well, it can be a listing's standout image. Most property photographers, though, walk in, fire a single shot at the screen wall, and move on. The result is a dark, awkward frame that undersells a room that cost the owner tens of thousands to build.
Getting this room right takes a different approach to every other space in the house. The lighting is intentional and low. The geometry is often dramatic. The tech is a selling point, not background clutter. Here's how Kitti Rivers Real Estate Photography handles media rooms and home theatres to make them look exactly as good as they feel in person.
Understanding the light in a media room
Home theatres are designed to block ambient light. Blackout curtains, dark walls, recessed LED strips along the floor and ceiling. That controlled darkness is the feature. It's also what makes the room hard to photograph.
Don't fight the mood. Bringing in a single powerful flash and blasting the room flat destroys everything that makes it desirable. Instead, work with the existing light sources and supplement carefully. The LED strip lighting along the floor and ceiling provides a warm base exposure. Use a long shutter speed, often 2 to 4 seconds on a tripod, to let that ambient glow build naturally in the frame.
A small, gelled speedlight positioned just outside the frame and aimed at the side wall can lift shadow detail without looking artificial. Gel it warm (CTO, half-stop) to match the room's amber tones. If the room has sconces or dimmable downlights, turn them on and dial them to roughly 40 percent. They add depth without overexposing the foreground seating.
Because you'll be working with slow shutter speeds and a dark room, a rock-solid tripod isn't optional. Correct tripod technique matters here more than almost anywhere else in the house. Even a slight vibration at a 3-second exposure will produce soft images, and soft images in a dark room look like noise.
How to handle the projection screen or TV
Leave the screen active. A blank white screen reads as a blown-out wall. A powered-off TV reads as a black rectangle. Neither is appealing. Instead, put something on the screen that looks intentional: a cinema-style slate graphic, a deep-space image, or even a high-contrast nature scene. Many photographers keep a USB drive loaded with a handful of neutral display images for exactly this purpose.
For projector screens, shoot during the room's natural low-light window and expose for the projected image first. Then bracket two additional exposures to lift the seating area. Blend the images in post so the screen holds detail and the room has visible depth. This is one situation where HDR blending earns its place, because the dynamic range between a lit screen and a dark room is genuinely extreme.
For large-format TVs, turn the brightness down to about 30 percent before shooting. A TV at full brightness will blow out every surrounding surface. At lower brightness, the screen becomes a light source rather than a distraction.
Composition and angle choices
Most media rooms are rectangular, with the screen at one end and tiered or raked seating facing it. The obvious angle is straight on from the back row, centred on the screen. It works, but it's rarely the strongest shot.
A corner angle, shot from roughly 45 degrees at the rear corner of the room, shows both the screen wall and the depth of the seating in a single frame. It's the same principle used in staircase photography: geometry tells the story better than a flat face-on composition. From this position, the tiered seating recedes into the frame, the screen anchors the far wall, and the viewer immediately understands the scale of the room.
Use a wide-angle lens, but not aggressively so. A 16mm full-frame equivalent will distort the side walls into curves. A 24mm or 28mm gives you enough room coverage without making the geometry look warped. Keep the camera level. Even a one-degree tilt on a symmetrical screen wall reads as careless in a room where buyers expect precision.
Staging the room before you shoot
Media rooms accumulate gear quickly: remotes, charging cables, drinks holders, blankets, gaming controllers. Clear everything that isn't architectural or intentional. Leave two or three items that signal lifestyle, not mess. A folded throw on the end chair, a single drinks tray with two glasses, or a subtle bowl of popcorn if the room has that relaxed feel. The goal is lived-in luxury, not showroom emptiness and not weekend chaos.
Chairs and recliners need to be positioned symmetrically unless the layout is deliberately asymmetric. Crooked seating reads as careless in a photo. Pull each chair forward slightly from the back wall so it doesn't merge with the dark baseboard. This gives the seating visual separation and makes the room feel more spacious.
If the room has acoustic wall panels, make sure they're clean and evenly lit. Acoustic panels are a quality signal to buyers who know what they're looking at. Don't let them get lost in shadow.
Post-processing considerations
Dark rooms need more careful noise management than any other space in a listing. Push the shadows up in Lightroom or Capture One, but watch the noise floor carefully. Shooting at ISO 400 or below on a solid tripod will give you far more latitude in post than pushing ISO 1600 and shortening the exposure.
Colour grading matters here too. Media rooms often have a mix of warm LED strips, cool screen glow, and whatever the projector puts out. Don't try to neutralise every colour cast. A slight warm tone in the seating area and cooler tones near the screen is natural and atmospheric. Overcorrecting to neutral grey makes the room feel sterile.
Sharpening on the screen content should be kept light. Over-sharpened text or graphics on the projected image reads as fake in the final photo.
When the room has no dedicated theatre setup
Not every media room has a projector and tiered seating. Some are simply a large lounge with a wall-mounted TV, good acoustics, and blackout blinds. Photograph these rooms the same way you'd approach any living space, but lean into the atmosphere. If the blinds create a cave-like mood, use it. Supplement with floor lighting rather than overhead flash. The distinction between a "media room" and a "living room" in a listing is partly about how the room is presented visually.
A dark, moody, well-lit frame tells a buyer this room is designed for an experience. A bright, flat, neutrally lit shot tells them it's just another lounge. The photography does the positioning.
A note on video walkthroughs
Media rooms are particularly effective in video. A slow pan from the rear of the room toward the screen, with the room's ambient lighting active, communicates scale and atmosphere in a way still images can't. If the listing includes a video walkthrough, shoot the media room with the lights set to their cinematic preset and let the camera move through the space. It's one of the most compelling 15 seconds in any property video.
The combination of still photography and video content for a feature room like this is exactly the kind of layered visual strategy that separates strong listings from average ones. A media room photographed well pays for the session cost before the first open home.