
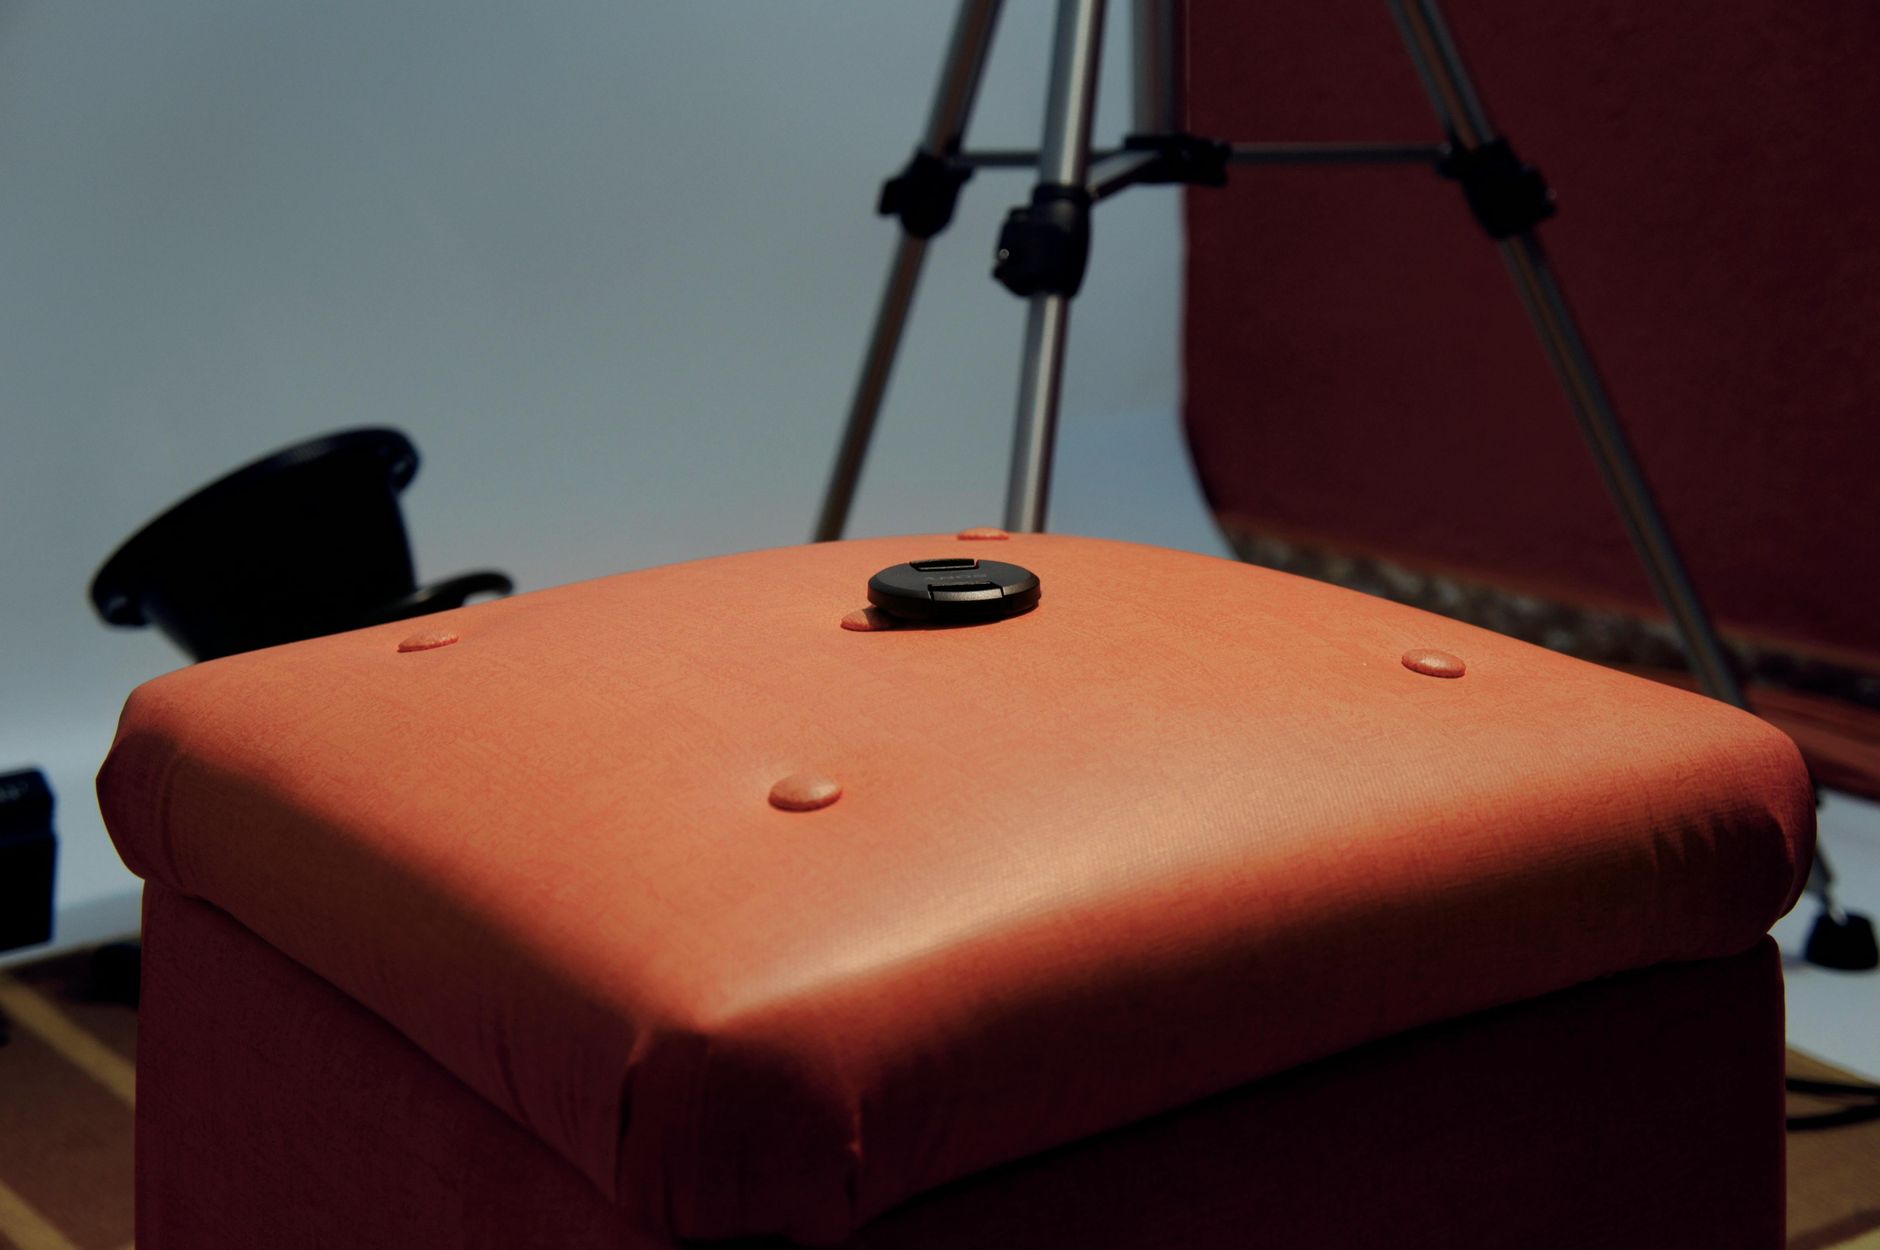
A tripod is probably the least exciting piece of gear in a property photographer's bag, but it's the one that does the most quiet work. In real estate photography, sharpness and consistency matter on every shot, and a well-set tripod delivers both. The problem is that most photographers treat it as an afterthought: they extend it quickly, point the camera, and move on. That's where the trouble starts.
Why tripod technique matters more than gear
Camera bodies and lenses get most of the attention, but even a top-end setup will produce soft, tilted images if it's sitting on an unstable base. Real estate photos go through heavy post-processing, and sharpness lost at the capture stage can't be recovered in Lightroom. A blurred edge or a subtle camera shake shows up on a 27-inch monitor even when it looked fine on the 3-inch LCD at the shoot.
There's also the consistency argument. When Kitti Rivers Real Estate Photography shoots a full property, every room needs to look like it belongs to the same set. Handheld shooting changes your framing subtly from shot to shot. A locked-off tripod keeps horizon lines level and composition consistent, which cuts editing time considerably.
Choosing the right height for each room
The default mistake is shooting at eye level. For most interiors, a camera height of around 90–120 cm (roughly chest height, not eye height) produces a more natural perspective. Too low and the ceiling dominates. Too high and the room feels compressed and the floor disappears.
Bedrooms often work best at the lower end of that range. Living rooms, which tend to have higher ceilings and more depth, can go slightly higher. The goal is to show floor space without making the ceiling feel claustrophobic. This connects closely with how you approach wide-angle lenses for real estate photography, where focal length and camera height interact to control vertical distortion.
Kitchens deserve their own adjustment. Benchtops are a key selling feature, and shooting just above bench height (about 95–105 cm) keeps them in clear view without tipping the upper cabinetry out of frame.
Levelling: the step most photographers rush
A tilted horizon is one of the most common problems Kitti Rivers Real Estate Photography sees in property images. It takes seconds to correct with a bubble level or the in-camera electronic level, but photographers rushing between rooms skip it constantly.
Every decent tripod head has a built-in bubble level. Use it every time you set up, not just on outdoor shots. Interior horizontals, such as benchtops, windowsills and architraves, reveal a tilted camera immediately. A crooked shot that gets straightened in post also loses pixels on the edges, narrowing the frame.
Ball heads are faster to set up than pan-tilt heads, but they're harder to level precisely. If you're primarily shooting real estate interiors, a pan-tilt head gives you finer control over the horizontal and vertical axes independently. It's slower, and worth it.
Camera placement and corner strategy
Where you place the tripod in a room matters as much as any other technical setting. The standard approach is to shoot from a corner or doorway, creating diagonal depth that makes the room feel larger. But the tripod position should match the room's natural flow, not just default to the corner closest to the door.
Walk the room first. Look for the angle that captures the most distinguishing features: the fireplace, the window view, the cabinetry run. Then position the tripod so the camera points roughly two-thirds into the space, with a clear foreground leading the eye toward those features. Avoid placing a tripod leg directly in line with the camera's central axis, as it can appear in wide-angle shots when shooting low.
For small rooms, photographing small rooms effectively often comes down to shooting from the doorway or even just outside it. A tripod positioned just outside the frame extends your range without cramping the lens.
Using a remote shutter or timer
Pressing the shutter button physically is enough to introduce camera shake, even on a solid tripod. Use a wireless remote shutter or, at minimum, the camera's 2-second self-timer. This is especially important when shooting with longer exposures for ambient light blending or HDR bracketing.
Kitti Rivers Real Estate Photography uses a wireless remote on every interior shoot. It also allows the photographer to step out of the frame without leaving a hand print on the camera, which matters in rooms where reflective surfaces or mirrors catch everything.
Tripod stability on uneven or soft surfaces
Hard floors are easy. Carpet, decking, grass and gravel all introduce movement. On carpet, press the tripod legs down firmly until each foot seats solidly. On outdoor decking, avoid placing a leg on a loose board. On grass for exterior shots, push the feet in slightly so they don't shift between exposures.
If you're shooting a bracketed sequence for HDR photography in real estate, any movement between frames will cause alignment errors that post-processing software can only partially fix. Stable surface contact at each leg is non-negotiable for bracket sequences.
In windy conditions, hang your camera bag from the tripod's central hook. The added weight lowers the centre of gravity and reduces vibration significantly.
Common tripod mistakes to avoid
- Fully extending the centre column: the centre column is the least stable part of any tripod. Extend the legs to height before touching the column. Only raise the column if you need additional height and leg extension won't deliver it.
- Loose leg locks: check each leg lock before walking away from the tripod. A leg that slips mid-sequence costs you the whole bracket set.
- Skipping the level between rooms: floors in older homes are rarely perfectly level. Re-check the bubble every time you move.
- Standing the tripod on a rug or mat: soft surfaces compress unevenly under the legs and shift between frames. Reposition to hard floor where possible.
Tripods and workflow speed
A common objection is that tripods slow the shoot down. They do add time per setup, around 30 to 60 seconds per room. But they save time in post. A sharp, level, consistent image needs far less correction than a handheld shot taken quickly. Across a full property shoot of 20 or more rooms, that saving adds up to real editing hours.
The other efficiency gain is confidence. When Kitti Rivers Real Estate Photography delivers images from a tripod-based workflow, there's no second-guessing which frames are sharp enough to use. Every frame from the sequence is a candidate. That reliability is what separates a professional property shoot from one that looks rushed.
Technique like this sits underneath every other decision on a shoot. Get it right and everything else gets easier.