
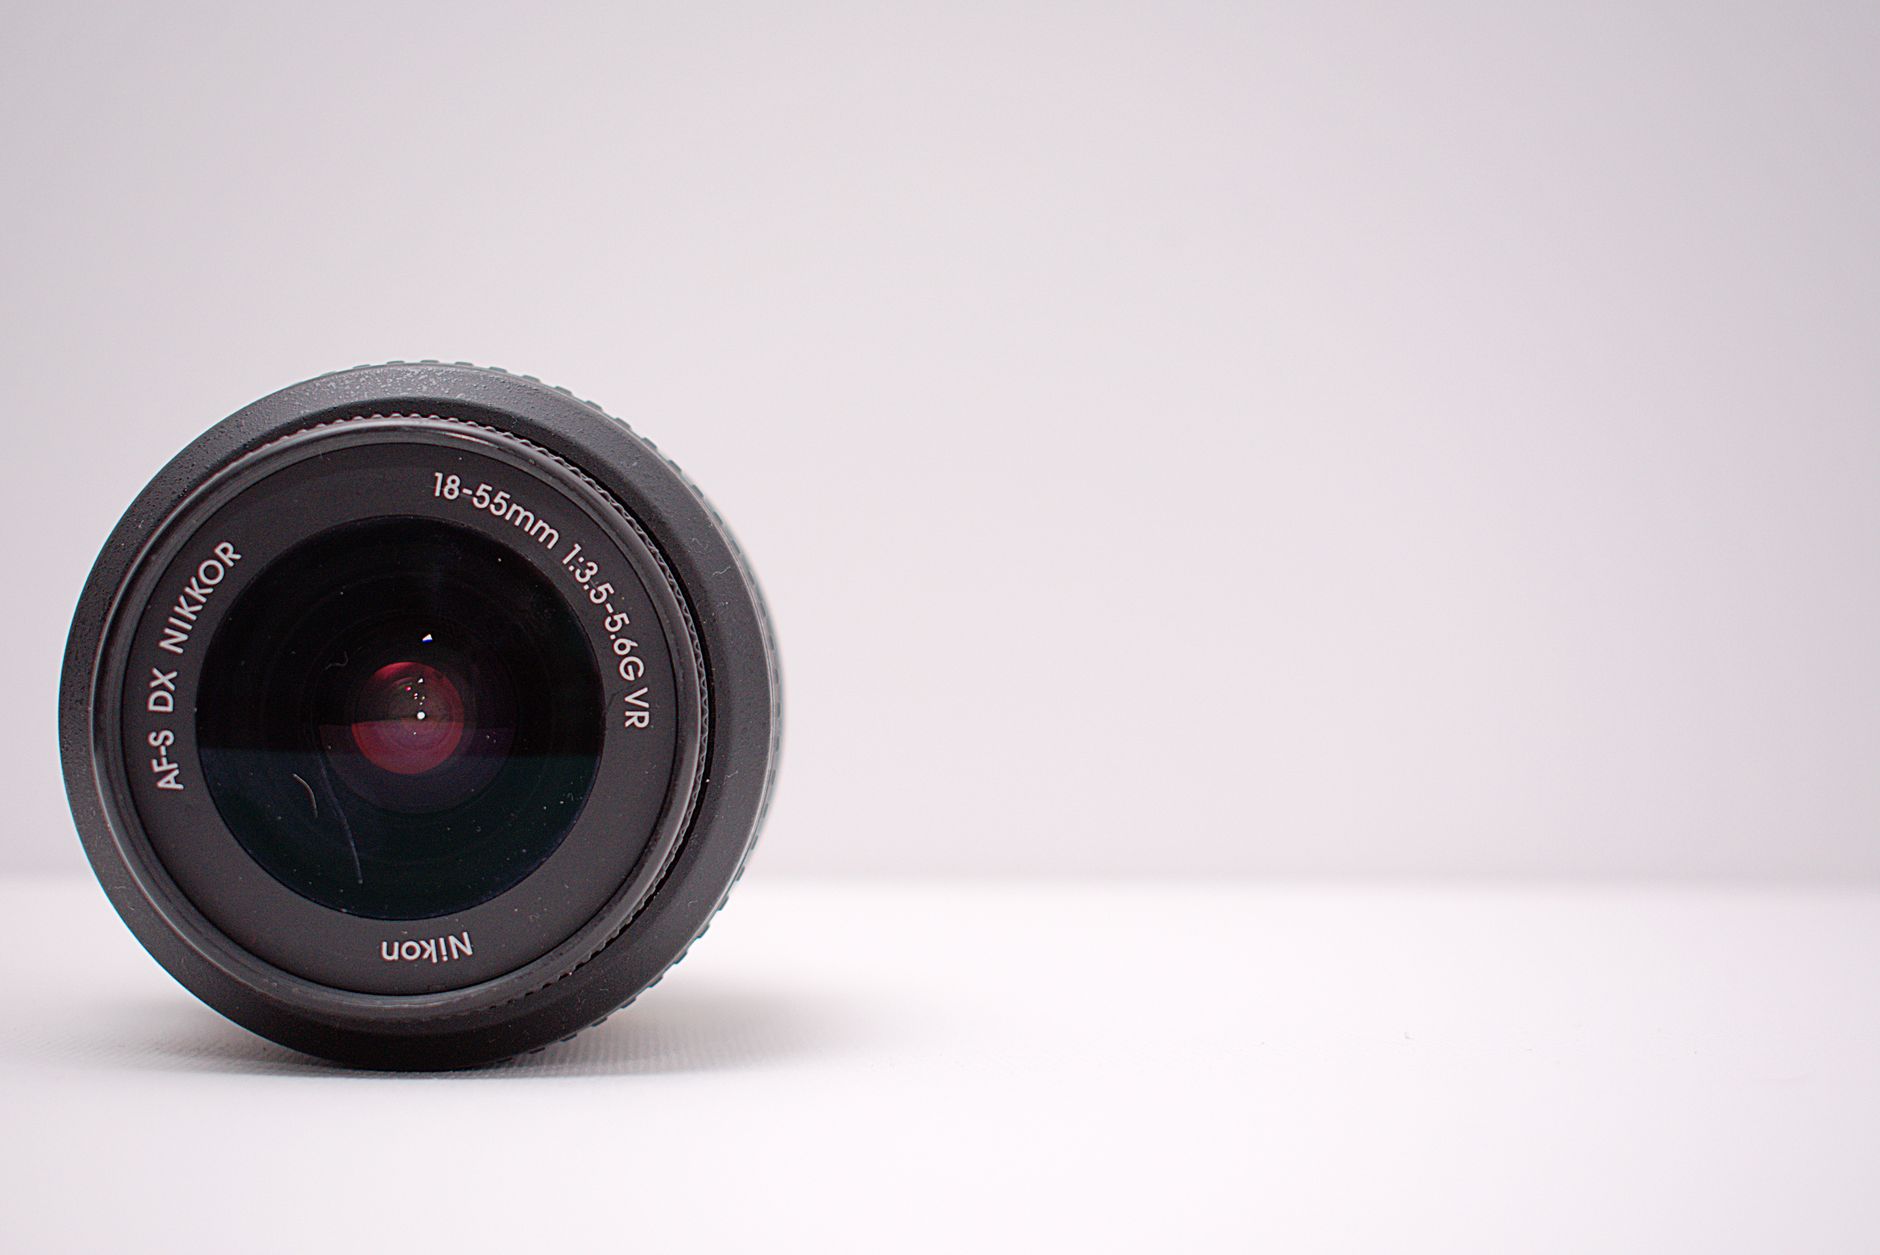
Wide-angle lenses are the single most important piece of glass in a property photographer's kit. They allow you to capture an entire room in a single frame, show spatial relationships between spaces, and make buyers feel oriented before they've set foot through the door. But choosing the wrong focal length, or using the right one poorly, can leave a listing looking distorted, cramped, or just plain wrong. Here's what you need to know to get wide-angle photography working for you.
What counts as a wide-angle lens?
On a full-frame camera body, lenses from roughly 14mm to 35mm are considered wide-angle. For real estate work, the sweet spot sits between 16mm and 24mm. At 16mm, you get a dramatic field of view that works beautifully for large open-plan living areas, expansive kitchens, and outdoor entertaining spaces. At 24mm, you'll find a slightly more natural perspective that keeps straight lines honest and minimises the "fish-eye" feel that wider focal lengths can introduce if you're not careful.
If you're shooting on a crop-sensor camera (APS-C), multiply your focal length by roughly 1.5 to get the full-frame equivalent. A 10–12mm lens on a crop body gives you a similar field of view to a 16–18mm lens on full-frame, making options like the Sony E-mount wide-angle range worth considering alongside Canon and Nikon glass depending on your system.
Why distortion is your biggest concern
The wider you go, the more barrel distortion you introduce. Barrel distortion bends straight lines outward, making walls bow, benchtops curve, and door frames look warped. For interior photography, this is a serious problem because buyers are unconsciously measuring the space against their own furniture and belongings. A room that looks subtly "off" creates doubt, even if they can't put their finger on why.
The good news is that most modern post-processing software corrects lens distortion with a single click using built-in lens profiles. Adobe Lightroom and Capture One both carry profile corrections for virtually every major wide-angle lens. Shooting in RAW (rather than JPEG) gives you full control over this correction without any quality loss. Pairing the right lens with the best camera settings for real estate photography makes this correction step far simpler in post.
Perspective vs. distortion: knowing the difference
Distortion is a lens aberration that software can fix. Perspective is a physical property of wide-angle optics that software cannot truly undo. When you stand close to a wall and shoot wide, objects near the edges of the frame appear stretched and enlarged relative to objects at the centre. This is normal wide-angle perspective, and the fix is straightforward: stand further back, raise the tripod, or tilt the camera less aggressively. Getting into the habit of keeping the camera level and central in the room resolves most perspective issues before they appear.
Vertical lines are particularly telling. If door frames and window mullions converge toward the top of the frame, the camera is tilted upward. Keep the sensor plane as close to vertical as possible, then crop or use a tilt-shift lens for rooms with high ceilings. Tilt-shift lenses are expensive, but they solve convergence problems optically rather than in post, giving you the sharpest possible file to work with.
Choosing between zoom and prime lenses
Most real estate photographers reach for a zoom rather than a prime because a single lens covers multiple focal lengths and saves time during a shoot. The classic choice is a 16–35mm or 17–35mm f/2.8 zoom. These lenses are sharp from corner to corner, handle low-light interiors reasonably well at f/2.8, and give you flexibility to reframe without repositioning your tripod.
Prime lenses at 20mm or 24mm are sharper at equivalent apertures, often smaller, and usually cheaper than their zoom counterparts. If you're shooting most rooms from a consistent distance, a prime can be a sound investment. The trade-off is that you'll be moving your feet more, which in a furnished room with minimal floor space can be genuinely awkward.
For tips on staging rooms to give yourself the shooting room you need, the guide on home staging tips that make every room photograph beautifully is worth reading before your next shoot.
Aperture: don't always shoot wide open
Wide-angle lenses for real estate are rarely used at their maximum aperture. Because depth of field increases dramatically at wide focal lengths, even f/5.6 or f/8 will give you edge-to-edge sharpness across an entire room. Shooting at f/8 to f/11 on a tripod with a slower shutter speed produces cleaner images with less vignetting and sharper corners than shooting at f/2.8 ever will. Save the wide-open apertures for handheld shots in very low light when you have no other option.
The lenses worth considering
A few options consistently appear in working property photographers' kits:
- Canon RF 15–35mm f/2.8L IS USM: Excellent corner sharpness, image stabilisation, and minimal distortion across the zoom range. A strong choice for Canon R-system shooters.
- Nikon Z 17–28mm f/2.8: Compact, sharp, and affordable compared to the Nikkor Z 14–24mm. Well suited to tight interior spaces.
- Sony FE 16–35mm f/2.8 GM II: Lightweight for its class, with outstanding sharpness and distortion control. A solid all-rounder for Sony Alpha bodies.
- Sigma 14–24mm f/2.8 DG DN Art: Available in Sony E and Leica L mounts, this third-party option delivers performance that matches first-party glass at a lower price point.
- Tokina atx-i 11–20mm f/2.8 CF: A budget-friendly option for APS-C shooters that holds its own in interior conditions.
Practical tips for getting the shot right
Technique matters as much as equipment. A few habits that consistently improve wide-angle interior shots:
- Always shoot from a tripod. The sharpness difference between handheld and tripod-mounted shots at f/8 is significant.
- Position the camera at around 1.2–1.5 metres off the ground. This approximates a natural standing eye level and avoids the ceiling-heavy or floor-heavy look that comes from placing the tripod too high or too low.
- Shoot from a corner or doorway whenever possible. This maximises the field of view and gives the room depth and dimension.
- Keep the back wall fully visible. Buyers want to see the whole room, not a close crop of one wall with the opposite side cut off.
- Use HDR bracketing or flash to manage the contrast between bright windows and darker interiors. Wide-angle lenses see more of the room, which means they also capture more of the exposure problem.
When not to use a wide-angle lens
Wide-angle lenses are not always the answer. Small powder rooms and en suites can look bizarre shot at 16mm because the perspective exaggerates proportions uncomfortably. Bathrooms often photograph better at 24–35mm. Similarly, exterior facade shots benefit from a more moderate focal length: 35mm to 50mm on full-frame tends to render a home's proportions more faithfully. Drone imagery handles wide exterior views better than any ground-based wide-angle ever will, and for elevated perspective work, aerial photography has become a standard part of a strong listing package.
Understanding when to put the wide-angle away is just as important as knowing when to use it. The goal is always to present a property honestly and compellingly, and the right focal length is whatever serves that goal in the room you're standing in.