
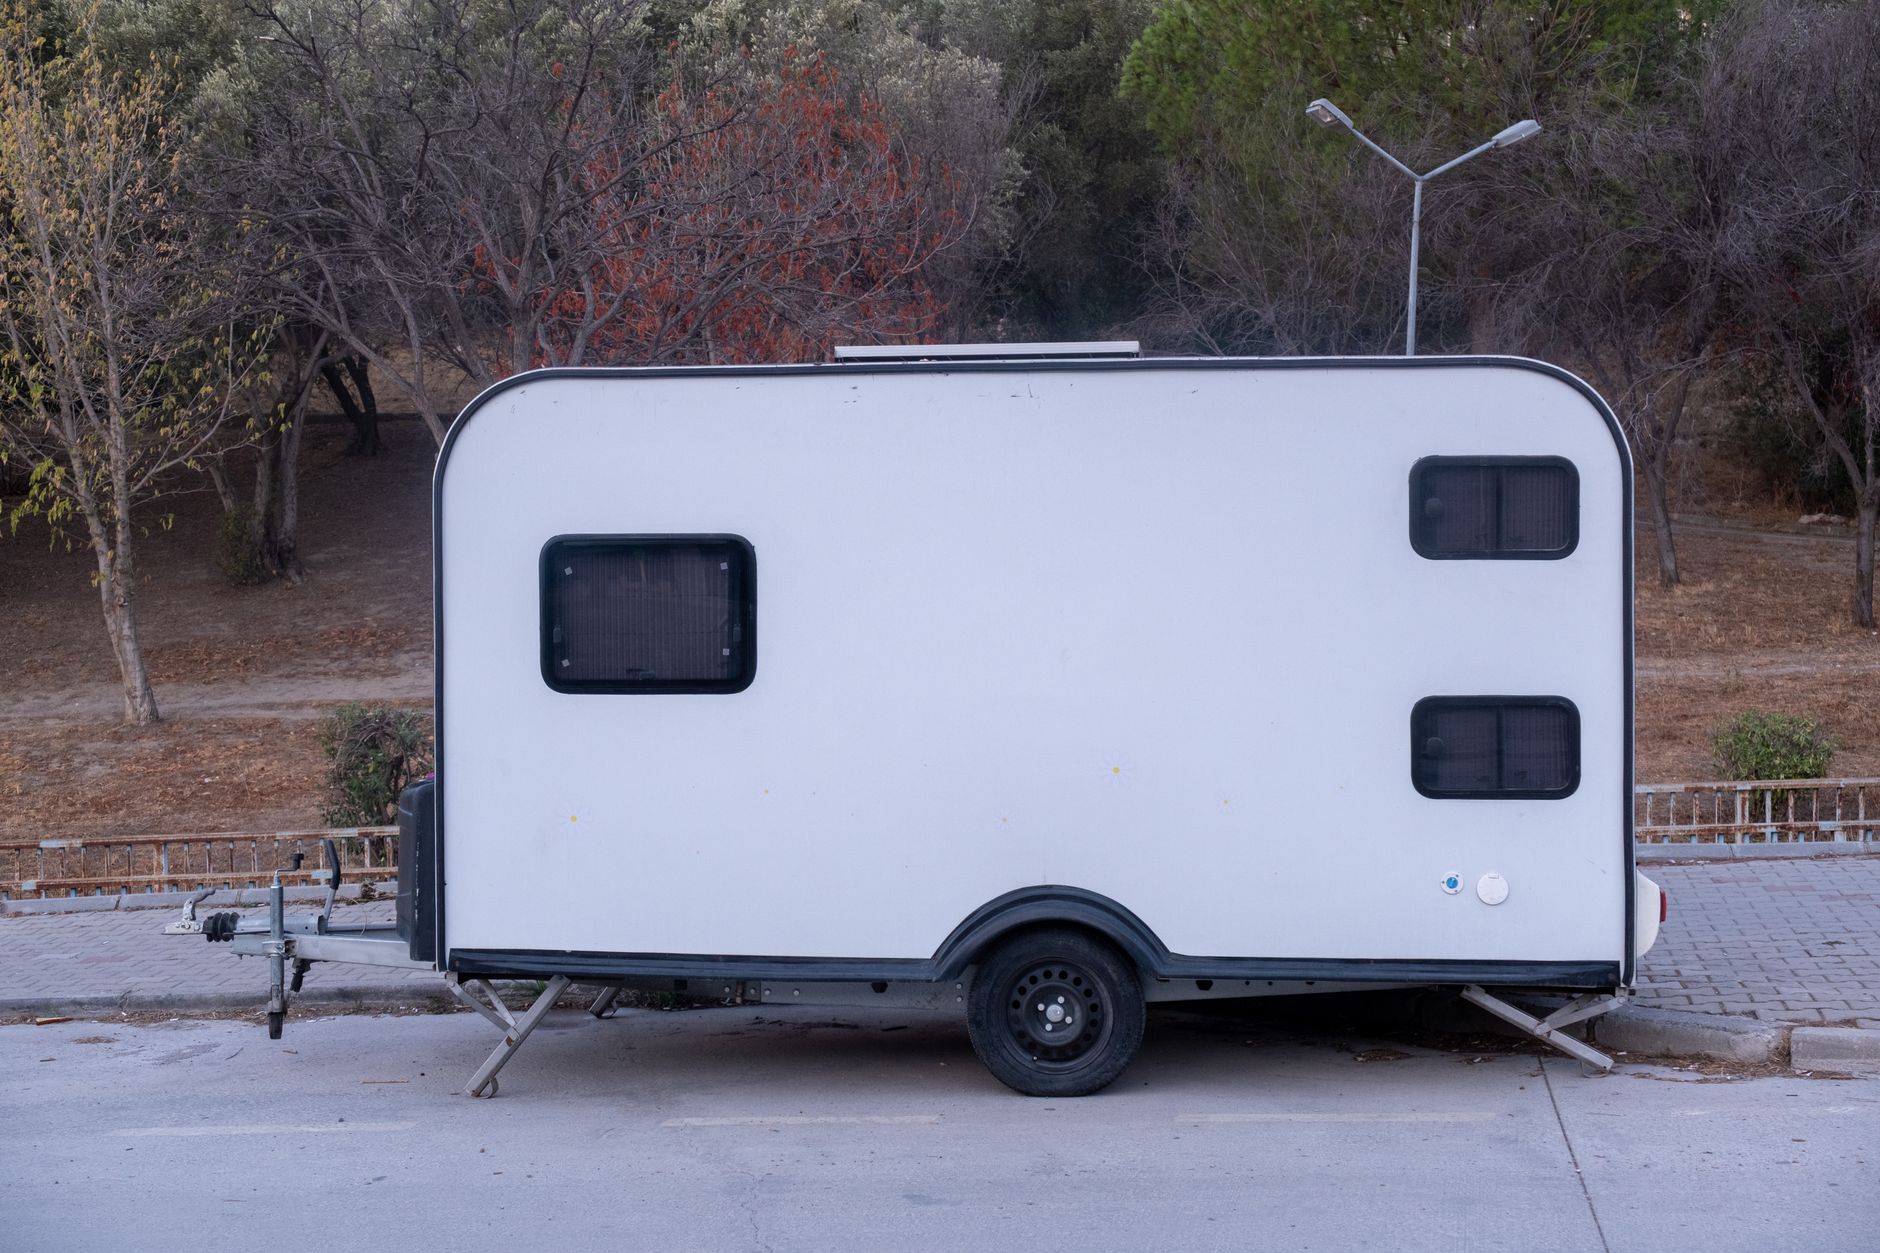
A caravan or granny flat conversion is a genuine selling point: extra income potential, a guest retreat, a home office with a door that closes. But most listing photos reduce these spaces to a single dimly lit shot that tells buyers nothing useful. The challenge isn't the space itself. It's the fact that compact conversions break almost every rule photographers rely on in standard rooms: there's no room to back up, natural light is limited, and every corner is doing three jobs at once.
Why compact conversions photograph differently
Standard residential rooms give a photographer room to breathe. You can step back, choose your angle, and let the space unfold. A converted caravan or small flat often gives you 60 centimetres behind the camera before you hit a wall. That physical constraint forces every other decision: lens choice, lighting position, where to stand. Ignoring it and shooting the way you'd shoot a bedroom produces an image that makes buyers feel claustrophobic before they've stepped inside.
The other issue is that these spaces serve multiple functions simultaneously. A kitchen bench is also the workspace. The sleeping platform doubles as storage. That layering is the space's greatest asset, but it reads as clutter unless you stage and frame it deliberately.
Lens choice: go wide, but not too wide
A 16mm full-frame equivalent lens is your starting point for most compact conversions. It lets you capture the full width of a narrow room without standing outside it. Go wider than 12mm and the distortion becomes distracting: walls bow, furniture looks warped, and buyers start questioning whether the photos are honest. Stay in the 16–24mm range and the image reads as spacious without looking manipulated.
For exterior shots of a standalone caravan or flat, pull back to a 24–35mm equivalent. This focal length captures the structure in context, including any deck, garden area, or connection to the main dwelling, without the compression you'd get from a longer lens. Context matters here. Buyers need to understand where the conversion sits on the block.
Lighting a tight space
Natural light is your first resource. If the conversion has a window, shoot toward it only as a last resort; instead, position your camera so the window light falls across the interior from the side. This creates dimension and prevents the blown-out white rectangle that ruins so many small-space shots. If you need a reference point for handling difficult light sources in compact rooms, the same principles covered in photographing a laundry with a window apply directly here.
When natural light isn't enough (and in a caravan conversion it often isn't), use a small off-camera flash bounced off the ceiling rather than a direct on-camera flash. Direct flash in a tight space creates harsh shadows and flattens every surface. A bounced flash gives you diffused, even light that makes the interior feel considered rather than cramped. Two small speedlights, one bounced from each end of the space, can make a 4-metre caravan look genuinely liveable.
Switch on every fixed light in the space before you shoot. Warm globe tones add atmosphere and signal that the space functions well at night. Just be consistent: mixing colour temperatures in a tiny room is more noticeable than in a large open-plan area.
Staging the space before the camera arrives
Decluttering a conversion is non-negotiable. Remove personal items completely. A towel on a hook, a pair of shoes by the door, a half-used jar of coffee on the bench: each one pulls a buyer's eye away from the space and toward the occupant. The goal is for every buyer who views the photos to imagine themselves in the space, not the current resident.
Add three deliberate styling props and stop there. A small plant on the bench, a folded throw on the bed, and a single book or mug on the table are enough. More than that and the space starts to look staged rather than liveable. Buyers shopping for a compact conversion are already imagining a minimal, intentional lifestyle. Your styling should reflect that.
If the conversion has a fold-down table or any clever built-in storage, open it. Show it deployed. Buyers can't picture a feature they haven't seen working. The same principle applies to fold-out beds and murphy benches: show them in use, even if just partially open, so buyers understand the flexibility they're buying.
Exterior shots: sell the setting, not just the structure
The exterior shot of a caravan or granny flat conversion does more work than any interior image. It answers the question buyers ask first: where does this sit, and does it feel like a real space or a shed? Shoot from a low angle (camera at roughly hip height) to give the structure presence. Shoot in the late afternoon when the light is warm and directional. If the conversion has a small deck or outdoor seating area, include it fully in frame.
If the main dwelling is visible in the background, keep it in the shot. It reinforces that this is a secondary dwelling on an established property, not an isolated structure. That context reassures buyers and investors alike. For properties where the relationship between the main house and the conversion is a key part of the pitch, consider a drone overview shot to show the full site layout. Drone imagery is especially useful for demonstrating how a conversion integrates into a larger block, and the broader role of drone photography for property sales makes it worth serious consideration for any multi-structure listing.
How many shots to include in the listing
Four to six images is the right range for a caravan or granny flat conversion: one exterior establishing shot, two interior wide shots from opposite ends of the space, one detail shot of the kitchen or bathroom, one shot showing any clever storage or dual-purpose furniture, and one shot of any outdoor area attached to the conversion. More than six and the space starts to feel like it's hiding something by being over-documented. Fewer than four and buyers don't have enough information to form a genuine impression.
Sequence the images so the exterior comes first. Buyers need to see the structure in context before they can make sense of the interior shots. Starting with an interior wide shot disorients viewers who haven't yet understood the scale or location of the space.
Framing the conversion in the full listing
Photography of the conversion should connect clearly to how the listing describes it. If the copy calls it a "self-contained studio" the images need to show self-contained features: a kitchen, a bathroom, a sleeping area. If the copy calls it a "home office retreat" the styling and shots should reinforce that purpose. Disconnects between the photography and the listing description create doubt, and doubt kills conversions.
For sellers handling their own listing, it's worth reading up on how to sell a home with a granny flat to understand how buyers evaluate secondary dwellings and what questions they're likely to bring to the inspection. The photography you commission should answer those questions before buyers even click through.
One mistake that undermines everything
Shooting the conversion as an afterthought is the most common error. Photographers who arrive, spend 45 minutes on the main dwelling, and then spend 5 minutes on the caravan produce images that signal exactly that hierarchy to buyers. A well-photographed conversion can add genuine price tension at auction. It deserves the same deliberate attention as any other room in the listing.
Bring the same lens, the same lighting setup, and the same staging discipline to the conversion that you'd bring to the master bedroom. Buyers shopping for a property with a secondary dwelling are often making a decision partly on the strength of that conversion. Give it the photographic treatment it deserves.