
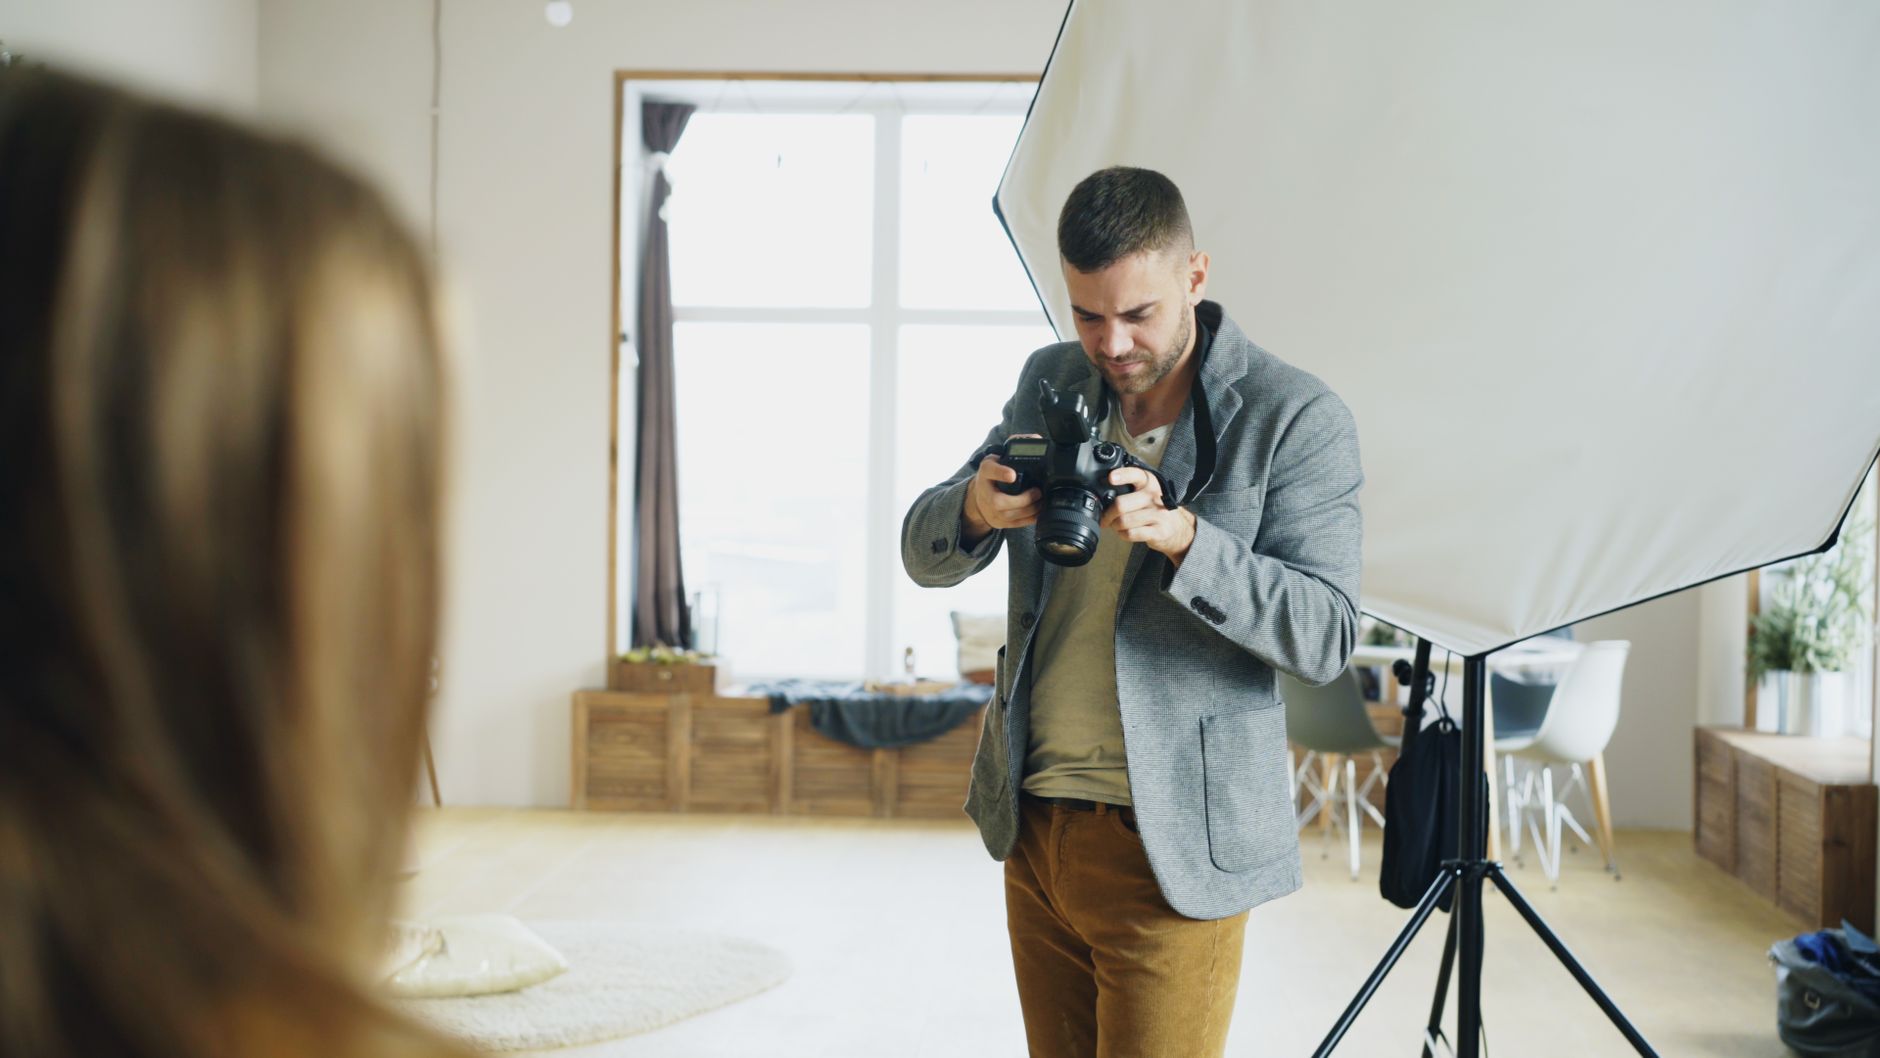
Camera settings for real estate photography sit at the heart of every great property image. You can have the most beautifully styled room, a perfectly positioned tripod and a camera worth thousands, but if your settings are off, the shot won't deliver. Getting the fundamentals right means more consistent results across every listing, fewer hours spent correcting problems in post, and images that genuinely help sellers attract buyers.
Why settings matter more in property photography
Real estate interiors are notoriously challenging environments to expose correctly. You're often dealing with bright windows flooding one side of the frame while the rest of the room sits in relative shadow. The contrast range can exceed what a single exposure can handle comfortably, which makes every setting decision carry more weight. Understanding how aperture, ISO, shutter speed and white balance interact is not just good practice; it's the baseline skill that separates professional results from amateur ones. These fundamentals also underpin the broader real estate photography trends driving higher buyer expectations in 2026.
Aperture: the sweet spot for interior sharpness
For most interior real estate shots, an aperture in the range of f/8 is the starting point worth testing. This gives you a deep depth of field so that both the foreground and the back wall appear sharp, which is exactly what buyers need to feel oriented in a space. Shooting wide open at f/2.8 or f/4 might work beautifully for lifestyle or portrait work, but in a real estate context it risks blurring architectural detail in the background.
That said, f/8 is not a universal rule. In very tight spaces like bathrooms or narrow corridors, dropping to f/5.6 can let in enough extra light to keep your ISO manageable without sacrificing meaningful sharpness across the frame. The key is understanding what the setting does, not just following a preset.
ISO: keep it as low as the scene allows
Noise is one of the quickest ways to undermine a real estate image. Grainy textures on walls, ceilings and flooring are hard to remove cleanly in editing and they signal to buyers (consciously or not) that something looks off. Keeping your ISO at 100 or 200 is the goal for any well-lit interior shot during daylight. If the room is darker and you need to push to ISO 400 or 800, that's a reasonable compromise, particularly when you're shooting bracketed exposures for an HDR blend.
Pushing past ISO 1600 should only happen in situations where flash or additional lighting is genuinely not an option. In most professional real estate shoots, proper lighting control (whether through natural light scheduling or strobe work) removes the need to rely on high ISO values to get the exposure right.
Shutter speed: tripods change the equation
Because real estate photography is almost always done from a tripod, the usual hand-held shutter speed rules don't apply. You're free to use slow shutter speeds, 1/15s, 1/8s, even longer, without worrying about camera shake. This freedom lets you keep ISO low and aperture controlled.
The tradeoff is motion blur. If there's a ceiling fan running, curtains moving in a breeze, or people walking through the frame, a slow shutter will capture them as a blur or a ghost. Switch off fans, close windows and clear the space before you shoot. For exterior shots where branches or foliage might move in the wind, you'll want to push the shutter speed up a little and compensate elsewhere.
White balance: accuracy builds buyer trust
White balance is one of the most misunderstood settings in real estate photography. Buyers make emotional decisions based on the colour and warmth of a space. A kitchen that photographs with a cold, blue-green cast feels clinical and unwelcoming. A living room that photographs too orange from tungsten lighting can look dated even when the room itself is beautifully presented.
Shooting in RAW and correcting white balance in post gives you the most control. If you're shooting JPEG on site, setting a custom white balance using a grey card is worth the extra minute it takes per room. The Kelvin range most real estate photographers use for daytime interiors sits between 5000K and 6500K, adjusting warmer for incandescent-heavy rooms and cooler for spaces flooded with natural daylight.
Consistent colour across all images in a listing matters too. Buyers flicking through a gallery notice immediately when one room looks golden and another looks blue. Getting white balance right in-camera reduces the effort needed to match images in editing.
Bracketing and HDR: handling the window problem
No single exposure setting solves the high-contrast window problem perfectly. The standard professional approach is exposure bracketing: capturing the same composition at three to five exposures (typically two stops apart) and blending them in post. One exposure correctly exposes the exterior view through the window. Another correctly exposes the midtones of the room. A third lifts the shadow areas near internal walls and furniture.
Most modern DSLRs and mirrorless cameras have automatic exposure bracketing (AEB) built in. Setting AEB to three shots at +/- 2 stops is a reliable starting point. Some photographers prefer to add a flash layer on top of the natural light blend rather than relying purely on HDR, which produces a more controlled, evenly lit result with less of the over-processed HDR look that has fallen out of favour.
If you're new to property photography or want to sharpen your technique in challenging conditions, the article on how to shoot real estate photography in low light covers some complementary techniques that work well alongside exposure bracketing.
A practical settings checklist before you shoot
- Set aperture to f/8 as your starting point; adjust based on available light and room size.
- Start ISO at 100 and only raise it when necessary.
- Use a tripod and allow slower shutter speeds to compensate for lower ISO.
- Set white balance manually or shoot RAW for post-correction flexibility.
- Enable AEB for bracketed exposures on high-contrast rooms with windows.
- Switch off ceiling fans, close window furnishings you don't want in frame, and clear the space of movement before triggering the shutter.
Putting it all together
There's no single combination of settings that works for every room in every listing. The real skill in real estate photography is reading a space, understanding where the light is coming from, and adjusting your settings to suit that specific environment. A north-facing living room at midday requires a different approach from a south-facing bedroom in early morning. Developing that instinct takes practice, but it starts with genuinely understanding what each setting does and why.
Better camera settings feed directly into better listing outcomes. Buyers spend more time on listings with high-quality images, and sharper, more accurate photography reflects well on both the agent and the property. For a broader look at how preparation and technique intersect before a shoot begins, the guide on how to prepare your home for a real estate photo shoot is worth reading alongside your technical preparation.