
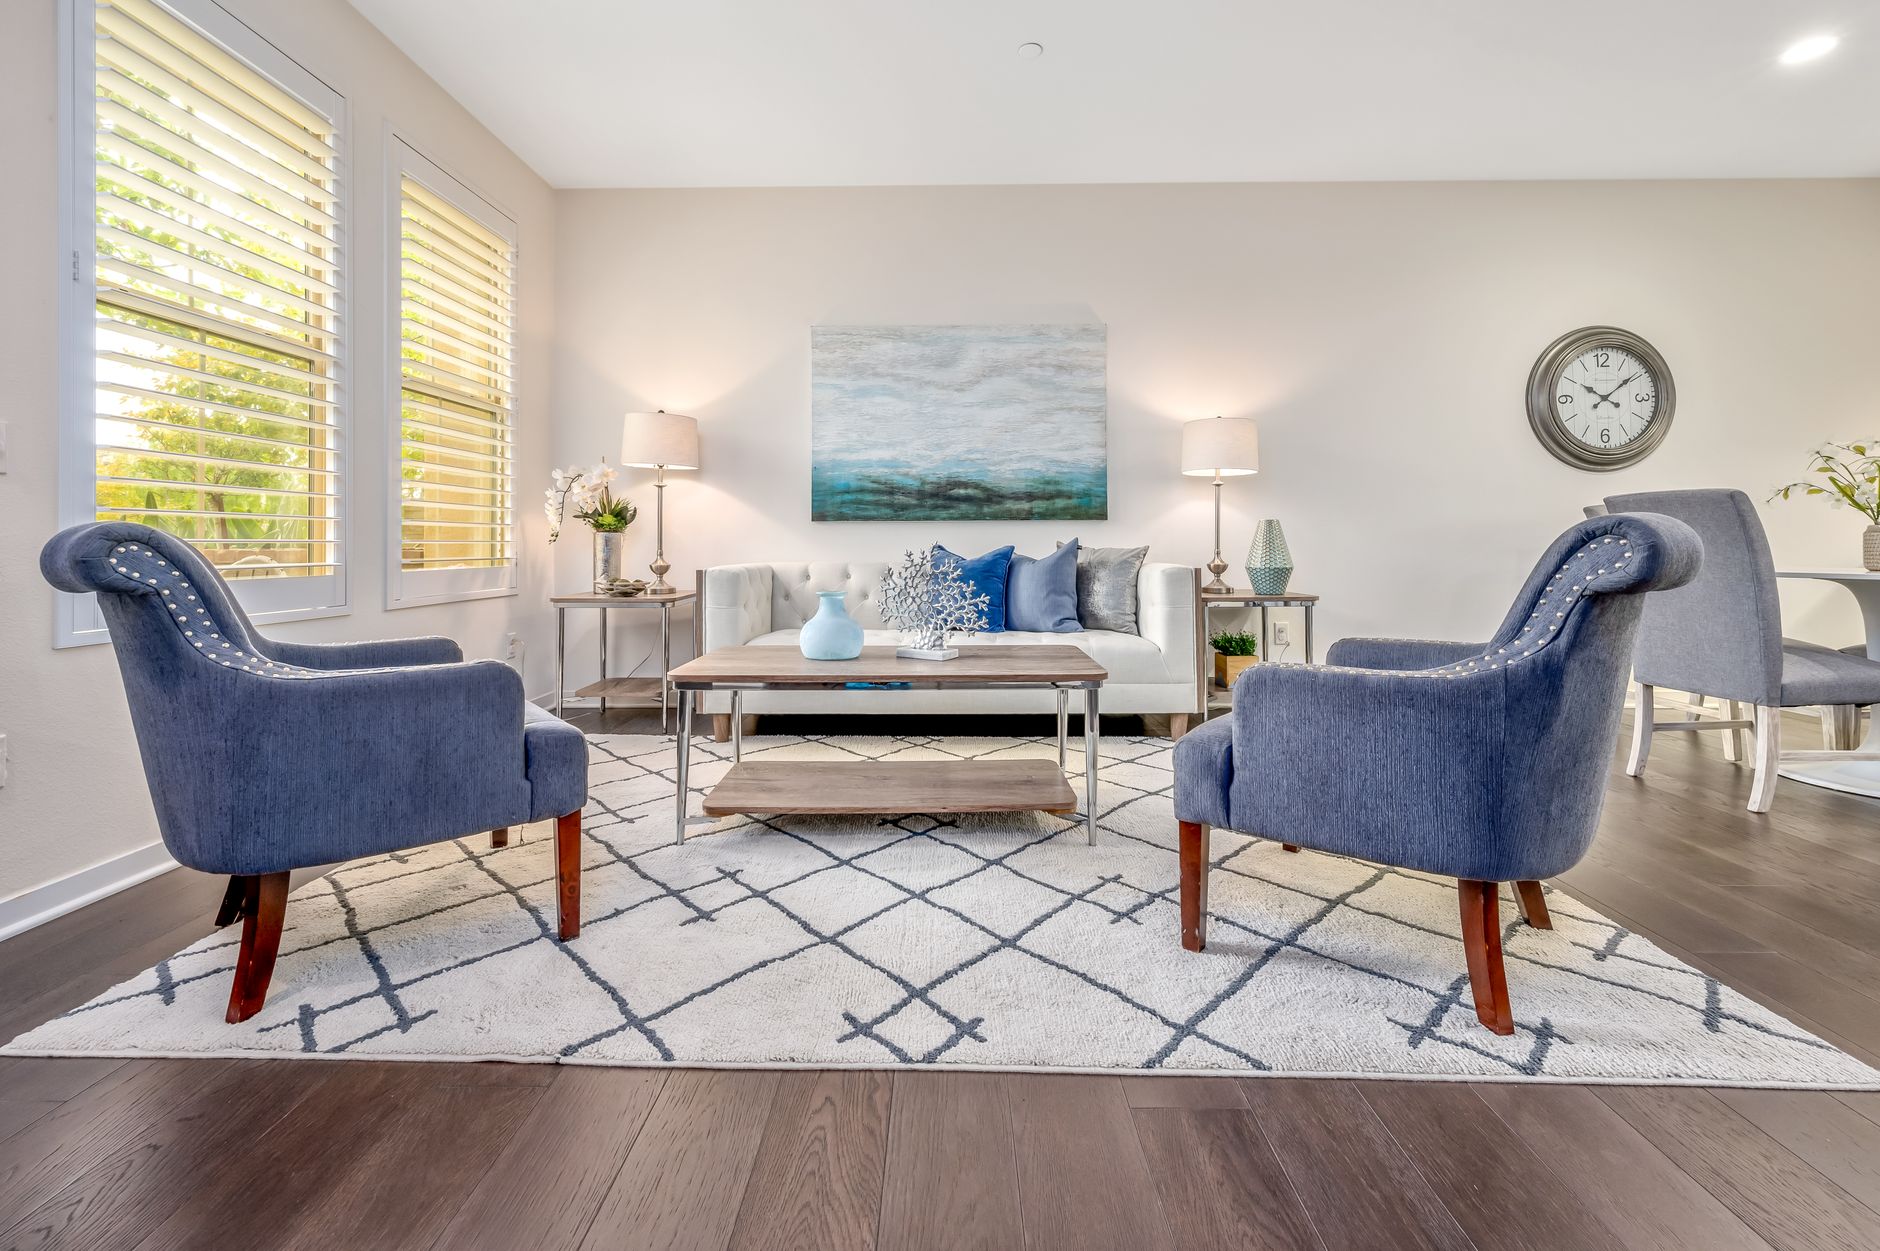
Home staging tips are everywhere, but most of them stop short of one critical question: how will this room actually look in a photograph? Styling for a physical open home and styling for the camera are related but not identical skills. Buyers browsing online listings form an impression in under two seconds, and that impression comes entirely from images. Getting your staging right before the photographer arrives is one of the highest-return things you can do before your property hits the market.
Start with the camera's perspective, not your own
When you walk through a room, your eye naturally adjusts. It skips over the power cord trailing across the skirting board, forgives the slight clutter on the kitchen bench, and fills in context that a two-dimensional image simply cannot provide. The camera, by contrast, is brutally honest. It flattens depth, amplifies mess, and makes dark corners look smaller than they are. The first step in staging for photography is learning to read a room as a lens does: standing in doorways, crouching to eye level, and scanning every corner before deciding anything is "fine."
This is particularly worth keeping in mind in smaller rooms. A bathroom that feels perfectly acceptable in person can look cramped and cluttered with just three extra items on the vanity. A bedroom that photographs wide and airy often looks that way because the owner removed a bedside lamp, relocated a chair, and stripped the floor completely bare. Less is almost always more when the goal is a compelling listing image.
Declutter with intention, not just ambition
Decluttering before a shoot sounds obvious, but the execution is where most sellers fall short. The goal is not a house that looks unlived in. It is a house that looks curated. There is a meaningful difference. A completely bare shelf reads as hollow and uninviting in a photo. A shelf with three carefully chosen objects, a plant, and clean spacing reads as aspirational.
- Kitchen benches: remove everything except one or two items that suggest lifestyle, such as a quality coffee machine or a single bowl of fresh fruit.
- Bathrooms: clear all personal care items from bench tops and shower ledges. Replace them with a folded towel, a small plant, and one neutral-toned candle or dispenser.
- Living areas: reduce cushions to an odd number (three or five per sofa reads better than two or four), remove remote controls, and tuck cords behind furniture.
- Bedrooms: strip nightstands back to a lamp, a book, and one small decorative item. Make beds with hotel-level tightness and symmetry.
- Home offices: hide cables, clear all paper from desks, and if the room doubles as storage, consider whether it should be shown at all.
Lighting is your most powerful staging tool
Many sellers underestimate how much lighting changes the feel of a room in photographs. Natural light is the most flattering source available, and staging for it means opening every blind and curtain fully before the photographer arrives. Replace any globes that have blown, and make sure all light sources in a room use a consistent colour temperature. Mixing warm incandescent globes with cool daylight LEDs creates an unappealing colour cast that photo editing can struggle to fix. For more detail on how to use light to your advantage, the guidance in lighting ideas for modern homes is directly applicable to staging for photography.
Turn on all lamps and overhead lights even if the shoot is happening during the day. Light layering adds warmth and dimension to interior shots and draws the eye into the room rather than leaving it sitting flat. If a room has a ceiling fan, turn it off. A blurred fan blade is one of the most common distractions in interior photography and is easy to avoid.
Colour and texture: creating visual interest without visual noise
A room that photographs well almost always has a clear colour story. That does not mean everything needs to match. It means there is a dominant neutral palette with two or three accent colours that repeat in small doses. A grey linen sofa with terracotta cushions, a warm timber coffee table, and a small terracotta pot on the windowsill creates coherence. The same sofa with a red cushion, a yellow throw, a blue vase, and a green plant reads as chaotic on camera.
Texture is what saves a neutral room from feeling sterile. A woven throw, a jute rug, a ceramic vase, and a linen cushion all photograph well and add depth without adding colour conflict. The key is to keep the palette controlled while varying the surface quality of objects within it.
Outdoor spaces deserve the same attention
Buyers often overlook outdoor staging, which is a significant missed opportunity. A well-photographed alfresco area or courtyard can extend the perceived living space of a home considerably. Before the shoot, mow lawns, remove hoses and gardening tools from sight, wipe down outdoor furniture, and add a simple table setting if you have one. Potted plants in good condition add life without the maintenance commitment of a full garden. Dead or yellowing plants should be removed entirely. If your property includes significant land or a pool, consider whether drone photography for property sales could add context that ground-level shots simply cannot capture.
The final walk-through before the photographer arrives
Allow thirty to sixty minutes before the shoot to do a final pass through every room. Check for these common oversights that sellers miss in the lead-up rush:
- Bins visible anywhere, indoors or out
- Pet beds, bowls, or toys
- Bathroom mirror smudges and watermarks on taps
- Magnets and notes on the fridge
- Personal photographs on walls or shelves
- Laundry visible through windows or on lines
- Cars in the driveway
These details cost nothing to address and can meaningfully lift the finished images. For a broader preparation guide covering everything from cleaning schedules to room-by-room checklists, the full walkthrough in how to prepare your home for a real estate photo shoot is worth reading before your appointment.
Staging is an investment, not a cost
Sellers who treat staging as an optional extra often find that the savings are false economy. Listings with well-staged, professionally photographed images spend less time on the market and attract stronger opening offers. The effort you put into presenting each room thoughtfully pays back through buyer confidence. A home that looks considered in its images signals a home that has been cared for. That signal is worth far more than any single piece of furniture or decorative item you might add.
Good staging does not require a stylist or a significant budget. It requires an honest eye, a willingness to remove more than you add, and a clear understanding that you are now dressing a home for a camera, not for daily life. Make that shift in perspective, and the photographs will show it.