
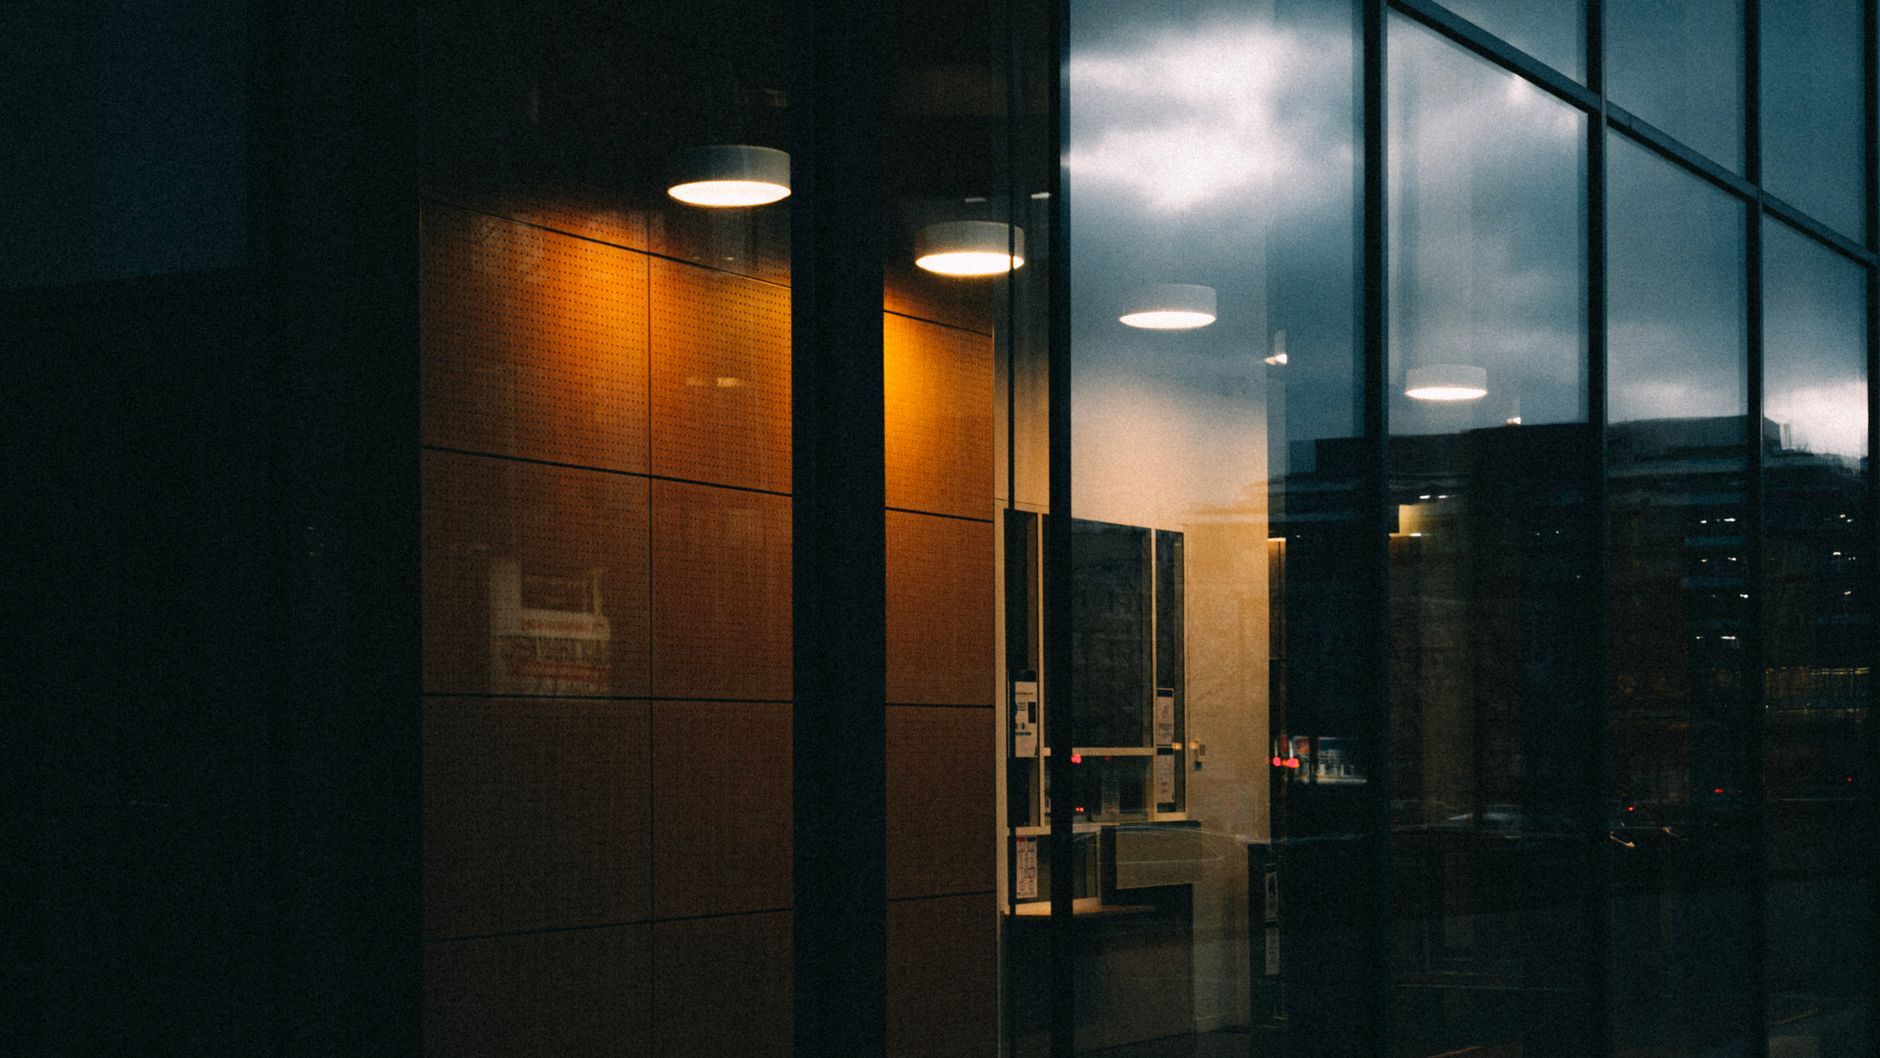
Glass and mirrors are everywhere in residential property. Windows, shower screens, wardrobe mirrors, splashbacks, glass balustrades, range-hood fascias. Each one introduces a new reflection problem, and a reflection problem left unsolved draws the buyer's eye to exactly the wrong thing. Understanding how light behaves on reflective surfaces is one of the clearest separators between amateur and professional real estate photography.
Why glass and mirrors cause problems on a property shoot
The issue is angle. A camera sensor captures everything in its field of view, including the light bouncing back at it. Point a lens at a window and you get either a blown-out white rectangle or a perfectly exposed exterior with a black interior. Point it at a wardrobe mirror and you get the camera, the tripod, and possibly the photographer, all floating in the frame. None of that helps sell a home.
There's also the matter of colour cast. Tinted glass, green-tinted windows common in older Australian homes, and bronze-anodised frames all push the white balance in directions that look unnatural in print or on screen. The eye corrects for this in person. The camera doesn't.
Controlling reflections in windows
The most reliable fix for window reflections is camera angle. Move the camera slightly off-axis from the window plane. Even 10 to 15 degrees is enough to redirect the reflection away from the sensor. It won't always be possible in a small room, but it should be the first thing you try before reaching for any other tool.
A circular polarising filter (CPL) is the second tool worth having on every shoot. Rotate the outer ring while looking through the viewfinder and you'll see reflections on glass fade at certain orientations. A CPL works best at 35 to 45 degrees off the light source. It won't eliminate every window glare, but it cuts the worst of it without any post-processing work.
For window views specifically, the most common professional approach is exposure blending. Shoot one frame exposed for the interior and a second frame exposed for the exterior view, then composite them in Lightroom or Photoshop. It's a well-established technique in real estate photography, and buyers have come to expect correctly exposed windows in listing photos. If you've been relying on HDR photography to handle this, bracketing and blending manually often gives a cleaner, more controlled result in rooms with extreme contrast.
Dealing with mirror reflections
Wardrobe mirrors, bathroom mirrors and decorative mirrors all present the same core problem: they show whatever is behind the camera. The solutions fall into three categories.
- Reposition the camera. Move sideways or raise the tripod height so the reflection shows a wall or ceiling instead of the camera rig. This is faster than any post-processing fix.
- Use a narrow aperture and short shutter. A fast, sharp image of the reflection is harder to remove than a slightly soft one. But this is a minor gain, not a real fix.
- Remove the camera in post. Clone stamping and content-aware fill in Photoshop handle this well when the mirror shows a simple background. It becomes difficult when the reflection includes complex elements like window frames or decorative objects.
Bathroom shoots are the hardest. A bathroom typically has at least one large vanity mirror directly opposite the door, which is also the most natural shooting position. The trick here is to shoot from one side of the doorway rather than the centre. Aim the camera at a 30-degree angle into the room. You'll capture the key fixtures without the mirror facing you square-on.
Glass balustrades and pool fencing
Frameless glass balustrades are a selling point on many Australian properties, particularly on elevated decks and alfresco areas. They're also a nightmare to photograph cleanly. The glass picks up sky glare on the face nearest the camera and shows a murky reflection of the deck below on the inner face.
Shoot early morning or in overcast conditions when the sky is uniform and soft. The CPL helps here too, especially when shooting parallel to the glass rather than straight through it. When the glass is dirty, ask the vendor to clean it the day before the shoot. Fingerprints and water spots that are invisible to the eye become prominent on camera, particularly in backlit conditions. Photographers working with vendors on preparing the home for a photo shoot should add glass cleaning to the checklist explicitly.
Kitchen splashbacks and appliance surfaces
Glossy splashbacks and stainless steel appliances behave like imperfect mirrors. They show a distorted version of whatever is in front of them, which typically includes the camera and any lighting gear. The distortion means cloning is messy and unreliable.
The fix is lighting placement. A softbox or bounce flash positioned to the side rather than behind the camera changes the reflection angle so the bright source moves off-axis. For stainless appliances specifically, a large diffused light source from the side produces an even, bright streak that reads as a professional reflection rather than a giveaway of the rig. Understanding how flash versus ambient light interacts with reflective surfaces makes a real difference in kitchens and laundries.
Post-processing reflective surfaces
Even with good technique on location, some reflection work ends up in Lightroom or Photoshop. A few specific tools earn their place here.
The Lens Corrections panel in Lightroom removes the colour cast from tinted glass quickly. Drop the green channel in the colour mixer if the windows are pulling towards green. For blown highlights on glass surfaces, the Highlights slider recovers some detail, but it won't resurrect a completely clipped value. That's why exposure blending on location is always preferable.
In Photoshop, the Patch tool works better than the Spot Healing Brush on mirror reflections because you can define the source region precisely. Pull from a clean section of wall at the same tone and texture. It takes practice but becomes fast.
A few things worth remembering on shoot day
Reflective surfaces reward preparation more than any other challenge in property photography. Walk the property before setting up and identify every mirror, glass panel and reflective appliance in the shot list. Decide your camera angle at each position before you set the tripod. Clean glass consistently produces better results than clever post-processing of dirty glass. And overcast light, while sometimes frustrating for exteriors, is genuinely your friend on interiors with large windows and reflective surfaces.
Controlling what the camera sees in reflective surfaces is part technique and part habit. Build the habit of checking the mirror in every room before pressing the shutter, and most of the problems listed above never appear in the image at all.