
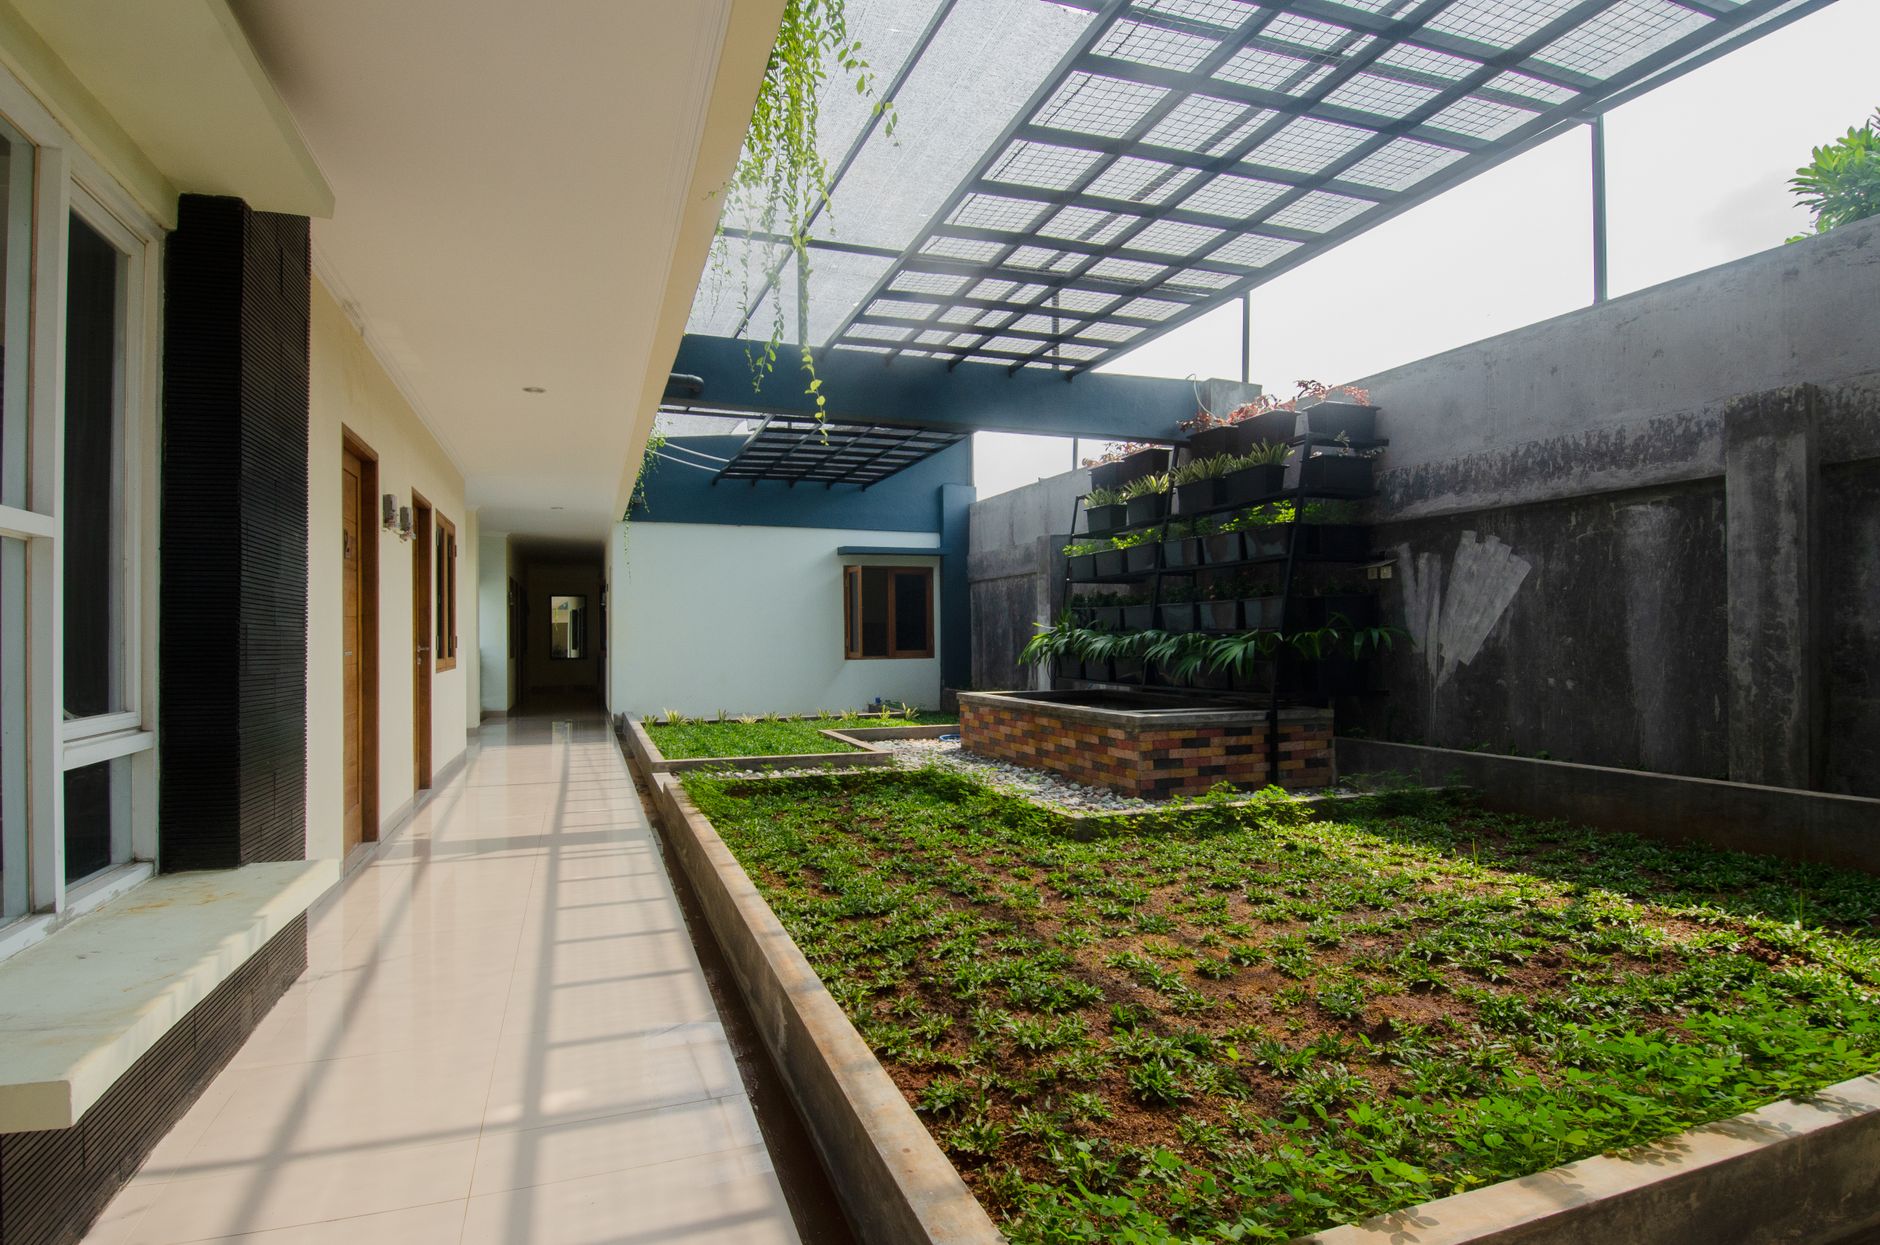
A courtyard or internal atrium is the kind of feature that makes buyers stop scrolling. It suggests privacy, architecture, and a life lived in a beautifully considered space. And yet most listing photographers give it a quick snapshot from the doorway and move on. The result is a cramped, dark square of pavers that tells buyers nothing useful. Here's how to do it properly.
Why courtyards are harder to photograph than they look
The core problem is that courtyards are enclosed. Light enters from above, not from the side, which means you're dealing with high contrast between the sky and the shadowed walls around it. Shoot midday and you get blown-out overhead light and dark walls. Shoot too early and the space sits in flat shade. The geometry is also awkward: a tight square or rectangle often means you can't step back far enough to include the whole space without going wide enough to distort the proportions.
Internal atriums add another layer. If the atrium sits inside the building with glazing above, you're dealing with the same challenges you'd face photographing a bathroom with a skylight: a single intense light source directly overhead, deep shadows on the surrounding surfaces, and glass that wants to blow out completely if you're not careful.
The best time of day to shoot
For a courtyard open to the sky, the ideal window is about 45 minutes either side of golden hour. The sun sits low enough that direct light angles into the space rather than dropping straight down, which means the walls receive warm, raking light instead of sitting in shadow. The sky is also soft enough that it won't overpower your exposure.
Overcast days are genuinely useful for courtyards. Diffused light wraps evenly around all four walls, eliminates harsh shadows, and gives you a clean, consistent exposure across the frame. The sky itself may look flat, but a courtyard shot isn't primarily about the sky. It's about the space. Don't dismiss a grey day as a write-off.
For internal atriums with a glazed roof, shoot in the early morning when the glass is catching soft eastern light. Avoid full midday. At noon, a glazed atrium becomes a furnace of contrast that no editing can fully rescue.
Camera position and framing
Most photographers stand at the door of the courtyard and shoot straight across. That gives you a flat, one-dimensional image. Instead, try these three positions:
- Corner position: Stand in one corner and shoot diagonally across to the opposite corner. This adds depth and shows two walls receding away from the camera, which makes the space feel larger.
- Elevated position: If there's a window, a mezzanine, or even a step-ladder available, shoot down into the courtyard from above. An overhead or near-overhead angle reveals the layout of the space, any planting, and the relationship between the courtyard and the interior it connects to.
- Interior-looking-out: Stand just inside the room that opens onto the courtyard and shoot through the opening. This frames the courtyard like a picture, with the interior in the foreground and the outdoor space beyond. It also gives buyers a sense of how the courtyard connects to the living areas.
Handling the contrast problem
Blown-out sky is the most common mistake in courtyard photography. Your camera's exposure meter tries to average the bright sky and the dark walls, and usually gets both wrong. You have three options.
Exposure bracketing is the cleanest solution for post-processing. Shoot at three or five exposures across a 2-stop range, then blend them in Lightroom or Photoshop to hold detail in both the sky and the shadowed walls. For more on when to reach for this technique, the comparison of bracketing vs. single exposure for real estate photography covers the decision well.
Flash fill is the other option. A portable strobe bounced off the walls can lift the shadows enough that a single exposure holds the whole scene. Keep the flash well off-camera so it doesn't create a flat, frontal light. Bounce it off a light-coloured wall at an angle to keep the look natural.
HDR processing is a third route, but use it carefully. Heavy HDR processing on courtyards can produce that telltale tone-mapped halo effect around the top edge of the walls. A light, realistic blend beats an oversaturated composite every time.
Dealing with tight spaces and wide-angle distortion
Small courtyards force you close to the subject, and close means wide. A focal length below 16mm on a full-frame sensor will start to distort the walls noticeably: they'll bow outward and the proportions will look off to any buyer who has stood in the actual space. Stay at 16–24mm where possible, and keep the camera level to avoid converging verticals. If the space is genuinely tiny, it's sometimes better to use the interior-looking-out composition (above) rather than try to cram the whole courtyard into a single wide frame.
Vertical correction in post is straightforward. Lightroom's geometry panel and the upright tool handle most cases. Just watch that correcting the verticals doesn't crop out too much of the image edges.
Styling the space before you shoot
A bare courtyard with cracked pavers and a dead plant looks terrible even in technically perfect light. Before the shoot, apply the same logic you'd use in any interior: clear the clutter, clean the surfaces, and add a small number of deliberate styling props. A pair of chairs and a small table suggest a use. A pot plant or two (living and well-watered) adds colour and softens hard edges. A simple outdoor rug can anchor the space and add warmth.
For an internal atrium, the styling tends toward the minimal. The architecture is the feature, and over-propping it competes with the structure. One statement plant, a clean floor, and consistent wall surfaces are usually enough.
The same principle applies to shooting a balcony or outdoor terrace: the styling should suggest how the space is used without pretending it's larger or more furnished than it actually is.
Post-processing priorities
Sky replacement is tempting for courtyard shots with an ugly grey rectangle overhead. It can work, but match the light direction carefully. If your courtyard walls show warm afternoon light on the left side, a sky with the sun on the right side will look immediately wrong to any attentive buyer. A realistic, lightly processed version of the actual sky almost always reads better than an implausible replacement.
Shadows are the main editing lever in courtyard shots. Lifting the shadows slider in Lightroom recovers detail in the darker walls without blowing the sky further. Combine it with a moderate highlights reduction and the contrast between sky and walls becomes manageable. Keep your white balance consistent with the rest of the property's interior shots: a courtyard that looks significantly warmer or cooler than the adjacent rooms creates visual discontinuity in the listing gallery.
How many shots does a courtyard need?
For a listing, two or three images of a courtyard is usually right. One wide shot that shows the whole space and its connection to the interior. One closer shot that highlights the styling or a specific feature like a water feature, built-in bench, or statement planting. And optionally, one interior-looking-out shot if the framing works well. More than three starts to feel like padding, and buyers will notice you're compensating for a small space by multiplying the angles.
An internal atrium often warrants the two-shot approach: one full-width view and one detail that captures the light quality. The light is the point of an atrium, and a close shot of dappled light falling across a wall or floor can be more evocative than another wide-angle.
Shoot courtyards and atriums with the same care you'd give the kitchen or the main bedroom. Buyers who value that kind of architectural feature will spend time on those images, and a well-executed set of courtyard shots signals that the rest of the photography is worth trusting.