
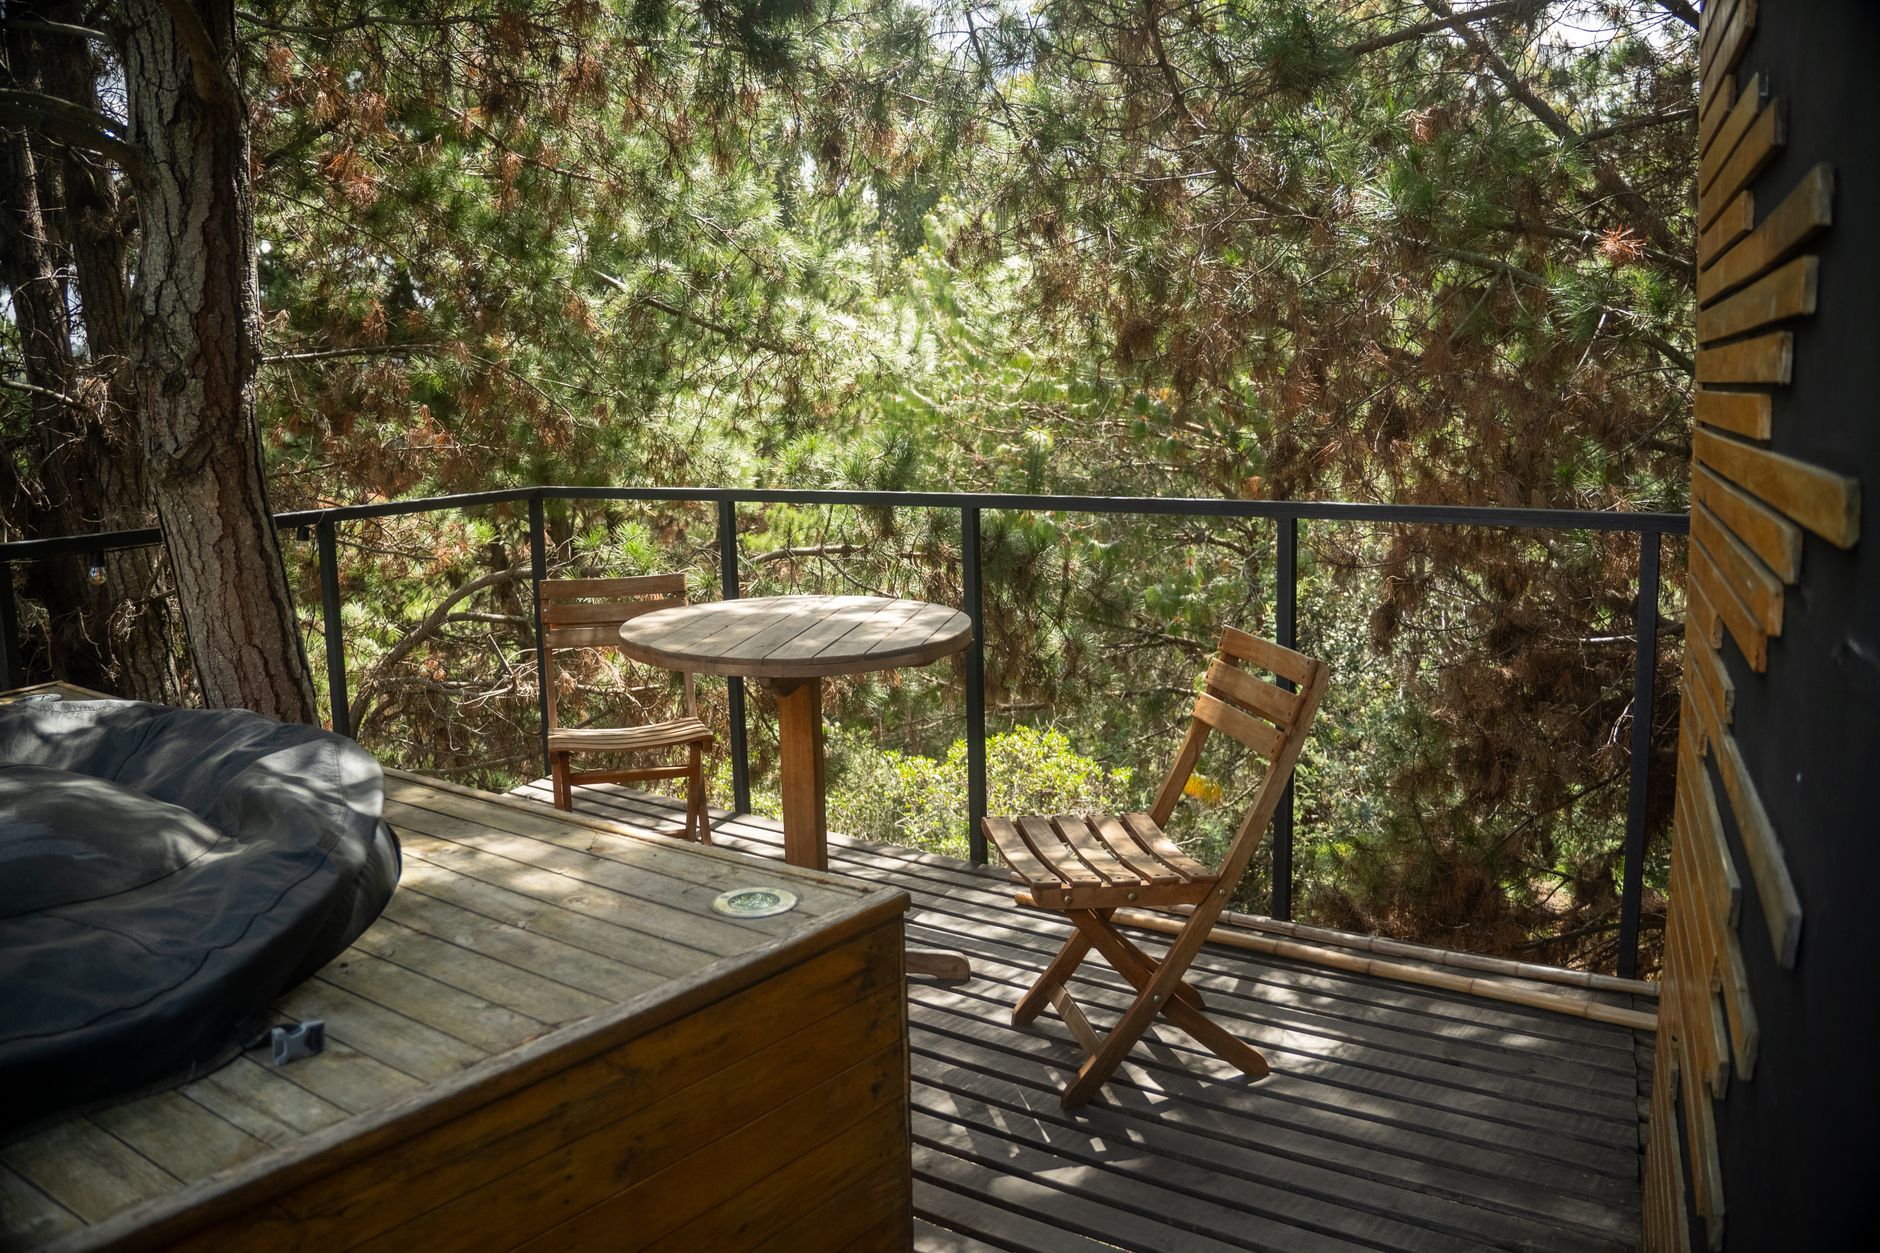
A balcony or outdoor terrace can be one of the most emotionally charged features in a property listing. Buyers picture themselves there with a morning coffee, or watching the city lights at dusk. Yet most listing shoots treat the space as an afterthought: one wide shot, flat afternoon light, and a couple of mismatched chairs. The result is a photo that fails to convey what the space actually feels like. Kitti Rivers Real Estate Photography photographs balconies and terraces as deliberate hero spaces, and the techniques below reflect that approach.
Why balconies deserve more than one frame
Outdoor terraces occupy a unique position in buyer psychology. They extend the living area without adding to the footprint, they suggest lifestyle rather than just floor space, and they're genuinely hard to replicate if the property doesn't have one. A balcony with a city view or a treetop outlook can justify a price premium on its own. One throwaway image doesn't carry that weight.
Plan for at least 3 frames: a wide establishing shot, a tighter lifestyle composition, and a view-focused shot that anchors the space in its surroundings. On a larger terrace, a fourth shot looking back into the interior through glass doors earns its place in the gallery every time.
Timing: the single biggest variable
Light direction determines everything on a balcony shoot. An east-facing terrace is at its best in the first two hours after sunrise, when warm directional light fills the space and the sky is still soft. By midday it becomes harsh and shadowless. A west-facing terrace peaks in late afternoon, when the sun sits behind the building and the space glows without direct glare.
North-facing balconies in the Australian context receive direct sun through most of the day. That sounds ideal, but it creates deep contrast problems that are difficult to expose for. A thin overcast layer actually works in your favour here: it softens the light, reduces shadow contrast, and lets you hold detail in both the sky and the paving. If you'd like more detail on managing difficult interior light conditions, the techniques covered in how to shoot real estate photography in low light translate directly to shaded balconies that struggle to separate from a bright sky.
Twilight is worth considering for terraces with a strong view. The 15-minute window after sunset, when the ambient sky is deep blue and interior and exterior lighting is balanced, produces images that feel cinematic rather than documentary. It's a short window. Arrive early, set your composition, and be ready to shoot the moment the light lands.
Camera settings and gear for outdoor terraces
A wide-angle lens in the 16–24mm range (full-frame equivalent) is the standard choice for compact balconies. It gives the space breathing room without the distortion that a 12mm ultra-wide introduces at the edges. On a larger terrace, a 24–35mm focal length often reads more naturally and flatters furniture scale.
Shoot on a tripod without exception. Balconies present mixed light: shaded floor, bright sky, interior visible through glass doors. A stable camera lets you bracket exposures and blend them in post, which is the cleanest way to hold sky detail while keeping the foreground properly exposed. For a full breakdown of when bracketing earns its place in a shoot, see bracketing vs. single exposure for real estate photography.
Aperture of f/7.1 to f/11 keeps the space in sharp focus from foreground furniture to the distant view. ISO 100 to 400 keeps noise clean in the sky. Let the shutter speed float to whatever the exposure demands, since you're on a tripod anyway.
Staging the space before you shoot
A bare terrace reads as unused. Two chairs and a small table read as a destination. The difference in buyer response is significant, and the effort is minimal. Here's what to address before the shoot:
- Remove anything that signals maintenance: dead pot plants, worn doormats, garden hoses coiled on the railing, children's outdoor toys.
- Add 1 or 2 living plants in matching pots. Large-leafed varieties like monstera or bird of paradise photograph well and signal care.
- Set the table simply: 2 glasses, a small plate or book, a candle. Nothing branded, nothing plastic.
- Clean the glass balustrade. Fingerprints and water marks are invisible to the eye in natural light but highly visible in a photograph.
The goal is to suggest the lifestyle without overcrowding the frame. Every prop that doesn't serve the composition should come out.
Framing and composition
The most common mistake on a balcony shoot is positioning the camera too high. Standing height puts the railing at mid-frame and cuts the view in half. Drop to seated height, roughly 90–100cm above the floor, and the railing becomes a foreground framing element rather than an obstruction. The view opens up. The space feels larger.
Shoot parallel to the building wall rather than at a diagonal. It keeps the lines of the balustrade clean and avoids converging verticals that make the space look unstable. If the terrace wraps around a corner, that corner shot is worth taking: it shows scale and is often the most striking frame in the set.
For the view shot, move the camera to the railing and point outward. Include just enough of the terrace surface and railing in the foreground to ground the image. A pure sky-and-rooftop shot without any balcony context doesn't communicate the experience of being there.
Handling reflections and glass balustrades
Glass balustrades are almost universal on newer apartments and townhouses. They're beautiful in person and genuinely difficult to photograph. The camera, the photographer, and the interior behind you will all reflect in the glass if you're not careful.
Angle the camera slightly off-axis to the balustrade, even just 5 or 10 degrees, to push reflections to the edge of the frame where they can be cropped. A circular polarising filter cuts surface reflections in glass and water and is worth having in your kit for any terrace with a pool view or a glass barrier. The same principles that apply to shooting through windows apply here: the techniques in how to shoot real estate photography through glass and mirrors are directly relevant.
Post-processing for terrace shots
Sky replacement is common in balcony photography, and buyers have come to expect a blue sky in outdoor shots. Use it when the original sky is a featureless white, but keep the replacement realistic: a dramatic storm sky above a suburban terrace reads as fake immediately. A clean mid-afternoon blue with light cloud is the safe choice for most markets.
Exposure blending from bracketed frames will almost always give you a cleaner result than sky replacement alone. A properly blended composite holds detail in the paving, the furniture, the view, and the sky simultaneously without the edge artefacts that AI replacement tools can introduce around railings and foliage.
Correct any lens distortion introduced by the wide-angle, check that the horizon is level, and pull back clarity slightly on the sky to keep it from looking over-processed. The balcony itself should feel sharp and real. The sky should feel like a good day, not like a rendering.
One shot that most photographers skip
Position your camera just inside the open glass doors, looking outward through the doorframe onto the terrace. This shot does two things at once: it shows the indoor-outdoor connection that buyers prize, and it frames the terrace like a picture, with the door jambs and floor transition acting as natural borders. Set the staged furniture in the middle distance, let the view sit beyond, and expose for the terrace rather than the interior. It's one of the most effective shots in the gallery and takes less than five minutes to set up.