
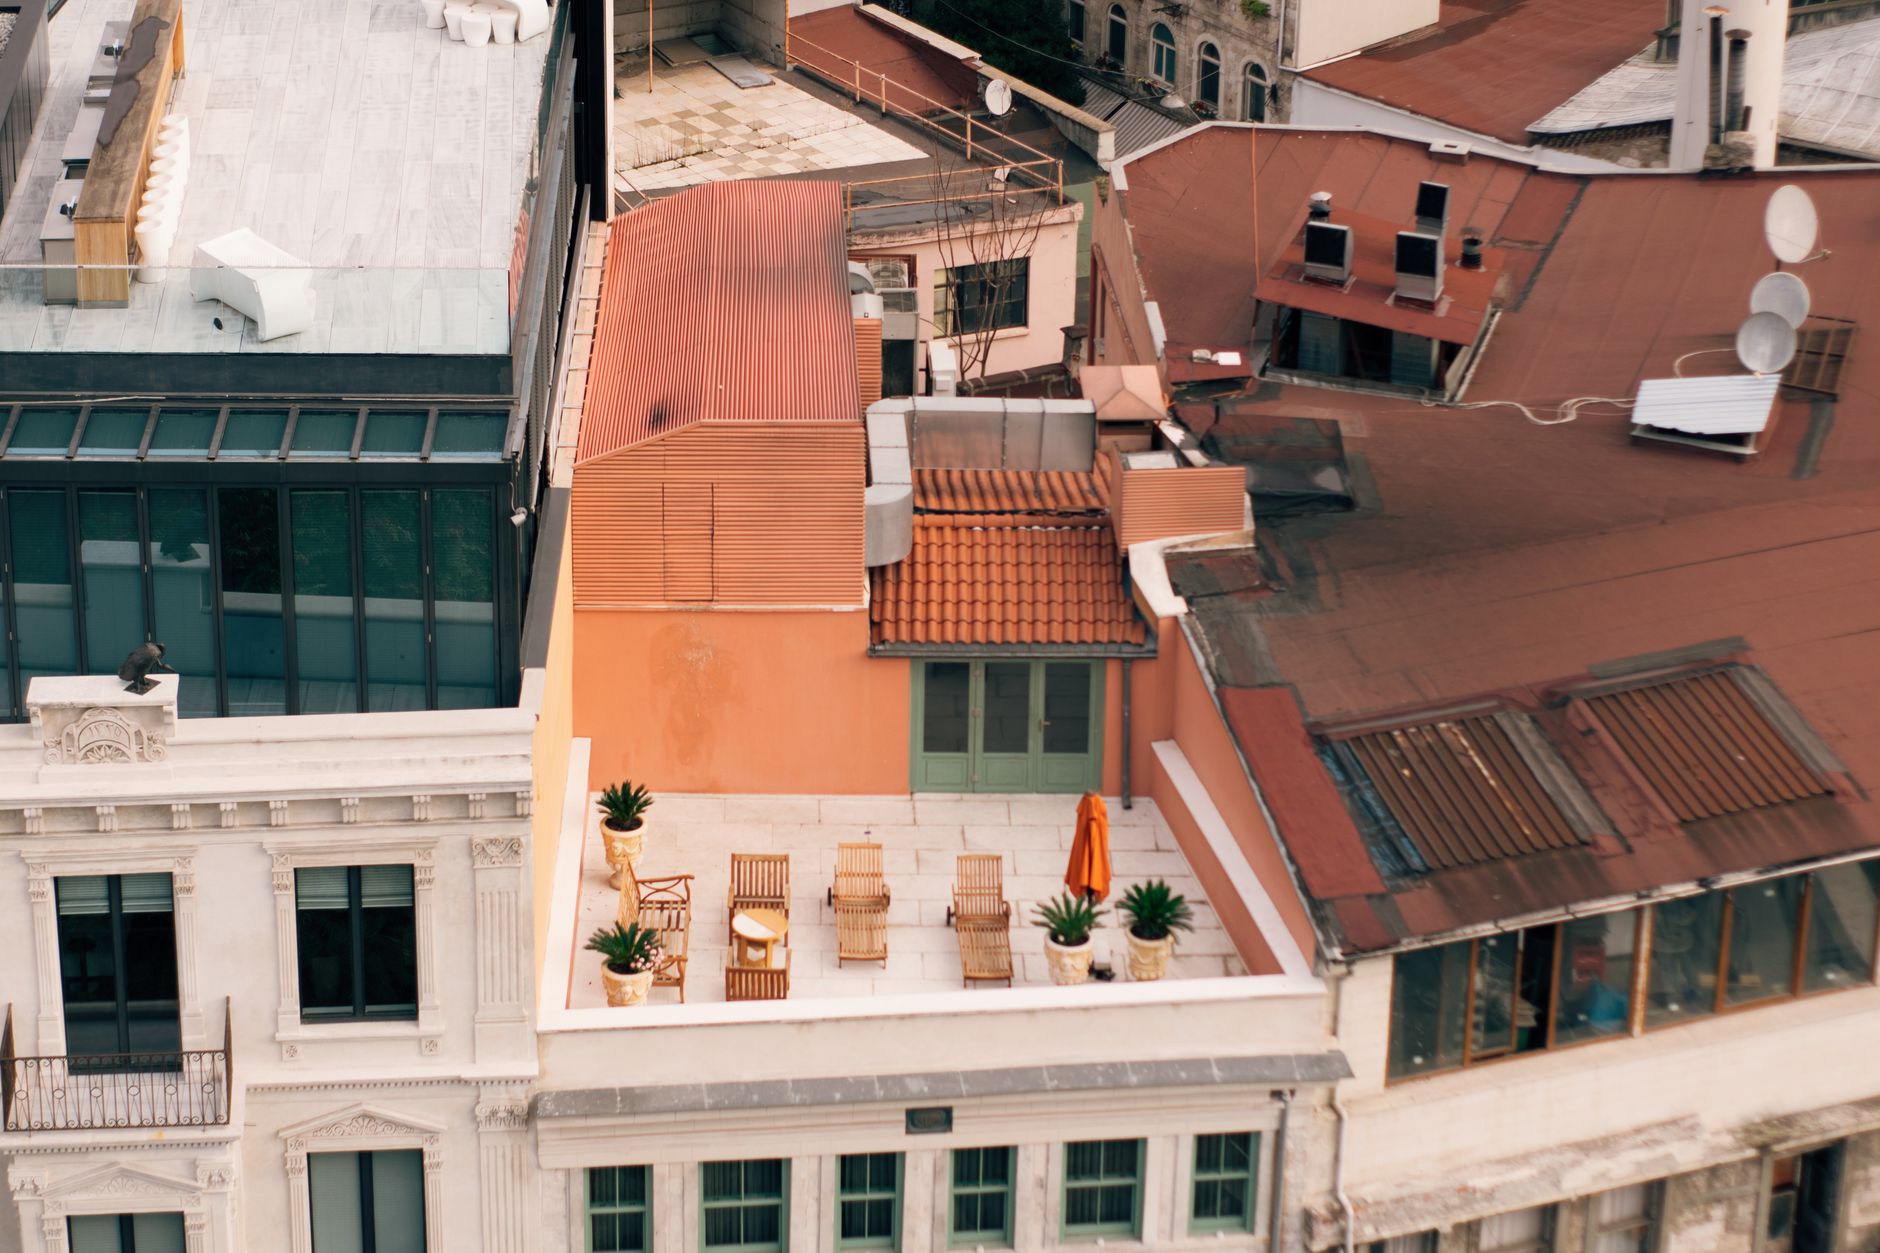
A rooftop terrace is a genuine premium feature, and buyers know it. Space, sky, views, elevated outdoor living: it ticks boxes that most properties simply can't match. Yet in listing after listing, the rooftop gets one rushed wide shot that makes it look like an empty concrete slab. Kitti Rivers Real Estate Photography treats rooftop terraces as hero spaces, not afterthoughts, because that's what they are when photographed correctly.
Why rooftop terraces are harder to photograph than they look
The challenge is contrast. A rooftop puts you in open sky, which means you're simultaneously dealing with intense ambient light overhead, deep shadows pooling in corners, reflective surfaces, and a horizon that competes with your subject. It's a more technically demanding environment than almost any interior room.
Add wind-scattered styling props, a tight rectangular footprint with no room to back up, and the ever-present risk of a blown-out sky behind the feature view, and you've got a shoot that punishes complacency. The good news: each of those problems has a straightforward solution once you understand what's causing it.
Timing: the single biggest lever you can pull
Shoot a rooftop terrace at midday on a clear day and you'll fight harsh shadows, squinting furniture, and a sky that's either white or overexposed. Shoot it at the wrong time of day relative to the terrace's orientation, and the entire space sits in flat shade with nothing to draw the eye.
Golden hour is the obvious answer, but the direction matters more than the hour. A north-facing rooftop terrace catches warm raking light in the late afternoon that turns a modest timber deck into something genuinely beautiful. An east-facing space earns its magic in the first two hours after sunrise. Identify the orientation before you book the shoot, then plan accordingly. A 30-minute window of ideal light is worth more than four hours of mediocre midday conditions.
Twilight is also worth considering for rooftop terraces with strong city or suburban views. The blue-hour sky balances well with lit string lights or a lit pergola structure, and the ambient glow from surrounding suburbs adds depth that a daytime sky can't replicate. Kitti Rivers Real Estate Photography frequently recommends a day and twilight combination for rooftop terraces when the listing budget allows it, because the two sets of images work together to show the space in its two best states.
Angles: think beyond the obvious wide shot
Most photographers default to one corner of the terrace and shoot diagonally across it. That shot has its place, but it rarely tells the full story on its own.
Start with that wide establishing shot, then commit to working the space harder. A low-angle shot from deck level, looking up toward the sky, emphasises height and openness. A shot from the building's edge looking back toward the access door shows the terrace in relation to the roofline and gives buyers a sense of scale. If there's a view, dedicate at least one frame entirely to it: stand at the terrace railing and shoot out, letting the railing serve as a foreground anchor. That framing tells buyers exactly what they'll see when they step outside.
Interior-to-exterior shots also perform well for rooftop terraces. If the penthouse or top-floor living space has glass doors opening onto the terrace, shoot from inside looking out. This approach solves two problems at once: it contextualises the terrace within the floor plan, and it lets you manage the exposure challenge by balancing the bright exterior against the interior light using HDR blending or flash fill rather than surrendering the sky entirely.
Handling sky and exposure
A blown-out white sky is the most common rooftop photography failure. It's not inevitable.
On overcast days, the diffused light is actually your friend: it reduces harsh shadows, makes surfaces easier to expose for, and produces a sky that's bright but not blinding. Use it. On clear-sky days, bracket your exposures and blend in post. Shoot one frame exposed correctly for the terrace surface and furniture, then a second or third frame exposed for the sky. Composite the two in Lightroom or Photoshop to keep both in range. Sky replacement is a legitimate last resort when conditions were genuinely unworkable, but a well-blended bracket will always look more natural.
Polarising filters help on bright days by cutting glare off wet surfaces, timber decking, and glazed balustrades. They don't fix a fully overexposed sky, but they reduce the surface reflections that make mid-afternoon rooftop shots look harsh and flat.
Styling the terrace before you shoot
An empty rooftop terrace looks institutional. A styled one looks like a lifestyle. The difference in buyer response is significant, and it costs very little to get right.
Outdoor furniture should be clean, symmetrically arranged, and free of bird droppings (a rooftop-specific hazard that sellers often miss on the day). Add a small cluster of potted plants at one end to break the hard lines of a concrete or tiled floor. A pair of outdoor lanterns or string lights gives the space warmth in twilight shots. Remove satellite dishes, HVAC units, or utility boxes from the frame where possible; if they can't be moved, shoot from an angle that keeps them out of the primary compositions.
Less clutter reads as more space, which is exactly what buyers want to believe about a rooftop terrace. The same principle applies to every tight space in a listing. For a detailed look at staging logic on a room-by-room basis, the guide on styling an outdoor entertaining area for property photos covers the principles that translate directly to rooftop spaces.
Using a drone alongside ground-level shots
A drone shot taken from slightly above and to the side of the rooftop gives buyers a spatial overview that no ground-level angle can replicate. It shows the terrace in the context of the whole building, the surrounding suburb, and the skyline. For apartments and penthouses, that contextual shot is often what clinches the emotional connection.
The drone doesn't replace the ground-level work. It supplements it. Fly one or two passes to capture the overview, then land and finish the detailed composition work from within the terrace itself. Keep the drone shots clean by timing the flight to avoid direct overhead sun, which flattens the texture of decking and furniture just as it does in ground-level photography.
Common mistakes to avoid
- Shooting too early in the setup. Arrive before the styling is complete, and you'll spend editing time removing out-of-place items rather than refining light and colour.
- Ignoring the foreground. A terrace with a spectacular view needs something in the foreground (a chair, a planter, the railing itself) or the image reads as a generic cityscape, not a property feature.
- Forgetting verticals. Keystoning, where vertical lines lean inward toward the top of the frame, happens constantly on rooftops when the camera tilts even slightly. Use a tilt-shift lens, keep the camera level, or correct it in post. Leaning buildings undermine buyer confidence in image quality.
- One and done. A single wide shot is not enough for a feature this valuable. Deliver a minimum of 4 to 6 images from varied angles and focal lengths so the agent can choose what works best for each platform.
Rooftop terraces reward photographers who prepare well and stay patient with the light. Kitti Rivers Real Estate Photography approaches them with the same rigour as any architecturally significant feature: understand the space, plan the session around the best available light, and work every useful angle until the space speaks for itself.