
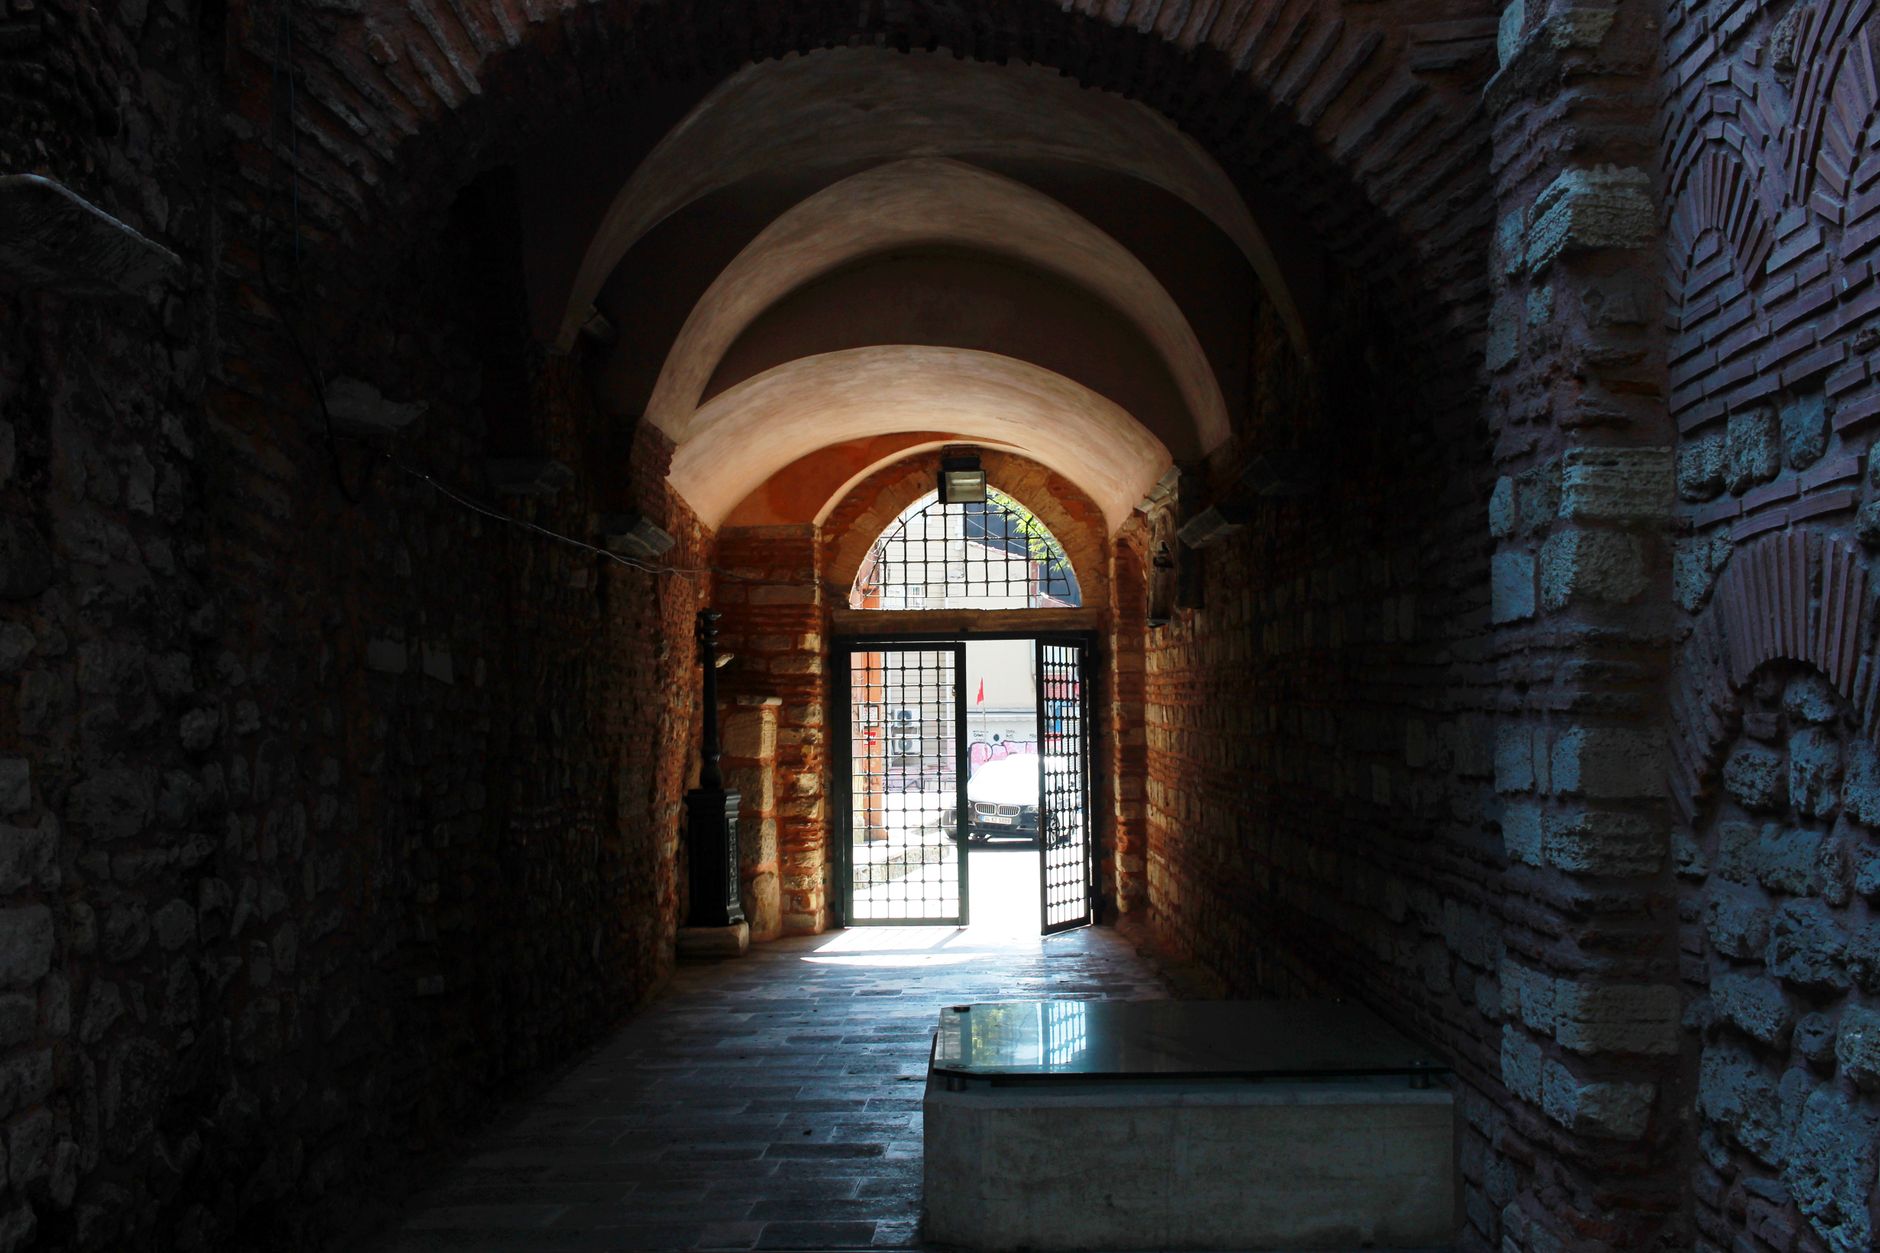
Curved and arched interiors are rare. When a property has them, buyers remember. The problem is that a standard two-point perspective shot, the workhorse of real estate photography, often flattens a curve into an unremarkable wall or reduces a graceful archway to a doorway that happens to be rounded at the top. Getting these features to read on screen takes a different approach to lens choice, camera position and light.
Why curves are hard to photograph
Straight lines are forgiving. The camera sensor is flat, the frame is rectangular, and most architecture is built with right angles in mind. Curves break that contract. A barrel-vaulted ceiling shot from directly below becomes an oval smear. An arched hallway photographed head-on looks narrow and uninviting. The challenge isn't finding the curve; it's finding the angle that communicates its depth and sweep to someone staring at a 15-centimetre phone screen.
Lens distortion compounds the problem. Wide-angle lenses are essential for tight interiors, but the same barrel distortion that makes a small kitchen feel spacious can turn a gentle curve into something that looks structurally wrong. Overcorrecting in post makes it worse. The goal is to use distortion deliberately, not fight it into submission.
Choosing your camera position
The single most important decision with curved architecture is where you stand. For arched doorways, avoid shooting through the arch head-on unless the room beyond is genuinely spectacular. Instead, position yourself at a 30-to-45-degree angle to the arch so the camera captures the curve in three dimensions rather than as a flat silhouette. This creates a sense of depth and draws the eye through the frame.
For curved walls, the same principle applies. Stand close enough that the wall fills one side of the frame and trails off into the background on the other. That recession is what communicates the curve. If you back up until the entire wall fits in frame, you lose the sense of movement.
Barrel-vaulted ceilings deserve a dedicated upward shot. Set the tripod low, tilt the camera toward the apex, and let the vault fill the upper two-thirds of the frame. Then shoot a second, standard composition from standing height so buyers get both the spatial context and the detail. These two shots work together in an online gallery in a way that a single compromise frame never does. This technique shares logic with how to photograph a home with vaulted or cathedral ceilings, where the upward-tilted perspective is often the shot that sells the space.
Lens choice and distortion
A 16–24mm full-frame equivalent focal length is standard for interiors, but curved spaces benefit from a slightly longer reach: 24–35mm keeps distortion manageable while still fitting the space in frame. If the room is tight and you need to go wider, shoot in a corner rather than against the curved wall itself. That way the distortion bends toward the straight elements of the room rather than warping the feature you're trying to sell.
Tilt-shift lenses are worth considering if the property has extensive curved stonework or heritage plasterwork where accuracy matters. They correct perspective without the software interpolation that can soften fine detail. For most residential shoots, though, a sharp prime at 24mm and careful post-processing is enough.
Keep vertical lines vertical. It's a rule worth following for all real estate photography, but it's especially important with curves. When surrounding walls are slightly tilted in the frame, the eye reads the curve as a distortion rather than a deliberate architectural choice.
Lighting curved surfaces
Curves reveal light beautifully. A curved wall lit from one side will show a natural gradient from highlight to shadow that communicates its form to the viewer instantly. The mistake is to light a curved space the same way you'd light a flat one: bouncing flash straight at the ceiling produces flat, even light that erases exactly the tonal variation you need.
Instead, position a light source to one side and let the curve do the work. A single off-camera strobe placed at 45 degrees to a curved wall will wrap light around it in a way that looks natural and architectural. If the room has windows, use them. Morning or late-afternoon raking light across an arched hallway is hard to replicate with artificial lighting and worth scheduling the shoot around.
For darker curved interiors, the approach is similar to photographing a property with a dark or north-facing interior: layer multiple lower-powered lights rather than overpowering the space with a single source. Curves need directionality to read; flat, bright light destroys it.
Composing the shot
Arched doorways are natural frames. Use them. Stand in the adjoining room and compose with the arch as a frame-within-a-frame around the space beyond. This technique works especially well when the room beyond has a strong focal point: a window, a fireplace or a feature wall. The arch does double duty, it shows its own architectural value and makes everything beyond it look intentional.
For curved staircases, shoot from the bottom looking up or from the top looking down. Both angles reveal the spiral or sweep in a way that a mid-flight shot never does. Place the camera close to the newel post at the base and let the handrail carry the eye upward through the frame.
Don't try to capture every curve in one shot. A curved hallway leading to an arched doorway opening onto a barrel-vaulted room sounds like a single spectacular image waiting to happen. It rarely is. Break it into three shots and let each one do its job clearly.
Post-processing curved spaces
Lens correction profiles in Lightroom or Capture One are your first step, but apply them with care. The auto-correction for a wide-angle lens can over-straighten to the point where a genuine curve looks wrong. Check the correction against a straight wall in the same frame: if the wall looks right, the curve correction is probably right too.
Avoid over-sharpening curved plaster or stonework. The texture in those surfaces is part of what makes them beautiful, and heavy sharpening creates an artificial crispness that reads as digital rather than physical. Bring out the detail with local clarity adjustments rather than global sharpening sliders.
Colour is worth treating carefully in heritage or period properties with curved interiors. Warm stone, aged render and timber all look different under flash than under natural light, and the camera will often render the warmth cooler than it appeared on site. Push the white balance warmer in post and compare against your memory of the space. The buyer hasn't seen it yet, but they'll trust a warm, tactile image over a clinically accurate one.
Pulling it together for the gallery
A property with curved or arched architecture has a narrative advantage over a standard rectangular build. The gallery should tell that story. Lead with an exterior or entry shot that establishes the period or style, then move through the arches and curves in a logical sequence that mirrors how a buyer would walk through the property.
Include at least one detail shot: a tight frame on the keystone of an arch, a close crop of decorative plaster moulding, or a low-angle view of a curved skirting board meeting the floor. These details signal quality and craftsmanship without requiring a caption, and they're the images buyers share when they send a listing to someone else. The same logic applies when photographing any architecturally distinctive space, as covered in depth in the guide to photographing a heritage or character home.
Curved and arched interiors reward patience. The angles take longer to find, the lighting takes longer to balance, and the edit takes longer to get right. That extra time is exactly what separates a listing that looks like every other property on the portal from one that buyers bookmark and come back to.