
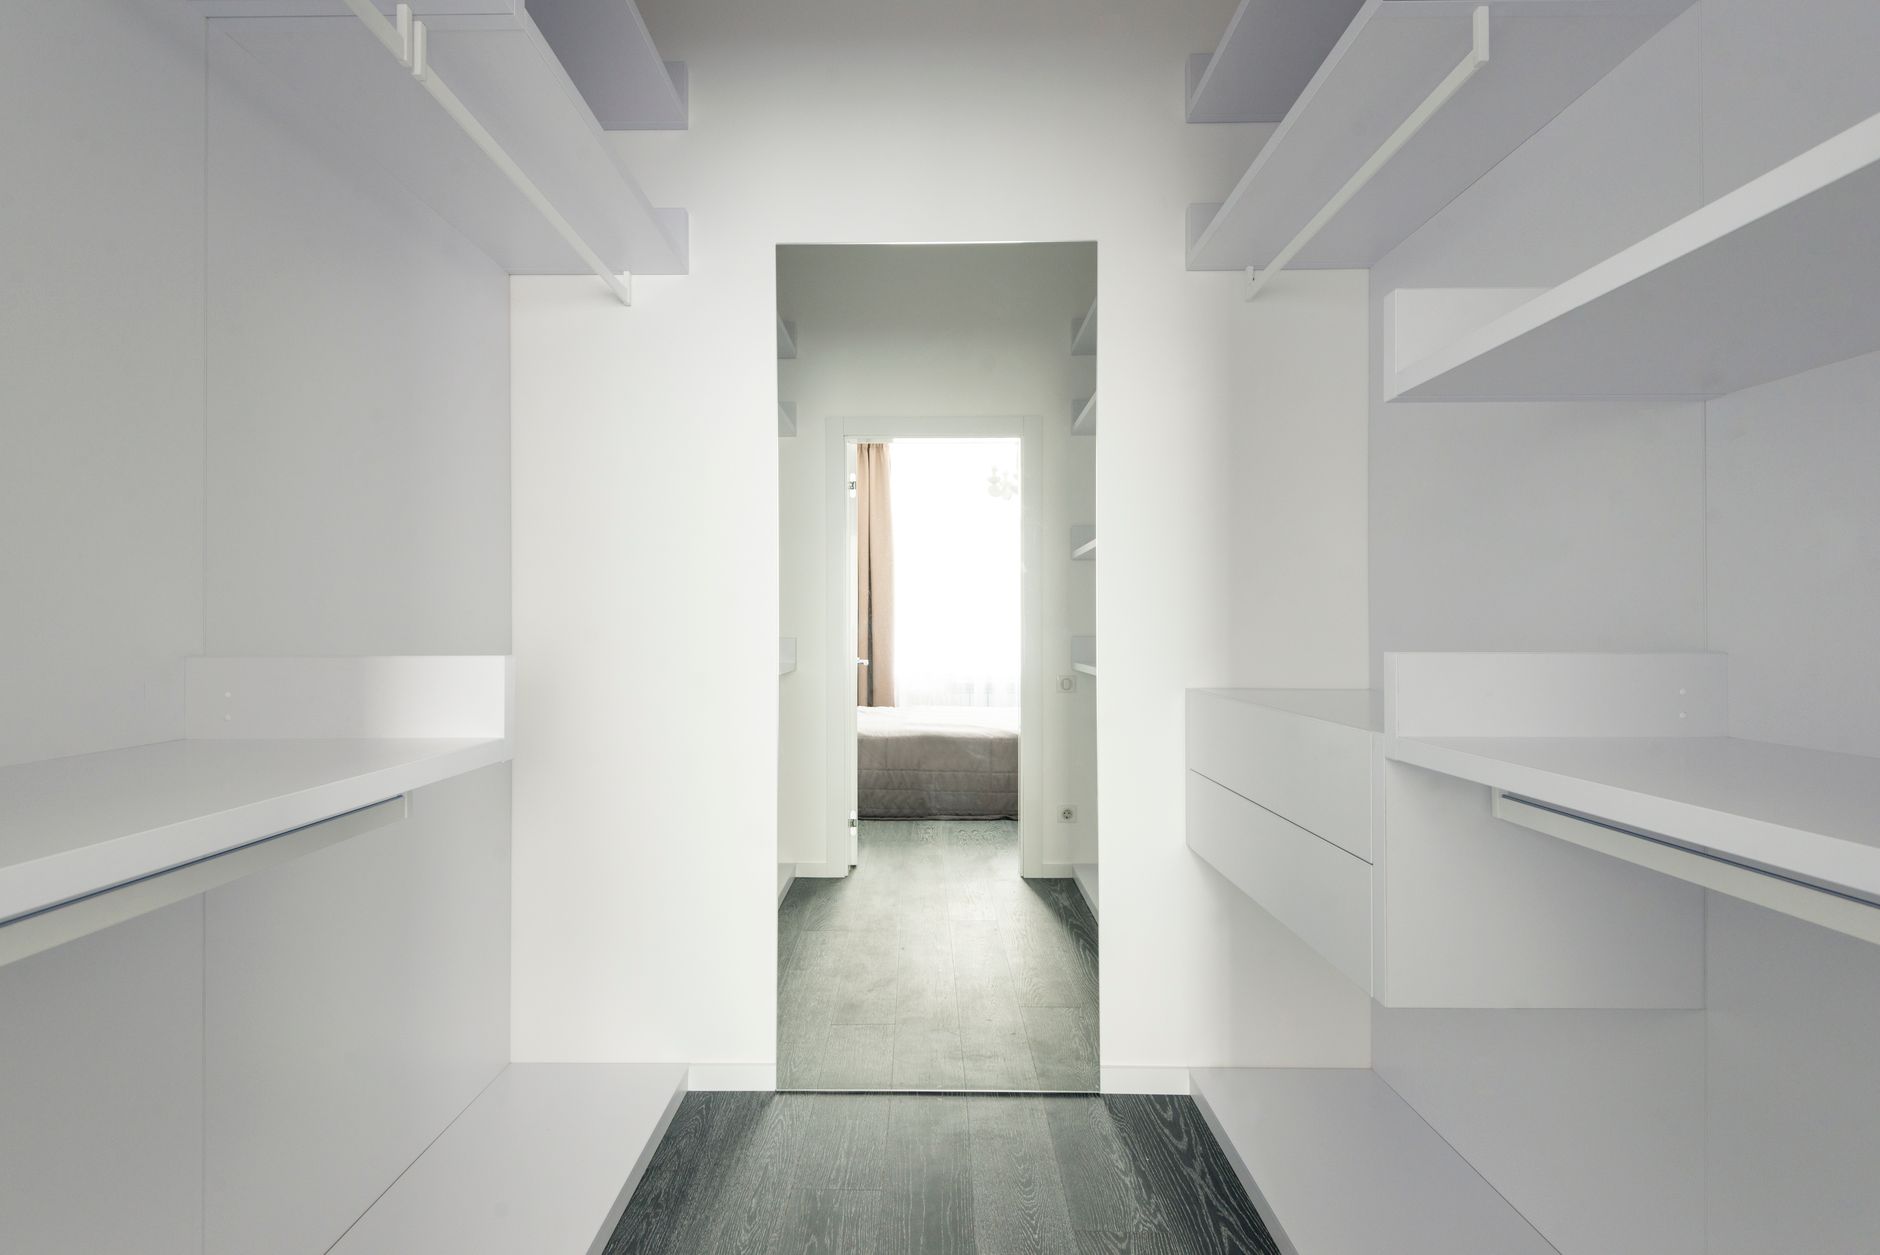
Walk-in wardrobes are a genuine selling point, yet most real estate listings give them a single throwaway shot taken from the doorway with the room's own light and a cluttered rail in full view. Buyers notice the storage potential immediately, but a bad photo tells them nothing useful. A well-executed wardrobe shot tells them the room is airy, thoughtfully designed, and worth walking into.
Why the walk-in wardrobe deserves its own dedicated shot
Storage is consistently one of the top three things Australian buyers ask about at inspections. A walk-in wardrobe signals that this home has been designed with real life in mind, not just aesthetics. Skipping it, or giving it a quick snapped photo, wastes a genuine asset.
The challenge is that walk-ins are compact, often windowless, and full of vertical elements. Rails, shelving, drawers and mirrors all compete for the frame. Get the angle and the light right, and the space reads as generous and organised. Get either wrong, and it reads as a cramped cupboard. The difference is almost entirely technical.
Staging the wardrobe before you shoot
Empty the rails down to about 30 per cent capacity. A fully loaded rail makes the wardrobe look small. A handful of neatly spaced garments in a consistent colour palette (whites, neutrals, greys) reads as spacious and aspirational. Remove all personal items: bags thrown on shelves, shoes in piles, belts draped over rails. These don't just look untidy. They make it harder for a buyer to mentally move in.
Fold anything on shelves into tight, flat stacks. Remove branded shoeboxes and replace them with two or three neat pairs of shoes, pointed in the same direction. Close all drawers. If the wardrobe has a mirror, wipe it clean and check the reflection before you shoot: it will show you, your tripod, and the room behind you.
Lighting matters here more than in almost any other room. Most walk-ins rely entirely on artificial light, and that light is often warm, uneven, or a single overhead downlight casting hard shadows on the shelving below. Bring a small LED panel if the wardrobe has no natural light source. Position it just outside the doorway, aimed at the ceiling of the wardrobe to bounce soft, even fill light across the shelves. This is the same logic you'd use when shooting real estate photography in low light: bounce rather than blast, and you avoid the harsh shadows that make a compact space feel smaller.
Camera settings and gear for a confined space
Use a wide-angle lens, but not your widest. A focal length between 16mm and 20mm (full-frame equivalent) gives you enough coverage to show the full width of shelving without the barrel distortion that makes vertical lines bow outward. At 12mm or below, the walls start to curve and the wardrobe looks like a fish-eye novelty shot. Choosing the right focal length for confined spaces is one of the most practical decisions you'll make before pressing the shutter.
Set ISO as low as your supplementary lighting allows, typically ISO 100 or 200. A walk-in wardrobe shot at ISO 1600 or above introduces visible noise in the shelving and fabric textures that buyers register even if they can't name it. Shoot on a tripod. Always. The space is usually too dim for a clean handheld exposure, and any camera movement at a slow shutter speed shows up immediately in the fine detail of the joinery.
Aperture around f/7.1 to f/9 keeps the full depth of shelving sharp from the front rail to the back wall. This matters because buyers want to see the depth of the space, not just the first tier of shelving. A shallow depth of field blurs out exactly what they're trying to assess.
Finding the right angle
The doorway shot is the obvious starting point, but it's rarely the best one. Stand just inside the door, not in front of it, and shoot slightly off-centre so you're showing one wall of shelving in depth rather than facing a flat wall head-on. This gives the image a sense of dimension. If the wardrobe is L-shaped or U-shaped, find the corner that lets you show two walls at once. That single frame tells the buyer far more about the total storage than two separate shots of each wall.
Camera height matters. Set your tripod so the lens sits at roughly 1.1 to 1.3 metres from the ground. This is slightly below the average eye line, which keeps the ceiling in frame and makes the room feel taller. Too low and you're shooting shelves; too high and you're shooting the ceiling. Keep the camera perfectly level: any tilt forward makes the back wall appear to lean away, and a leaning wardrobe back wall reads as poor construction to a careful buyer.
Editing: colour accuracy and detail
Walk-in wardrobes almost always need white balance correction in post. The mix of warm downlights, LED strips and any borrowed light from an adjoining room creates a colour cast that looks fine to the eye but wrong in a photo. In Lightroom, use the eyedropper on a neutral surface, typically a white shelf or a white-painted wall, and let the tool correct from there. Colour calibration in real estate photography is the step most photographers rush, and it shows most clearly in confined rooms where a single light source dominates the frame.
Lift the shadows just enough to show the detail inside shelving recesses without blowing the highlights on the white joinery. A slight increase in clarity (not texture) adds definition to the shelving edges without making the image look over-sharpened. Pull back the whites if any timber or painted surfaces are clipping. Buyers inspecting a listing photo are looking at joinery quality, and a clipped white means they can't see it.
One wardrobe, multiple shots or just one?
For most listings, a single strong wardrobe image is enough. It should show the full width of the space, the shelving in depth, and the quality of the joinery. If the wardrobe is genuinely large (a master wardrobe with an island dresser, for example, or a dual walk-in with its own window), two shots are justified: one wide to show scale, one detail shot to show the quality of the finishes.
Don't pad the listing with three or four wardrobe shots unless you have a very good reason. Buyers scroll listings quickly, and three images of the same small room signals that the rest of the property is running short on impressive features.
A clean, well-lit wardrobe photo takes about ten minutes of setup and another ten of editing. That's twenty minutes to make a serious selling point look like one.