
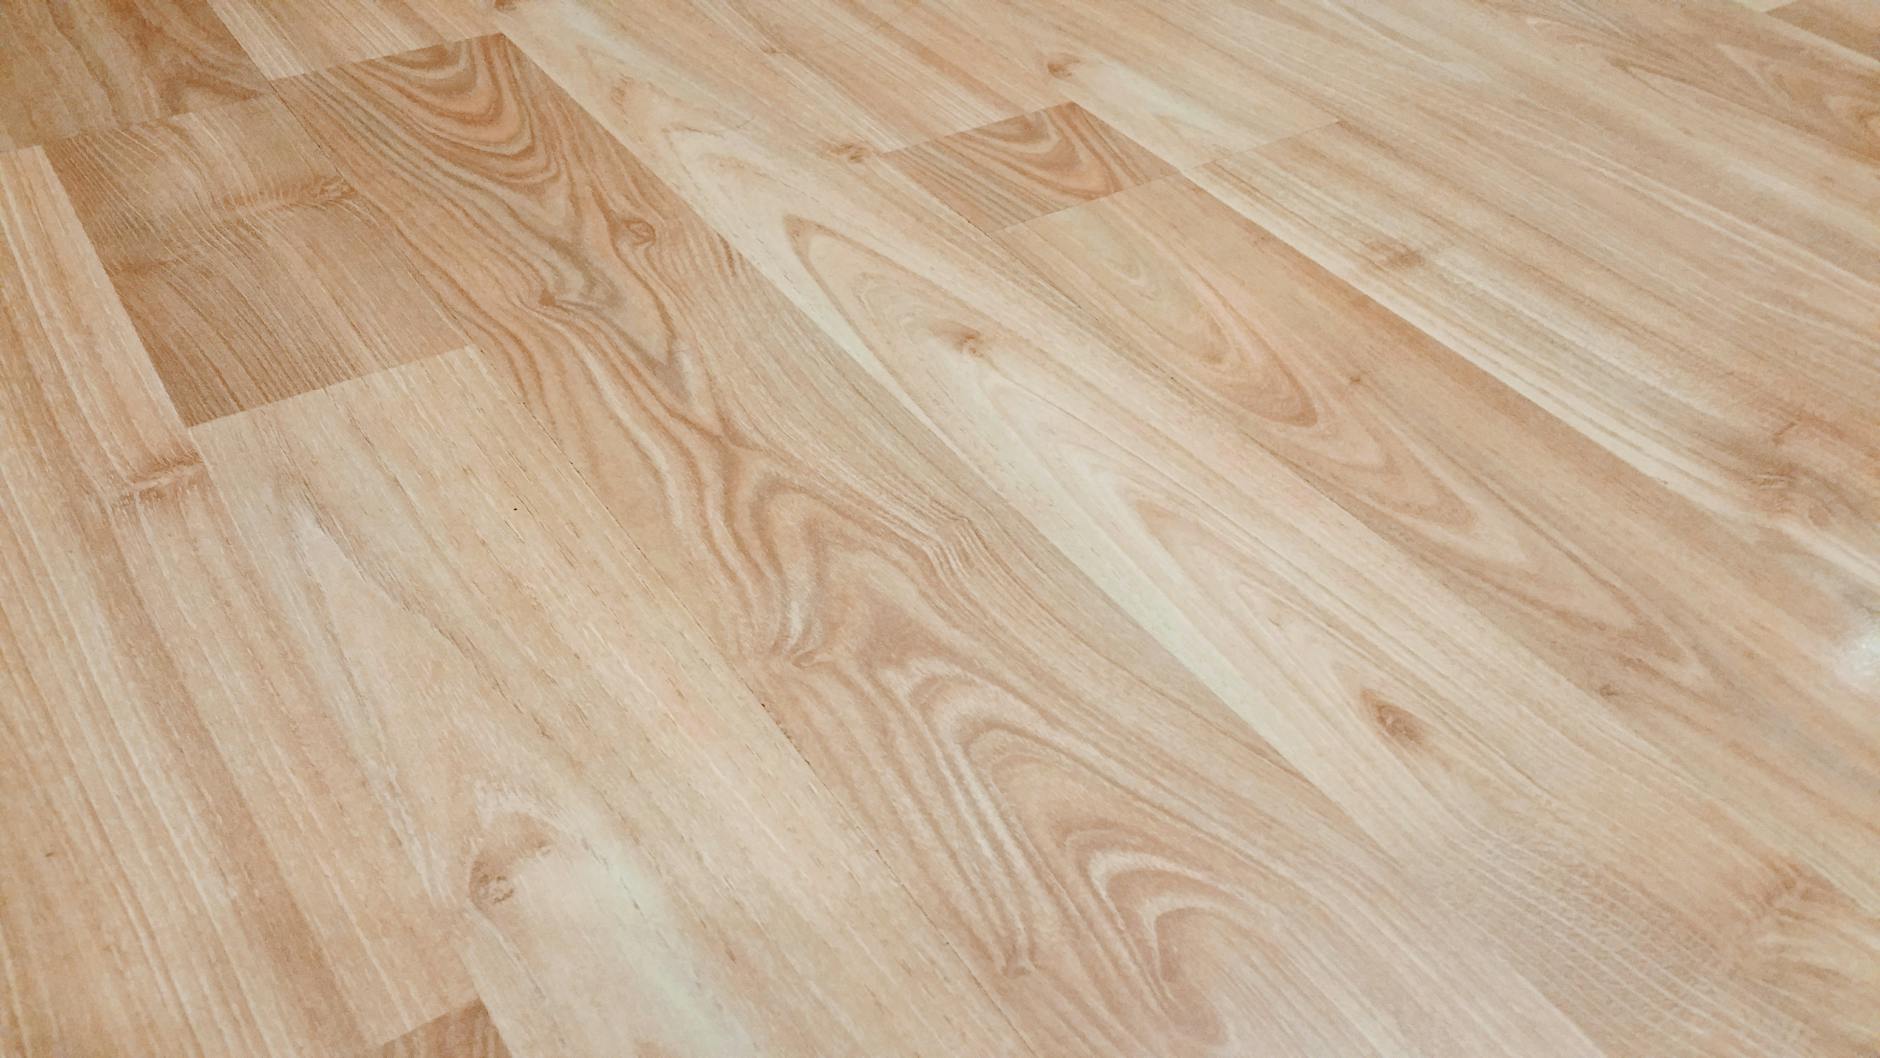
Timber and hardwood floors are a genuine premium in the Australian property market. Buyers notice them instantly at an open home, and they're willing to pay for them. The problem is that most listing photos fail to do timber floors justice. They end up looking flat and orange, washed out by flash, or streaked with reflections that read as damage rather than sheen. Getting timber floors right on camera is one of the more technically demanding tasks in real estate photography, and it rewards a deliberate approach.
Why timber floors are hard to photograph
The main challenge is reflectivity. A well-finished timber floor acts like a mirror at certain angles, picking up every light source in the room and throwing it back at the camera. That includes ceiling lights, windows, and your own flash. The result is hotspots: bright patches that flatten the floor's grain and make the finish look cheap or uneven.
Colour accuracy is the second problem. Timber floors photograph warm by default. Most camera sensors, set to auto white balance, interpret warm tones in a room and pull everything towards orange. The floor ends up looking like cheap pine when it's actually spotted gum or blackbutt. A fixed white balance, set from a grey card or a known reference, fixes this before you press the shutter.
The third issue is directionality. Timber boards run in one direction, and the camera angle relative to that direction changes everything. Shoot parallel to the boards and they vanish into a single tone. Shoot at a 30 to 45 degree angle and the grain opens up, revealing the texture and depth that make hardwood so appealing.
Camera position and angle
Keep the camera low. A tripod set at around 90 to 110 centimetres from the floor puts the lens close enough to the surface that the boards recede into the frame with genuine perspective. Higher positions flatten the floor plane and turn a beautiful hardwood into a background detail.
Point the camera toward the longest run of boards whenever the room allows it. In a hallway, that means shooting straight down the corridor. In a living room, find the diagonal that gives you the greatest floor area visible in frame. More floor in the shot means more opportunity for the timber's quality to register with the buyer.
A wide-angle lens helps here, but keep it above 16mm full-frame equivalent. Going wider distorts the boards near the edges of the frame and creates a curved, fish-eye look that undermines the sense of quality. For most rooms, 17mm to 24mm is the practical range. The article on wide-angle lenses for real estate photography covers focal length trade-offs in more detail.
Lighting timber floors without blowing them out
Flash is the enemy of a polished timber floor unless you bounce it properly. Direct flash from the camera hotshoe creates a single harsh hotspot on the floor surface that no amount of editing can fix cleanly. Bounce the flash off the ceiling behind you, or use a small off-camera flash bounced off an adjacent wall. The light wraps rather than hits, and the floor reads as evenly lit without glare.
Ambient-only shooting works well for timber floors in rooms with good natural light. Pull the room lights, open the curtains, and let window light rake across the floor at a low angle. This is actually ideal for revealing grain and texture. The challenge is managing the contrast between the bright windows and the shaded areas of the floor, which is where exposure bracketing earns its place. The same logic applies to other reflective surfaces: the guide on how to photograph a home with polished concrete floors addresses the shared problem of managing specular reflections in hard-surface flooring.
If you're blending flash with ambient, keep the flash exposure about 1.5 stops below the ambient reading so the floor retains the warmth and directionality of the natural light while the flash fills the deep shadows under furniture and in corners.
White balance and colour correction
Set a custom white balance in camera using a grey card or an ExpoDisc before your first shot in each room. Timber floors shift colour dramatically between rooms with warm incandescent lighting, cool daylight through south-facing windows, or mixed sources. Auto white balance will read each room differently and your images will look inconsistent across the listing.
In post, check the floor colour against a known reference if you have one. Blackbutt reads as pale straw with pink undertones. Spotted gum is a deeper honey with grey streaks. Jarrah is a rich red-brown. If the floor in your edit looks uniformly orange, the white balance is still too warm. Pull the temperature slider toward blue in small increments until the grain colour matches your memory of the actual floor.
Managing reflections in post-processing
Some reflection is desirable. A completely matte floor in a photo looks dull and loses the premium feel. The goal is to show the sheen without letting reflections dominate.
In Lightroom or Camera Raw, the dehaze slider applied locally to the floor can reduce the washed-out look of overexposed reflections without killing the specular quality of the finish. A graduated filter pulled from the bottom of the frame, with highlights reduced and texture increased slightly, brings back grain detail in the mid and far sections of the floor.
For persistent hotspots from ceiling lights, use the healing brush to sample an adjacent area with similar grain direction. This works best when the hotspot is small. Large hotspots from window flare usually need to be prevented at the shooting stage rather than fixed in post, either by repositioning the camera or flagging the window.
Rugs: leave them or remove them?
This question comes up on almost every shoot. The answer depends on the rug. A well-chosen rug in a living room adds warmth and context, and it prevents the room from looking sterile. But it also covers the floor. If the timber is genuinely premium and the rug is ordinary, roll the rug back and show the floor. Buyers who see quality boards for the first time in person, having only seen a rug in the listing photos, feel pleasantly surprised. Buyers who see boards in the photos and then find a worn rug over the top of them feel misled.
If the rug stays, make sure its edge is square to the boards and that a generous band of floor is visible around the perimeter of the room. That visible border is what tells the buyer the floor is continuous and in good condition.
Exterior timber decking
Decking follows similar rules but with harder light to manage. Shoot decking in the morning or late afternoon when the sun is low enough to rake across the boards at an angle. Harsh midday light flattens deck boards completely and makes any weathering or greyness look worse than it is. A clean, slightly damp deck also photographs better than a dry one: the moisture deepens the colour and saturates the grain without creating reflections. For more on managing outdoor conditions, the post on how to photograph a property in rain or wet weather is worth reading alongside these techniques.
Timber and hardwood floors are a legitimate selling point. Treated as a background detail in photography, they disappear. Photographed deliberately, with the right angle, light, and colour accuracy, they become one of the strongest reasons a buyer remembers a listing.