
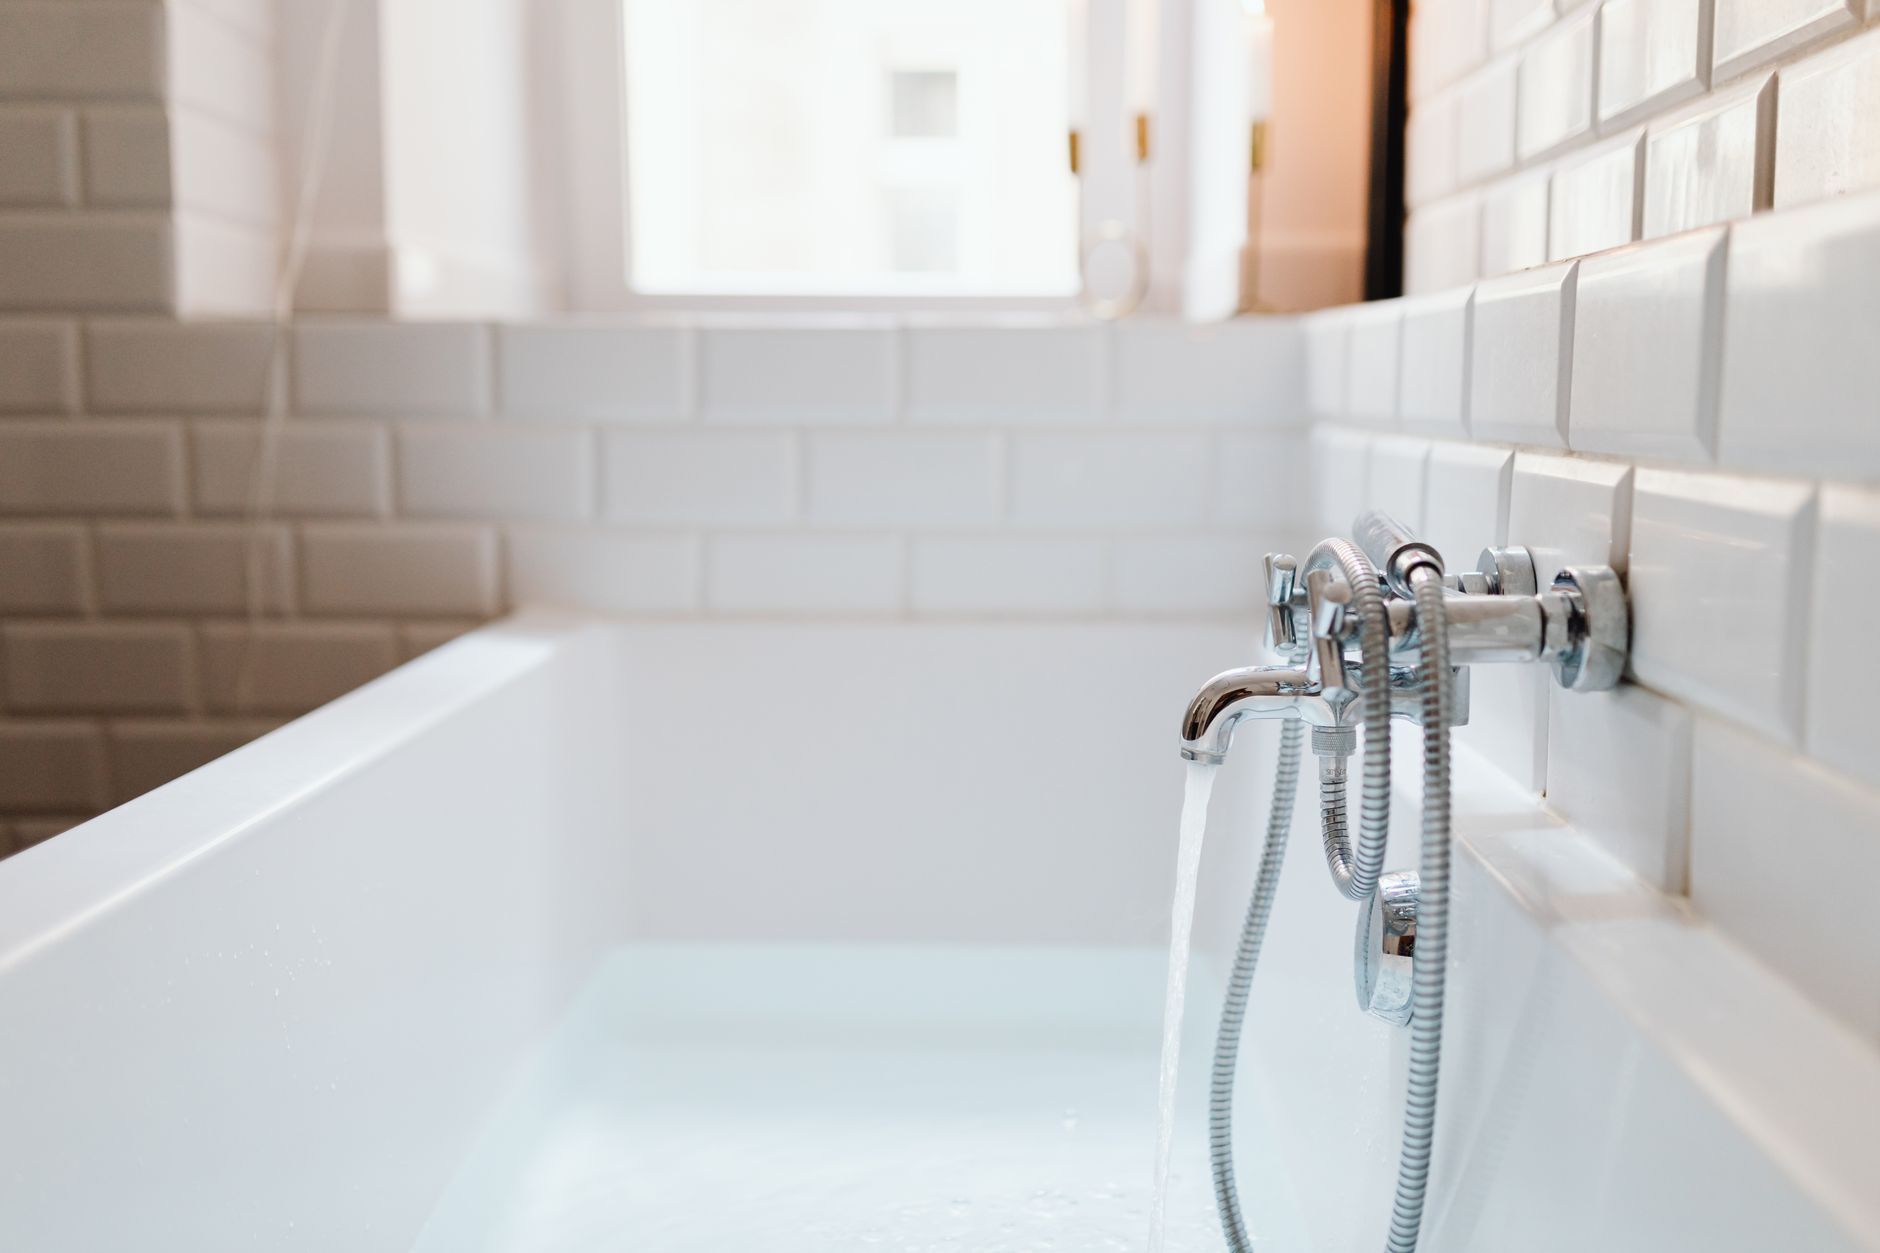
A sunken bath is rare enough that buyers genuinely stop scrolling when they see one. The trouble is that most sellers either ignore it before the shoot or over-style it into something that reads as a staged hotel bathroom rather than a desirable home feature. Both mistakes cost you. Get the styling right and the sunken bath becomes the image buyers share with their partner and circle back to at the open home.
Why sunken baths are tricky to style
The format itself creates the challenge. A sunken bath sits below floor level, which means the camera angle that works for a standard freestanding bath — slightly elevated, looking down — will often make a sunken tub look like a hole in the floor. Pair that with the surrounding tiles, the step edge, and whatever is sitting around the rim, and you have a lot of visual information competing for attention. The goal is to simplify, not decorate.
There's also a scale problem. Sunken baths are typically large. When the surrounding space is cluttered or the rim is lined with personal items, the bath loses its proportions and reads as messy rather than grand. Clearing the rim completely is the single most effective thing you can do before the photographer walks in.
Clear the rim entirely first
Remove every shampoo bottle, candle, face cloth, and decorative stone from the rim and the surrounding floor. All of it. Sellers consistently underestimate how much visual noise these items add when seen through a camera lens. Once the rim is bare, you can add back a maximum of 3 props, placed with intention.
For those 3 props, think in terms of height variation. A single stem in a narrow vase (around 30 cm tall), a folded linen towel draped over one corner, and a small tray with a bar of soap are the classic combination. Keep the tray to one side, not centred. Symmetry on a sunken bath rim tends to look contrived in photos.
Choosing towels and linen colours
White or warm ivory linen always photographs cleanest around a sunken bath. If the surrounding tiles are very pale, move to a soft stone or linen tone to avoid everything blending into one flat wash of white. Avoid patterned towels entirely. The eye should land on the bath itself, not on the fabric.
One large bath sheet folded lengthways and draped over the closest step edge adds softness without adding clutter. Don't stack towels. A single folded piece reads as considered; a stack reads as a hotel linen cupboard that fell over.
Working with the step edge and surrounds
The step down into the bath is a defining architectural feature. Make sure it's visible and clean in photos. Kitti Rivers Real Estate Photography finds that the step edge, when captured clearly, signals the scale and luxury of the feature far more effectively than any prop arrangement. Grout lines should be freshly cleaned. Any chips or stains on the step tile surface need to be addressed before shoot day, because the camera will find them.
If the surround has a ledge wide enough to sit on, resist the temptation to line it with candles. Three candles at different heights can work as a single cluster on one side, but scattered individually they break the eye's path around the frame. For guidance on how a photographer will approach the wider bathroom space, the post on bathroom styling for property photos covers the full room strategy that supports individual feature styling like this.
Lighting considerations before the shoot
Sunken baths often sit in bathrooms with skylights or high windows, which creates a dramatic top-down light source. That light is beautiful in person and genuinely difficult to expose correctly on camera. The practical preparation you can do is to ensure no overhead light fittings are visible in the bath's water surface if the bath is filled. Water reflects everything directly above it.
If you plan to fill the bath for the shoot, add a small amount of bath oil to break the surface tension and reduce mirror-like reflection. The water reads softer and more appealing. Don't add bubbles; they photograph as foam and date quickly in a listing that stays live for weeks. For broader advice on handling challenging light sources in bathrooms, the post on photographing a bathroom with a skylight goes into the technical detail your photographer will need.
Whether to fill the bath at all
Filled baths photograph as aspirational. Empty baths photograph as functional. For a sunken bath, filling it is almost always the right call, because the water adds depth and colour that emphasises how far the tub drops below the floor. Use warm water to avoid a cold blue cast on the surface. Have a towel ready to wipe the inside walls above the waterline before the photographer sets up; water marks on acrylic or stone above the fill line will show.
If the bath has a built-in chromotherapy or jet system, turn it on only if the photographer specifically asks for the effect. Bubbling jets create visual noise that most standard property cameras can't resolve cleanly.
The final check before the photographer arrives
Walk to the doorway of the bathroom and look at the bath from the angle a camera is likely to use. Ask yourself whether the eye goes to the bath or to something around it. If anything pulls your attention away, remove it. The sunken bath is the feature; every styling choice should lead the eye toward it, not away from it.
Kitti Rivers Real Estate Photography regularly works with properties where a single well-styled feature image drives the listing's performance. The sunken bath, done right, is exactly that kind of image. It's worth the extra thirty minutes of preparation to make sure it lands.