
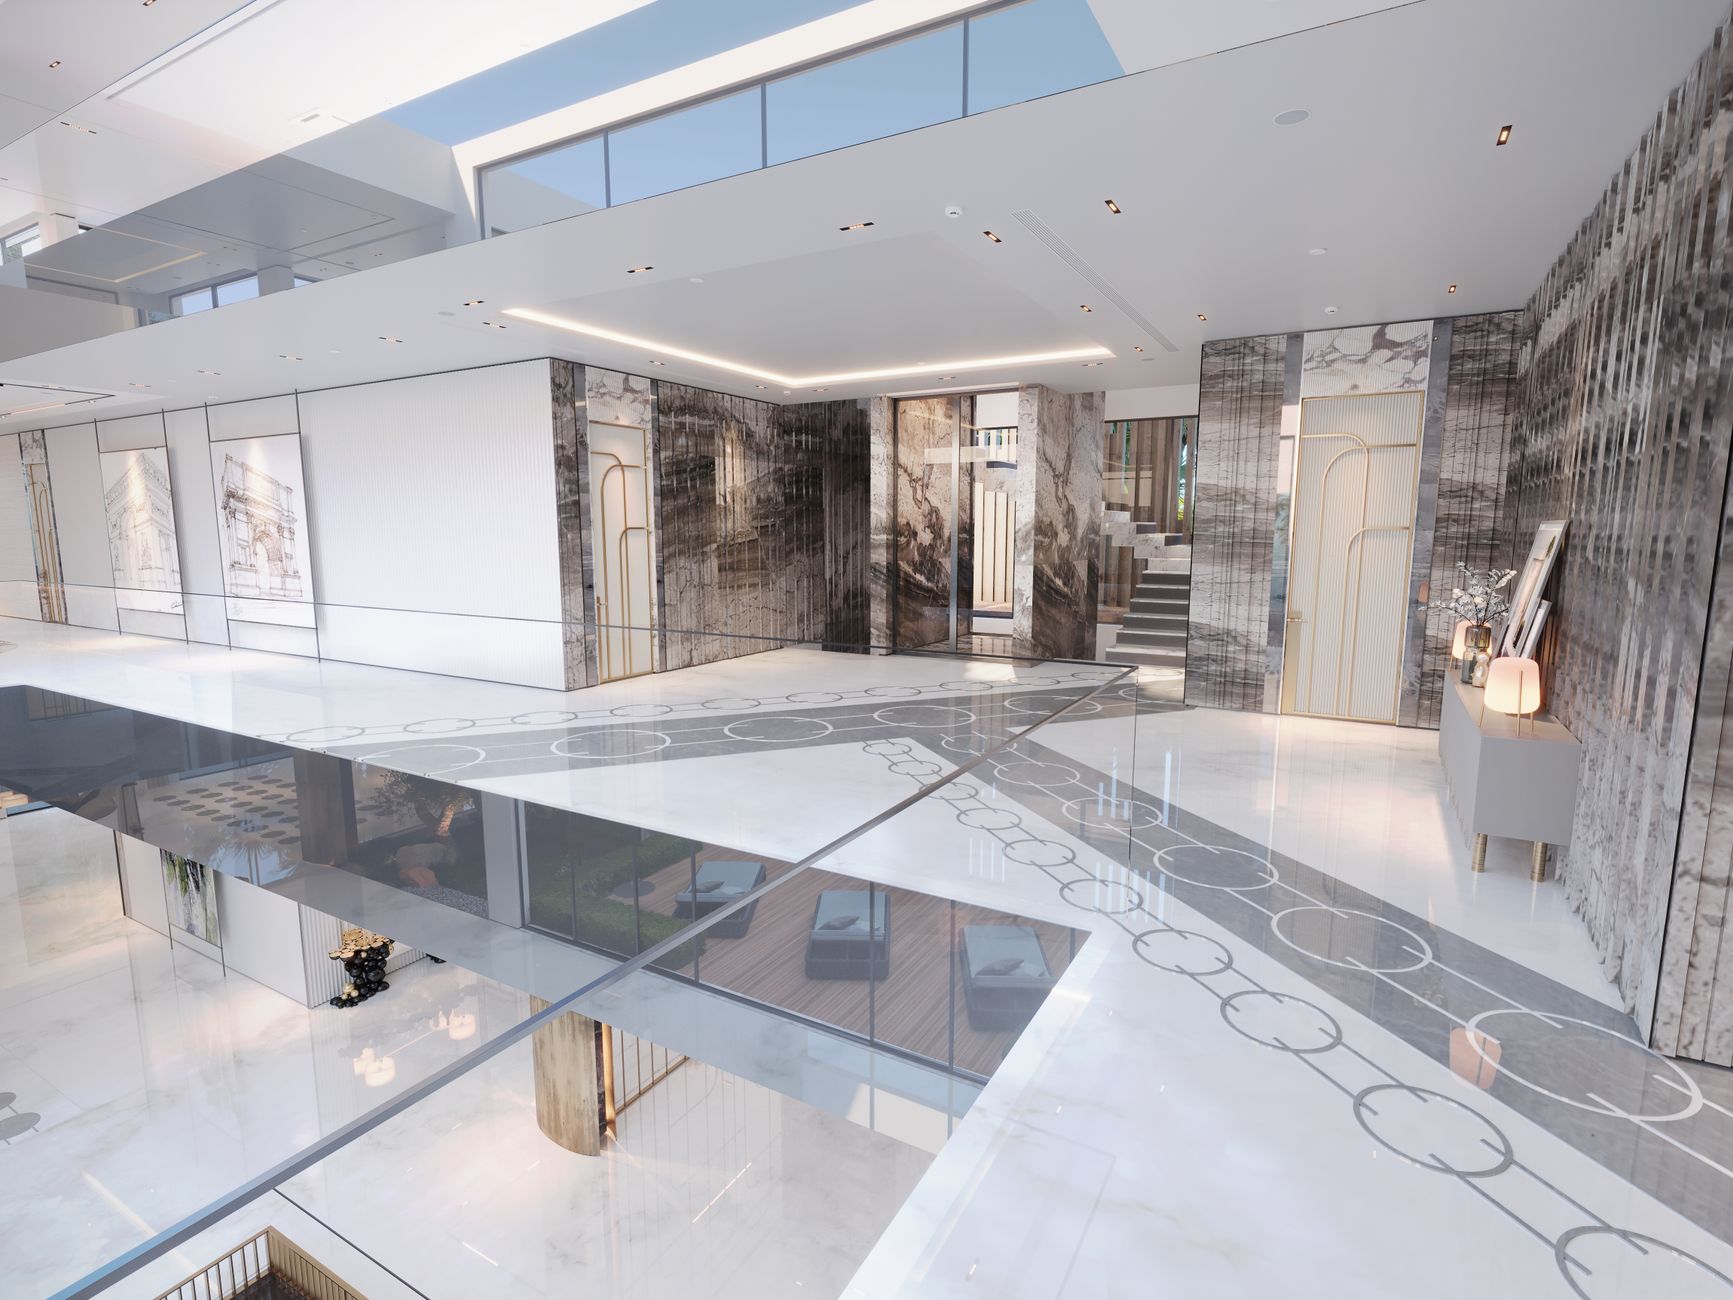
A double-height void is the kind of feature that stops buyers at the door. That soaring ceiling over an entry or living area, the sense of air and vertical space, the drama of a mezzanine or suspended walkway above. In person, it's breathtaking. In a flat, badly framed listing photo, it reads as a dim corridor with a high ceiling. Getting this space right is one of the more rewarding challenges in real estate photography, and one that separates a good photographer from a great one.
Why double-height voids are so hard to photograph
The core problem is dynamic range. A void space typically has windows at two levels: standard glazing on the ground floor and highlight glazing (clerestory or feature windows) up near the upper ceiling. The camera sees both at once. Expose for the windows and the interior turns into a silhouette. Expose for the interior and every window blows out to white.
The second problem is framing. The void's height is its whole point, yet a standard lens at standing height cuts off the upper portion or introduces extreme vertical distortion. Tilt the camera upwards to capture the ceiling and straight verticals start to converge. Buyers then see a room that looks like it's leaning backwards. Neither result does the space justice.
Choosing the right lens and position
A tilt-shift lens is the cleanest solution for a void. It lets Kitti Rivers correct vertical distortion without pointing the camera upward, keeping lines plumb and showing the full height of the space. If a tilt-shift isn't available, a standard wide-angle between 16 mm and 24 mm on a full-frame body will work, but the image will need perspective correction in post. Learning the same techniques used for vaulted and cathedral ceilings applies directly here: shoot from a lower position, keep the sensor plane as vertical as possible, and rely on software to correct any remaining lean.
Position matters as much as focal length. The ideal spot is usually the far corner of the ground floor, where the camera can see both the void and a portion of the mezzanine above. This diagonal framing gives the image depth as well as height. Standing in the centre of the room and shooting straight up produces a dramatic abstract but tells buyers very little about how the space lives.
Lighting a two-storey void
Natural light enters a void from multiple levels, and that's both the asset and the challenge. On a bright day, upper windows deliver hard shafts of light that create strong contrast on the walls below. On an overcast day, the light spreads evenly, making it far easier to control. If you have a choice of shoot days, an overcast morning is kinder to void spaces than harsh midday sun.
When the shoot can't move, bracket exposures aggressively. Kitti Rivers typically shoots five or more bracketed frames in half-stop increments for any space with significant highlight glazing. Those brackets are then blended in post using luminosity masks, pulling the correct exposure from each frame to produce a result that looks like what the human eye sees, not what the sensor captured.
Flash and off-camera strobes can fill ground-floor shadows, but lights at standing height won't reach the upper walls and ceiling. A second strobe positioned on the mezzanine or mounted on a boom pole can balance the upper zone. Keep the power modest. The goal is to lift the ambient exposure, not to create artificial hard light on a space that buyers will associate with natural airiness.
Capturing the mezzanine relationship
A void without the mezzanine is only half the story. Buyers want to understand how the upper and lower levels relate: where the walkway sits, how the railing details read, whether there's a study or bedroom opening onto the void. Plan at least two shots: one from the ground floor showing the full height, and one from the mezzanine level looking down into the space below.
The mezzanine shot is often more powerful than sellers expect. A camera positioned at railing height and angled slightly downward shows buyers the sense of connection between levels. It also frames the ground-floor living space in a way that's impossible from below. If the home has an open-plan ground floor beneath the void, this upper angle also works well to show that relationship, similar to the framing decisions involved in photographing an open-plan living area.
Styling the void before the shoot
Voids attract clutter in ways that other spaces don't. Upper walkways become informal storage zones. Cables for pendant lighting hang at odd angles. The structural elements of the void, including steel rods, timber balustrades, and exposed beams, look different in a photo than they do in person, and every detail is visible because the camera captures the whole height in one frame.
Walk the space before the shoot and look up. Remove anything from the mezzanine balustrade or railing that doesn't contribute to the composition: cables, pot plants that block sight lines, loose items left on the floor above. Check pendant lighting for alignment. A cluster of pendants that descend into the void can look spectacular, but only if they hang at consistent heights and the bulbs are all the same colour temperature. Mismatched bulbs in a feature pendant cluster create a colour cast that's surprisingly hard to fix in post.
On the ground floor, the base of the void needs the same care as any hero room. Keep furniture scaled to the space. An undersized rug or a single small sofa in a double-height void makes the room look uncertain of itself. Buyers should feel that the scale of the furnishings matches the ambition of the architecture.
Post-processing for void spaces
The blended exposure is the main task, but there are a few void-specific considerations. Vertical convergence correction should be applied precisely, and the result checked on a straight edge (a doorframe or balustrade vertical works well). Even a degree or two of uncorrected lean is visible to buyers, even if they can't name what's wrong.
Highlight glazing windows can be recovered from the darkest bracketed frame or replaced with an exterior shot using a layer mask. If upper windows look out onto a brick wall or a neighbour's roofline, it's worth keeping them slightly overexposed rather than revealing an uninspiring view. Buyers read a bright window as light; they read a detailed view of a fence as a negative.
Colour temperature across two levels of the same room can drift if the upper zone is lit primarily by skylight and the lower zone by warm artificial light. Colour calibrate the final image carefully, and check that the balustrade or railing material reads as its actual colour rather than drifting warm or cool depending on its proximity to a light source. Colour calibration in real estate photography matters more in complex spaces like voids than in any standard room, because the eye scans the full height of the image and inconsistencies are obvious.
How many shots does a void need
Budget for four distinct compositions at minimum. A ground-floor wide shot showing the full height. A ground-floor closer shot showing the railing detail and pendant lighting. A mezzanine-level shot looking down. And a detail shot of the most architecturally interesting element, whether that's a custom balustrade, an exposed steel beam, or a feature window. If the void connects to a staircase, add a fifth composition from the staircase midpoint, which often produces the most compelling single image of the space.
A double-height void is one of the architectural features buyers specifically remember from an inspection and specifically search for in listings. A single flat photograph doesn't earn that memory. Four well-executed compositions do.