
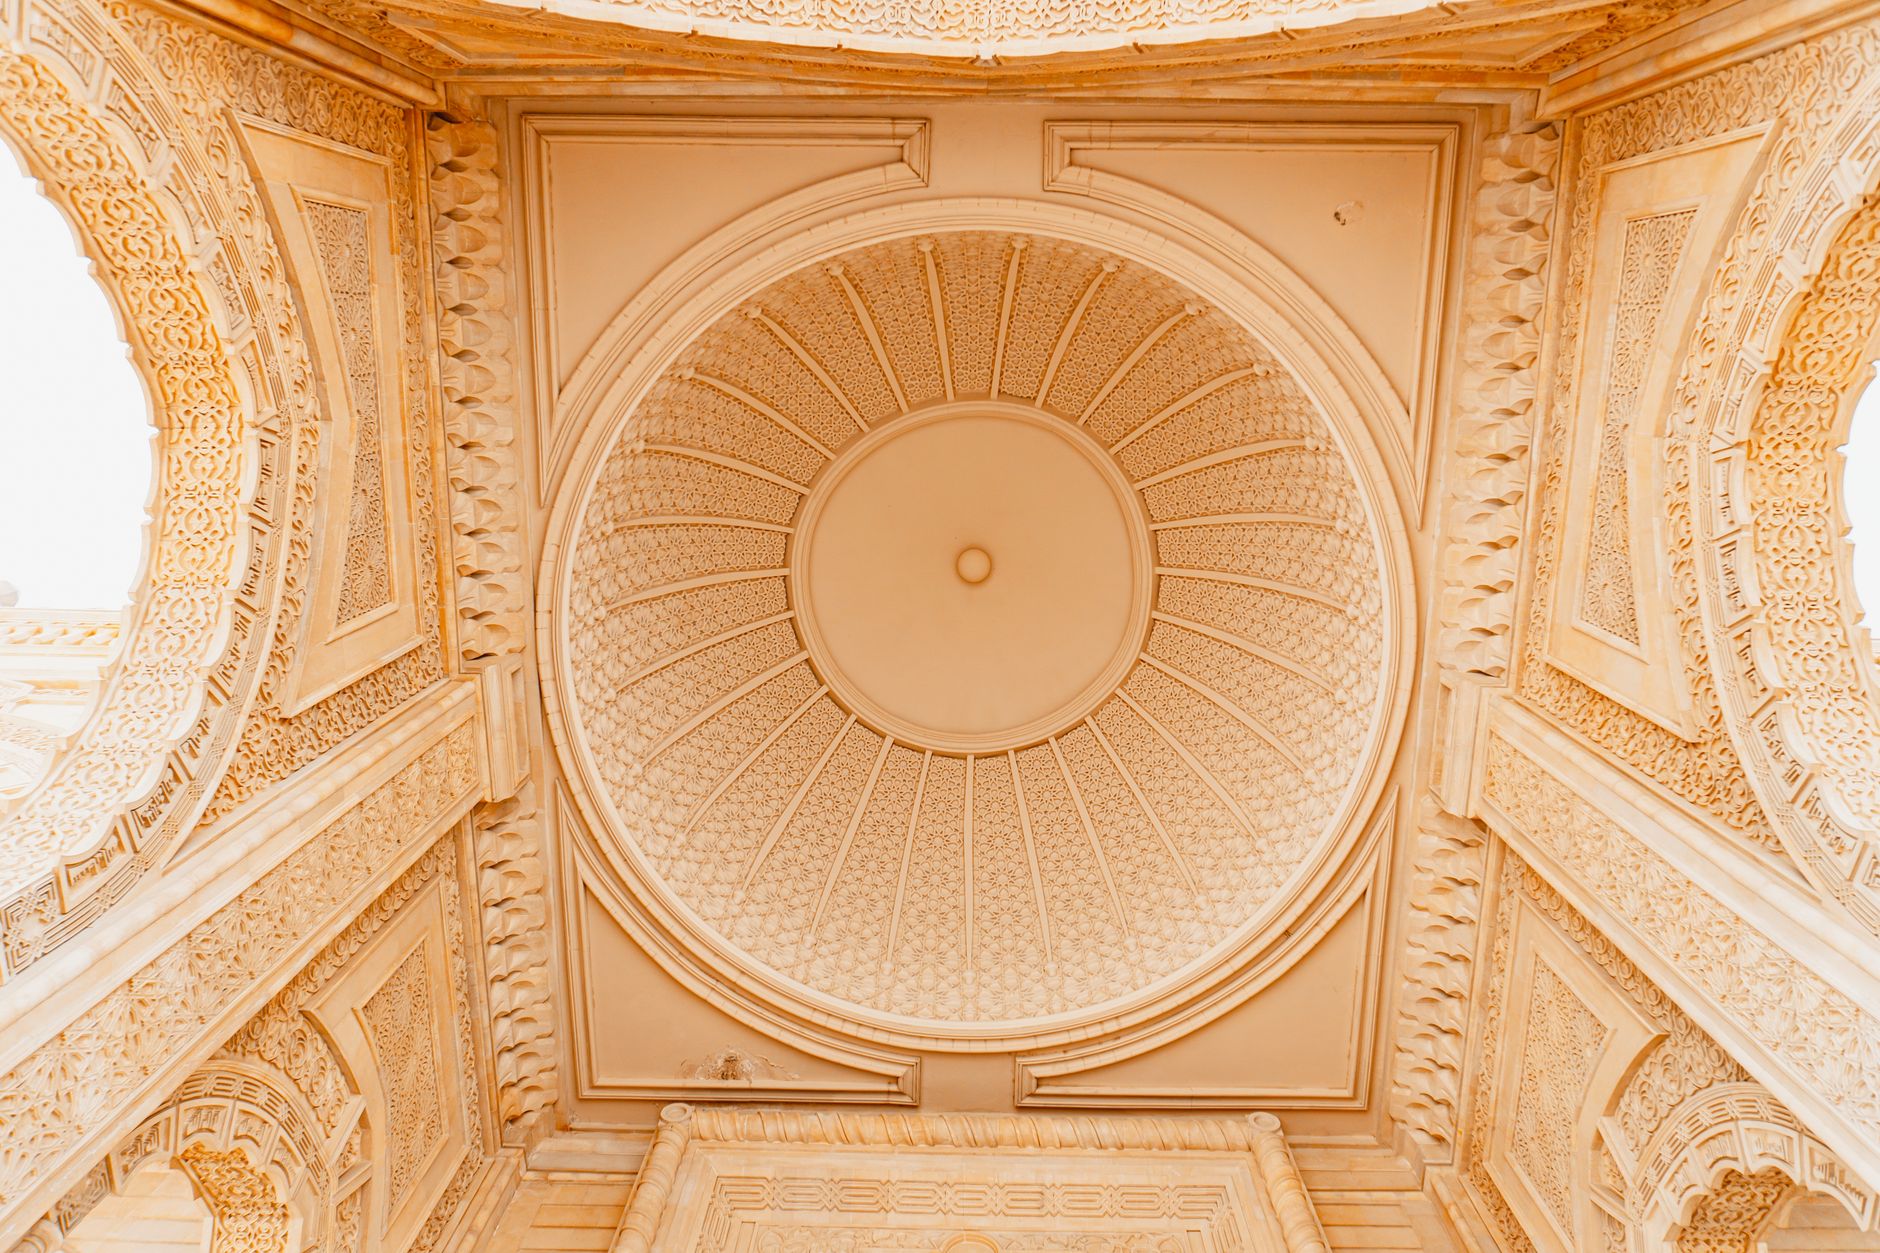
Decorative ceilings get overlooked more than almost any other architectural feature in a real estate shoot. Pressed tin panels, painted coffers, exposed timber beams, intricate cornicing, sculptural plasterwork: these are the details buyers remember when they talk about a house after the open home. Yet most listing photos ignore them entirely, or capture them as an afterthought in a tilted, blown-out corner of an otherwise flat room shot. Kitti Rivers Real Estate Photography treats a feature ceiling as a primary subject, not a backdrop. Here's how to do it properly.
Why feature ceilings are so hard to photograph
The problem is geometry. Most property photography is shot from standing height, angled slightly downward or straight across a room. That angle is excellent for showing floor space, furniture layout, and window light. It's terrible for ceilings. The ceiling recedes into the upper quarter of the frame and the camera never looks directly at it, so the detail compresses and flattens. Add the exposure challenge of a bright ceiling surface competing with windows, and you've got a shot that tells buyers nothing about what makes the room special.
There's also the lens distortion issue. Wide-angle lenses, which are standard for real estate work, introduce keystoning when tilted upward. Vertical lines bow outward and straight edges curve. A coffered ceiling photographed with a 16mm lens pointed at 45 degrees can look almost spherical. Correcting that in post is possible, but it takes time and loses resolution at the crop edges.
Camera position and angle for ceiling shots
The single most effective change is to shoot from a lower position, pointed upward at a steeper angle. Lower the tripod to about 90–100cm, tilt the camera up until the ceiling occupies roughly the top half of the frame, and let the room geometry lead the eye toward the feature. This sounds counterintuitive for real estate work, where the goal is usually to make rooms look spacious, but for a dedicated feature shot it works consistently well.
For a room with a central medallion or chandelier point, position the camera directly beneath it and shoot straight up. A perfectly centred overhead shot turns a plaster rose or ornate light fitting into something close to architectural photography. Keep the camera level and let the symmetry do the work.
For exposed timber beams running the length of a room, shoot from one end of the beam run so the perspective lines converge toward the far wall. This creates depth and rhythm in the frame that a flat, perpendicular shot never achieves. The technique is similar to how Kitti Rivers Real Estate Photography approaches curved or spiral staircases: lead with the structural repetition and let the architecture show its own logic.
Lighting a feature ceiling without blowing it out
Ceiling surfaces are almost always lighter in tone than the walls and floor below them, and they sit closer to any overhead light source. Both factors push the ceiling toward overexposure. A reading of +1.5 to +2 stops brighter than the room average is common, and that's where the detail in pressed tin or painted coffer panels disappears.
The most reliable fix is to turn off all overhead fittings during the ambient exposure. Ceiling lights create a hotspot directly on the surface you're trying to capture. Shoot with window light only, then add a separate flash or strobe pointed at the ceiling on a second exposure. Blend in post. This gives you a ceiling with full texture and no hotspots, while keeping the room lit naturally below.
For rooms with no useful window light, bounce a speedlight off a white card held just below the ceiling surface at a 45-degree angle. The reflected light skims across the ceiling rather than hitting it straight on, and that raking light is what reveals texture in plasterwork, cornicing, and timber grain. Flat frontal light kills texture. Angled light creates it. This is the same principle behind photographing exposed brick walls, where the angle of light is the entire technique.
Framing the feature alongside the room
A ceiling-only shot is useful as a supporting image in a listing, but buyers also need to understand where the feature sits in the broader room. The most effective approach is to include both in a single frame. Stand in the doorway or at the furthest corner, set the camera at mid-height (around 120cm), tilt slightly upward, and compose so the ceiling occupies the upper third of the frame while the room still reads clearly below.
This framing works best in rooms with high ceilings (2.7m or above). In a standard 2.4m ceiling height, tilting upward compresses the room too aggressively and the floor nearly disappears. In those cases, shoot the room straight and dedicate a separate shot to the ceiling detail at closer range.
Consider the relationship between the ceiling detail and the lighting below it. A pressed tin ceiling above a kitchen island, for example, photographs best when the island is styled and the two elements appear in the same frame. The ceiling becomes context for the room's character rather than a disconnected architectural detail. The same logic applies when you're thinking about how to photograph a kitchen as a complete space: individual features need to earn their place in the wider composition.
Specific ceiling types and what they need
Pressed tin or pressed metal ceilings need raking light to reveal the pattern. Shoot at golden hour when the sun is low and throws angled light through a window, or replicate that with a strobe at a low angle. Flat midday light makes them look painted over.
Coffered ceilings need to show depth in the recesses. HDR blending works well here because the recesses are darker and the raised panels are lighter. Keep your bracket wide (at least 3 stops either side of the base exposure) to capture both ends of the tonal range.
Painted feature ceilings, where a ceiling has been painted a deep colour or decorated with a mural, photograph best with the lights off. The painted surface has no texture to reveal, so raking light is less important. Expose for the ceiling colour itself and let the room below fall slightly darker. This is a legitimate editorial choice and it reads as intentional rather than underexposed.
Ornate plaster cornicing is best captured as a detail shot rather than a room shot. Move close, use a 50mm equivalent focal length rather than a wide angle, and keep the frame tight to the cornice itself. One sharp detail image communicates craftsmanship far more effectively than a distant room shot where the cornicing is barely visible.
Post-processing for ceiling shots
Lens correction is non-negotiable for any shot where the camera was pointed upward. Apply the manufacturer's lens profile in Lightroom or Capture One first, then use the vertical perspective correction slider to straighten converging lines. Don't over-correct: a small amount of vertical convergence reads as natural. Perfect symmetry looks synthetic.
Texture and clarity sliders are your friends on ceiling detail shots. Raise texture by 15–25 points on pressed tin or plasterwork to bring out the surface detail that would otherwise flatten in the final export. Avoid over-sharpening, which introduces halos around the raised edges of cornicing and moulding.
Colour accuracy matters more than people expect. Pressed tin ceilings are often painted in whites with a warm or cool cast, and the wrong white balance makes them look grey or yellow rather than crisp. Set the white balance from a neutral in the room rather than using the camera's auto setting, which is regularly fooled by the dominant tone of a large ceiling surface.
How many ceiling shots to include in a listing
One strong dedicated ceiling detail image, plus one or two room shots where the ceiling is visible and well-lit. More than that is rarely justified unless the ceiling is the primary architectural feature of the home, as it sometimes is in heritage properties. Buyers need to see the feature; they don't need a gallery dedicated to it. Use the detail shot to create interest, and let the room shots confirm that the feature works in the context of the whole space.