
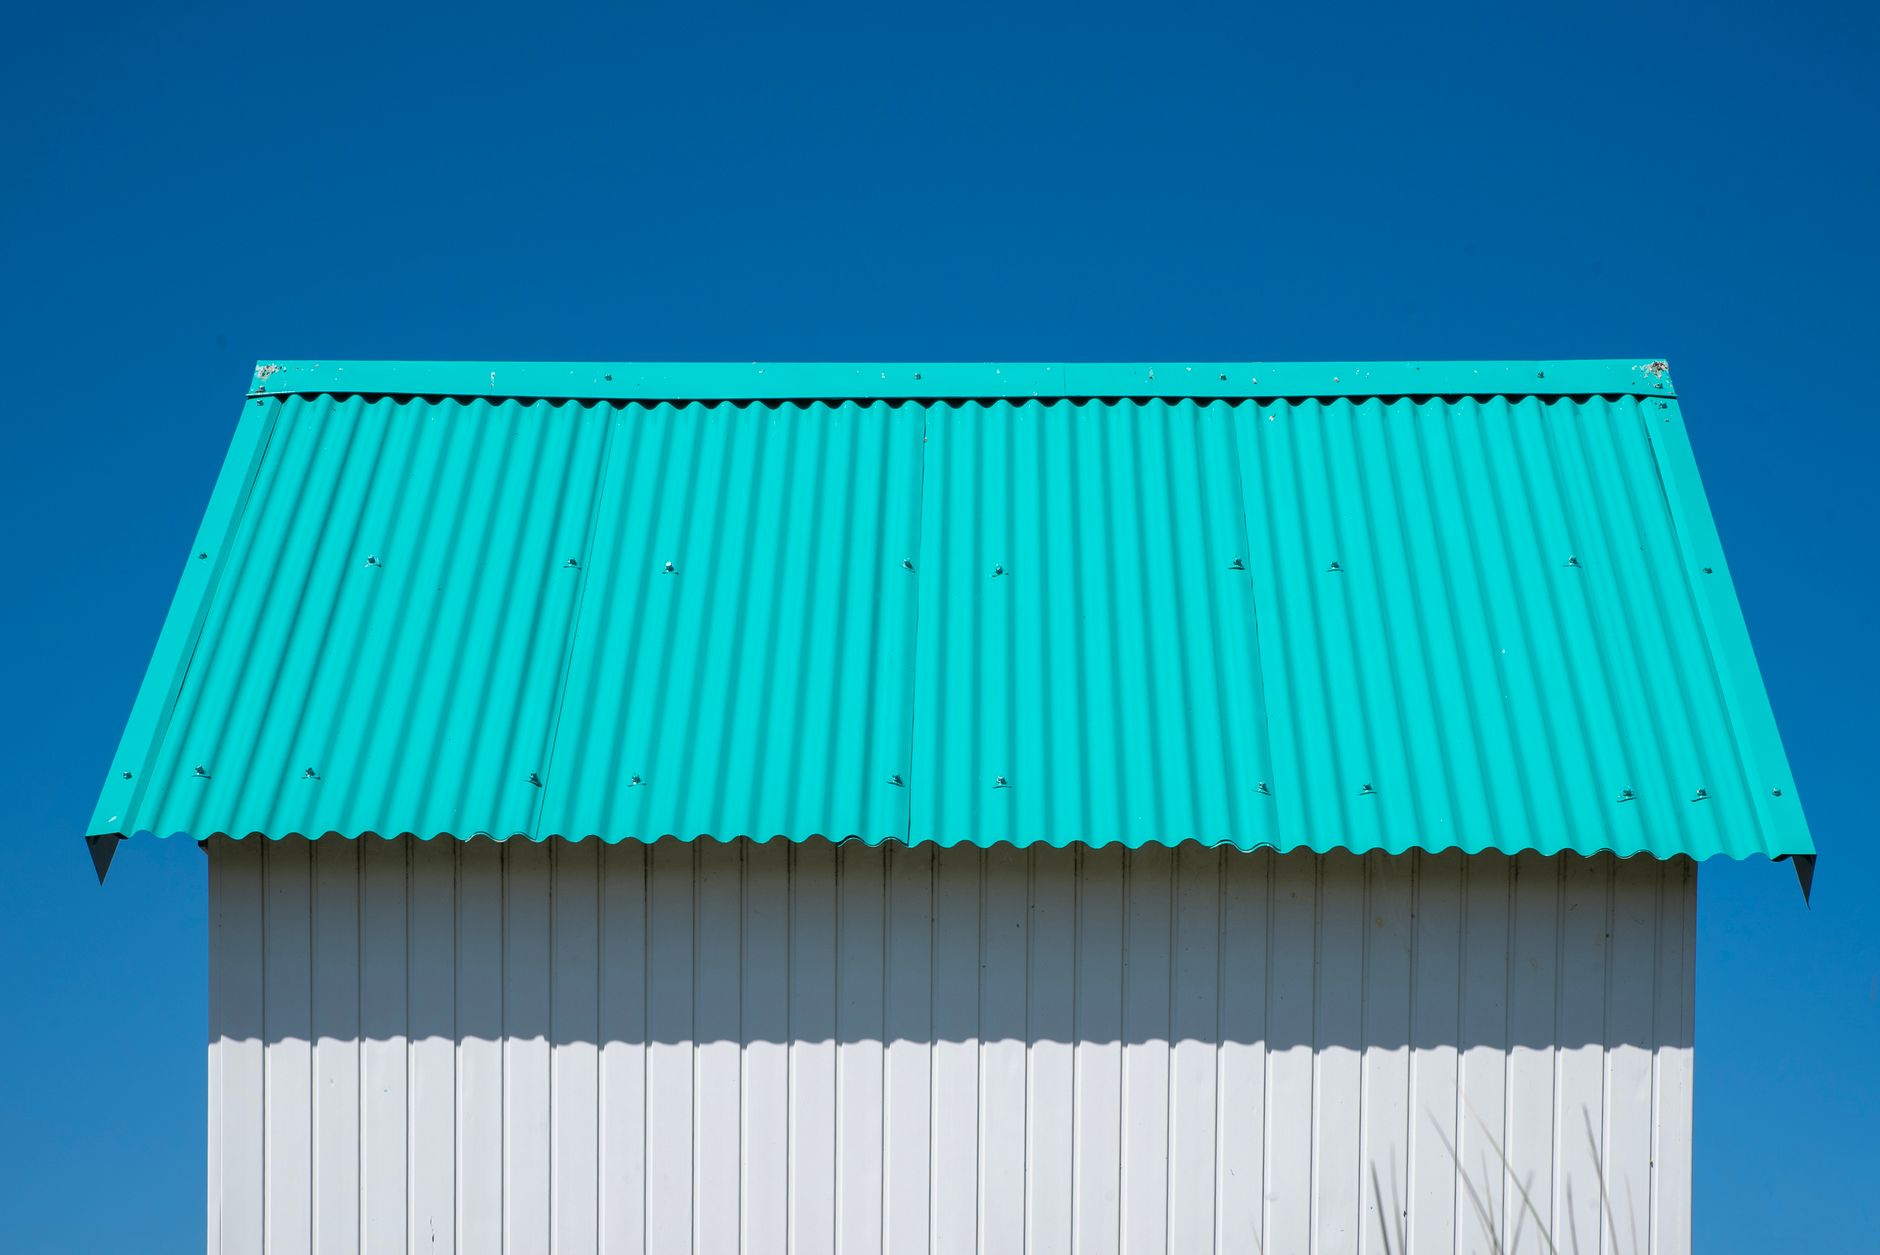
Corrugated iron is as Australian as a Hills Hoist. It appears on Federation-era cottages, Queensland vernacular homes, coastal weekenders, and brand-new builds where architects use it as a deliberate textural statement. Yet in most real estate listings, a metal roof either disappears into a blown-out sky or turns into a blinding sheet of reflected light. Neither does the property any favours. Photographing corrugated iron and metal roofing well requires a clear understanding of how that material behaves in different light conditions, and a willingness to adjust timing, angle, and exposure accordingly.
Why metal roofs are harder to photograph than they look
Steel and corrugated iron have high reflectivity. On a sunny day, a north-facing roof can reflect so much light that it reads as pure white on a camera sensor, losing all its corrugation detail and texture. On an overcast day, the opposite problem appears: the roof turns a flat, featureless grey that drains the exterior shot of contrast and character. Drone photography compounds both issues. An aerial shot taken directly overhead at midday turns the roof into a mirror. Even a mild misalignment in the sun's angle can blow out half the roof while leaving the other half correctly exposed.
The corrugated profile itself also creates directional shadow lines. When those lines run perpendicular to the camera, they read beautifully as texture. When the camera faces along the run of the corrugation, the ridges flatten out and the roof looks like smooth sheet metal. Angle is not optional with this material. It's the difference between a roof that reads as a quality architectural feature and one that reads as a liability.
Choosing the right time of day
The golden hour rule applies more strictly to metal-roofed properties than to almost any other. Early morning light, roughly 30 to 60 minutes after sunrise, hits a metal roof at a low, raking angle that picks up the corrugation ridges and gives the surface a warm, dimensional quality. Late afternoon works the same way. Both windows are narrow in summer when the sun rises and sets steeply, so plan your session around the compass bearing of the home's most photogenic facade.
Avoid midday entirely on clear days. A colorbond or corrugated iron roof at noon on a sunny day in Queensland or Western Australia produces specular highlights that no amount of post-processing will rescue cleanly. If your session is locked to a midday window, work from angles that keep the roof in partial shade where possible, or use an overcast sky as a natural diffuser. Flat cloud cover is genuinely useful here. It eliminates specular reflection and reveals the roof's true colour and texture without harsh contrast.
For properties where the roof is a genuine feature, twilight can be a powerful option. At blue hour the sky provides a soft, even ambient light and the roof's reflectivity works in your favour, picking up the cool blue tones of the post-sunset sky. Pairing a twilight exterior shot with interior lights on creates a warm-cool contrast that photographs exceptionally well. Kitti Rivers Real Estate Photography treats the choice between day and twilight photography as a deliberate strategic decision, not a default, and the same logic applies here.
Camera angle and positioning on the ground
Position the camera so the corrugation ridges run at roughly 30 to 45 degrees to the sensor plane. This angle preserves the textural quality of the roof without turning it into a graphic striping pattern. A low shooting position, around 1.2 to 1.5 metres off the ground, keeps more of the facade in the frame and reduces the roof's footprint in the composition. That sounds counterintuitive when the roof is the feature, but the eye actually reads a smaller, well-lit, textured roof as more impressive than a large, flat, overexposed one.
Use a polarising filter on your exterior lens. A circular polariser cuts specular reflection from metal surfaces by 1 to 3 stops depending on the angle of incidence. Rotate it until the reflection in the roof drops away cleanly. This is the single most effective in-camera tool for metal-roofed properties and it works on overcast days as well as sunny ones, where it deepens the sky and lifts the contrast between roof and cloud cover.
Drone photography over metal roofing
Aerial shots of metal-roofed homes are some of the most striking images in Australian real estate photography. They're also the most technically demanding. The drone position relative to the sun is critical. Fly with the sun behind or to the side of the drone, never between the drone and the roof. A front-lit aerial shot from a high angle produces a flat grey field. A side-lit shot from 30 to 45 degrees elevation picks up every ridge and shadow line on the corrugated surface, giving the roof genuine depth and texture.
Expose for the roof rather than the sky. The roof is the subject. Use exposure compensation to protect the highlights on the metal surface, and recover the sky in post if needed using a graduated filter mask. Exposure bracketing is worth using for aerial metal-roof shots: the dynamic range between a bright corrugated surface and a deep blue sky can exceed 5 stops, which is at the limit of most drone sensors. A 3-shot bracket at 1-stop intervals gives you clean recovery options in editing.
Editing a corrugated iron exterior
In Lightroom or Capture One, bring highlights down first on the roof area using a radial or luminance mask targeting the bright metal tones. The goal is to recover corrugation texture without making the roof look muddy or underexposed. Pull clarity up slightly on the roof mask to sharpen the ridge lines. This is not the same as sharpening the whole image: a targeted clarity boost on the roof while keeping the facade soft produces a natural, photographically believable result.
Colour temperature matters more than photographers often realise with metal roofing. Colorbond iron comes in specific named shues: Monument, Surfmist, Shale Grey, Woodland Grey. Each of those reads differently under different colour temperatures. Shoot a grey card reference frame at the start of the session and use it to set a consistent white balance in post. A Woodland Grey roof that photographs with a warm cast can look like a different product entirely, and buyers who already own or know the colour will notice.
If the roof is a heritage corrugated iron property with weathered, oxidised metal, resist the urge to over-sharpen or over-contrast it in post. Aged corrugated iron has a particular patina that reads as character in the right context. Keep the editing natural and let the texture speak for itself. Heritage and character homes deserve photography that honours their age rather than making them look like new builds.
Contextualising the roof in the listing
Not every buyer knows why a Colorbond roof matters. The photography should make the case visually, but the listing copy needs to reinforce it. A well-maintained metal roof with a modern profile signals low ongoing maintenance costs, genuine weather resistance, and in some cases bushfire compliance. If the roof is heritage corrugated iron in good condition, it's a character feature worth calling out. A single well-composed exterior shot that shows the roof texture clearly does more than a paragraph of description, but both together are more effective than either alone.
Position the hero exterior shot to include the roofline at an angle that shows its profile. Don't crop the roof out of the frame to fit a wider facade. In Australian residential architecture, the roof is often the most distinctive part of the home's silhouette, and removing it from the primary listing image removes the property's character along with it.