
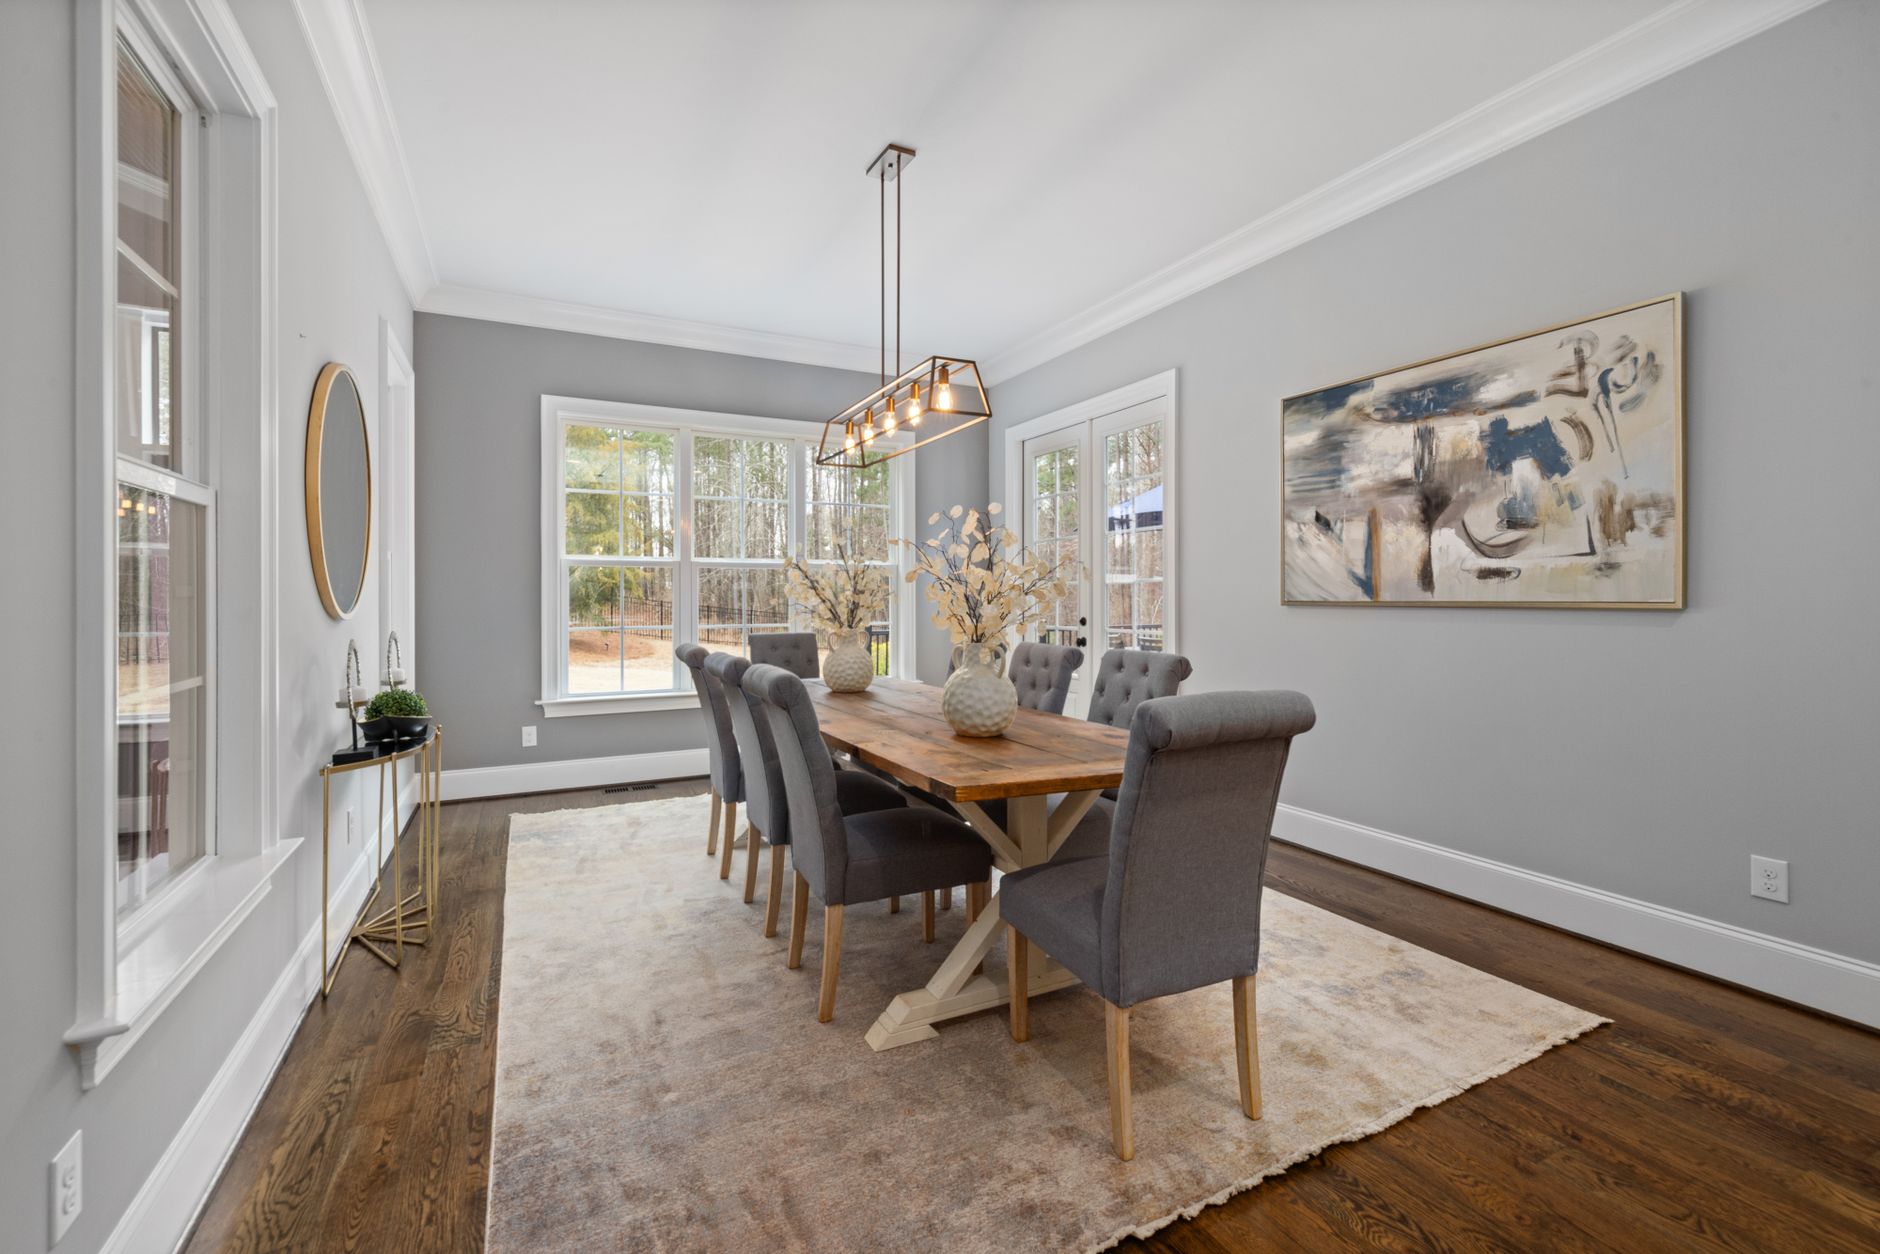
The dining room is one of those spaces that buyers read emotionally. It's where they imagine Sunday lunches, birthday dinners, and the everyday rhythm of family life. That makes dining room styling one of the highest-leverage tasks before a photo shoot. Get it right and the room tells a story. Get it wrong and buyers scroll past without knowing why.
Start with the table: size and scale matter first
The most common dining room mistake is a table that doesn't fit the space. An oversized table crammed against the walls reads as claustrophobic in photos. A small table lost in a generous room reads as hollow. Before you touch a single prop, stand back and assess the proportions.
If your table is too large, remove one or two leaves. If it's too small, consider borrowing or hiring a more appropriately scaled piece just for the shoot. The investment is modest compared to the difference it makes on screen.
For the photo shoot itself, seat the table for four even if the room could technically seat eight. A table set for four photographs as a warm, usable space. A full table set for eight can look like a function venue, which isn't the feeling you're selling.
Chairs: pull them out slightly before the shot
Chairs pushed hard under the table look tidy in person but flat in photos. Pull each chair out 5 to 8 centimetres. This creates depth, suggests the room is lived in, and gives the photographer's eye something to travel along. It's a small adjustment that makes a visible difference.
Mismatched chairs can work beautifully if they share a colour or material. A full set of identical chairs reads as clean and deliberate. What doesn't work is a random mix that looks accidental. If your chairs are mismatched without intent, consider moving them out and replacing with a consistent set for the day.
Table setting: less is more than you think
A full formal place setting with five pieces of cutlery, two wine glasses, and a linen napkin folded into a swan will look staged and off-putting. Buyers know it's artificial, and the artificiality creates distance rather than warmth.
A better approach: set two to four places with simple, clean tableware. One dinner plate, one wine glass, a folded cloth napkin. Add a low centrepiece, not flowers tall enough to block eye contact across the table. A wooden bowl with a few pieces of fruit, a cluster of three candle holders at varying heights, or a simple ceramic vase with a single stem all work well.
Keep the colour palette consistent with the room. White or neutral tableware photographs cleanly against almost any background. Avoid highly patterned plates or novelty pieces that pull focus from the room itself.
Lighting the dining room for photography
Dining rooms often rely on a pendant light centred over the table. That pendant is a feature, so turn it on for the shoot. Overhead pendants with warm globes add atmosphere and give the photographer a strong focal point. If the globe is visible and it's a harsh cool white, replace it with a warm equivalent before the shoot. The cost is a few dollars and the difference on screen can be significant.
Natural light from a nearby window is your best asset. Position the shoot for mid-morning if the dining room faces east, or mid-afternoon if it faces west. Direct midday sun creates harsh shadows that are difficult to manage even with professional equipment. Sheer curtains diffuse the light without blocking it, so if you have heavy drapes, tie them well back or remove them for the session.
If you want to understand how lighting choices influence the final image, the article on lighting ideas for modern homes covers the principles in detail and applies directly to dining spaces.
Walls and background: what the camera sees behind the table
The wall behind the dining table is almost always in frame. A bare, scuffed wall undercuts even a well-styled table. A wall that's overcrowded with art competes with it.
One or two framed prints in a consistent style work well. A large-format single piece can be striking. A gallery wall can work, but only if it's been intentionally curated rather than accumulated over time. If the art feels random, take it down and leave the wall clean. A clean wall beats a cluttered one in every photo.
If the wall colour feels too intense or too dated, a fresh coat in a warm neutral before the shoot is worth considering. The guide on neutral colour palettes that sell walks through which tones photograph most broadly and why buyers respond to them.
The floor: don't forget what's underfoot
A rug under the dining table anchors the setting and adds warmth, particularly on bare floorboards or concrete. Choose a rug large enough that all four chair legs sit on it, even when the chairs are pulled out. A rug that's too small makes the furniture look like it's hovering. Natural fibres such as jute or wool photograph well and don't create visual noise.
If you don't have a rug, that's fine. Clean, polished floors look excellent in photos when the rest of the room is well composed. What you want to avoid is a cheap, patterned rug that distracts. If the rug you have is working against the room, remove it entirely.
Sideboard and storage: how to style the supporting pieces
A sideboard or buffet is a common dining room feature and it's often in frame. Style it simply: two or three objects at varying heights, a consistent material palette. Avoid rows of identical objects or cluttered collections of things you actually store there.
Clear everything off first, then add back only what photographs well. A large ceramic bowl, a stack of art books with a small object on top, a low plant in a simple pot. Three items is usually the right number. More than five and it starts reading as clutter.
This same editing principle applies across the whole property. If you haven't already worked through the broader process of removing unnecessary items, the article on decluttering for a property sale gives a room-by-room breakdown that covers dining spaces alongside kitchens, living areas, and bedrooms.
Final check before the photographer arrives
Walk the room with fresh eyes ten minutes before the shoot. Look for power cords, pet bowls, stray school bags, and anything that doesn't belong. Check the skirting boards for scuffs. Wipe down the table surface. Make sure the chairs are level and consistently spaced.
Then stand at the doorway and look at the room the way the camera will see it. If it feels warm, proportionate, and clean without feeling empty, it's ready. That's the target: a room that looks like real life at its best.